DICOM Image Storage/PACS
Follow the procedure below to configure a new DICOM Image Server.
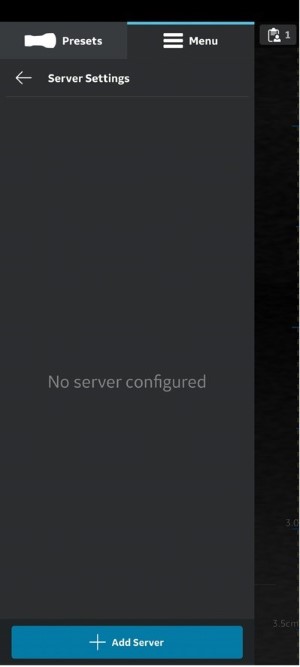
Press Menu -> Configuration -> Server Settings.

Press Add Server on the “Server Settings” screen.
On Add New Server screen, select DICOM Image Server from the drop down list of Server Type and enter the configuration information in the respective fields to add the DICOM Image Server.
If DICOM Image Server is of Secure DICOM (TLS communication), select the check box Secure DICOM. See Secure DICOM for more information.
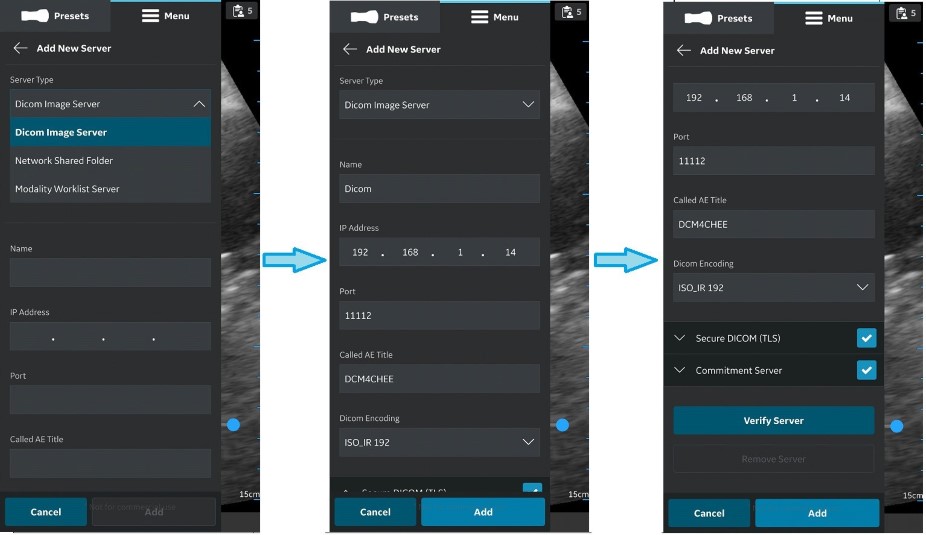
Press Verify Server to verify communication with the DICOM Image Server.
Verify server succeed pop-up message displays if the communication with the Server is established successfully.
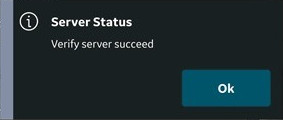
Press OK and then Press Add to add the DICOM Image Server.
If communication fails, check the server settings and make necessary corrections.
Make sure that the display device hosting Vscan Air app and the PC in which server is configured are connected to same network.
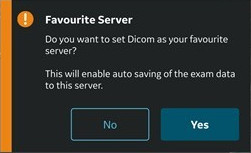
Once the DICOM Image Server is added, you will find the server name under Server Settings. If this is the first DICOM Image Server that you are adding, by default it will be the favorite server. If there are more than one DICOM Image Servers, you have to choose the desired DICOM Image Server as a favorite server. To set DICOM Image Server as favorite, tap on the respective star mark and press YES on the pop-up message screen.
The information herein is not intended to replace the product’s User Manual. Please consult the User Manual for comprehensive information and cautionary guidance about the product’s operation and use.