Shot List
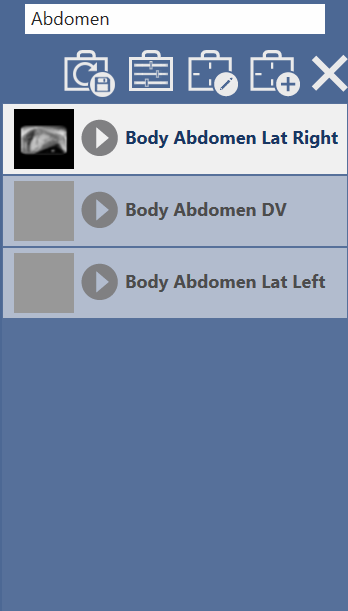
Similar to the shot list in the Shot List screen, this is the list of shots for this study. Each shot is labeled with the Region, Anatomy, and View Position of the shot. After an image has been acquired, a thumbnail will be added to the shot to indicate that it has been acquired.
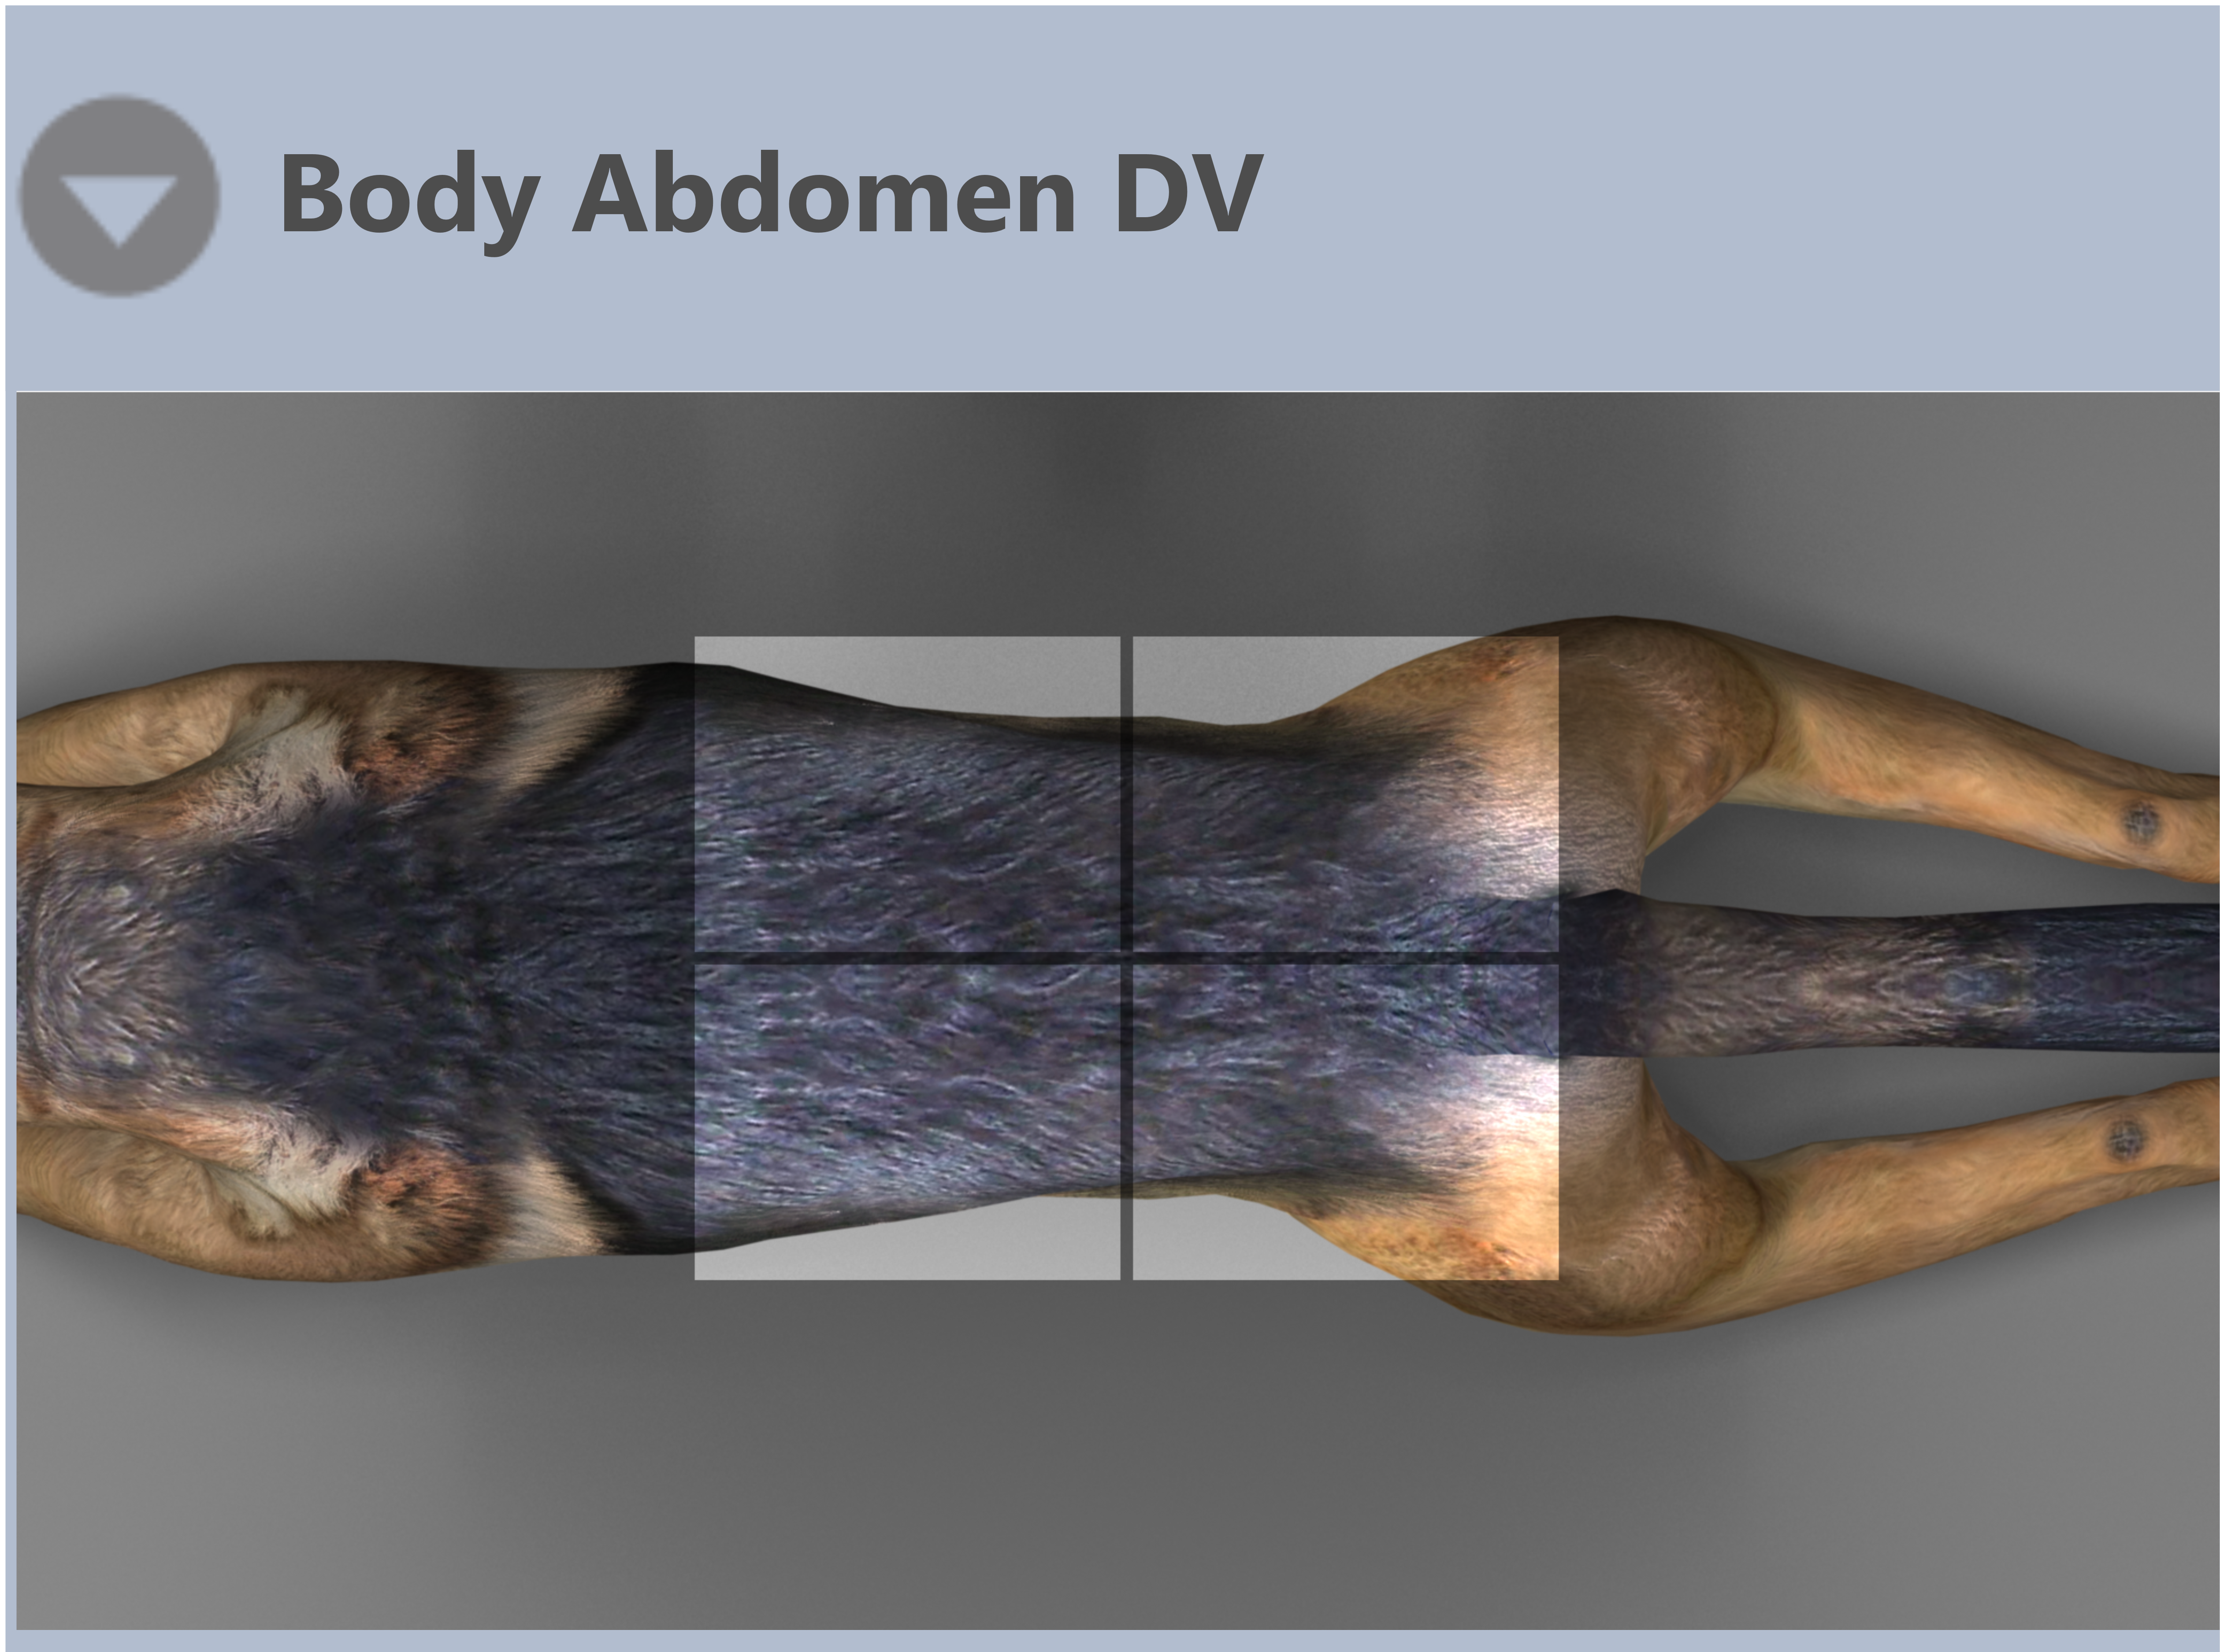
Position Assistant
Many of the shots have a positioning assistant image. To view the image, click the Expand Icon to see it.
Duplicate Shots
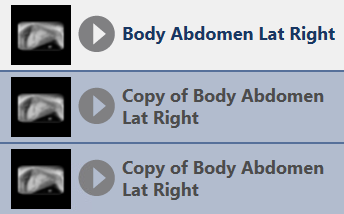
Any images duplicated using the duplicate image tool on the annotations toolbar will be prefixed with "Copy of". This only occurs in the acquire screen and not reports.
Add Shots

You can manually add additional shots to the shot list. Press the Add Shots Button, this will bring out a shot selection menu for you. You can also add protocols to the shot list here. Press the Next button to close the add shots sliding panel and return to the acquisition screen.
Acquisition is disabled while you are adding shots. It will be re-enabled when you finish adding shots.
Edit Shots

You can edit shots in the shot list to select a different view position. Press the Edit Shot button, this will open the shot selection panel again where you can re-designate the currently selected shot/image. When you select a replacement, you will see a popup with both the currently selected shot's view position and the view position you have selected to replace it. You can Confirm the change by clicking the OK button or cancel the change by pressing the cancel button. Press the Next button to close the edit shot sliding panel and return to the acquisition screen.
Acquisition is disabled while you are editing shots. It will be re-enabled when you finish editing shots.
Delete Shots

You can delete the selected shot from the shot list. Select the shot you wish to delete and Press the Delete Shot button. This will remove the shot from the shot list.
Only shots that have not been acquired can be deleted. For shots that have been acquired, use the reject button.
Reordering the shot list
To change the order of the shots, simply touch and hold on the desired view and drag it to the desired order in the shot list.
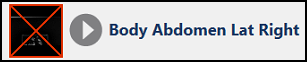
Rejecting an image

If an image you have acquired has motion or was not positioned properly, you can reject the image with the Reject Image button. The reject button will appear when you select a shot with an image or immediately after acquisition. When the button appears after acquisition, pressing the button will reject the image you just acquired.
Pressing the Reject Button will mark the rejected image with a red X across the thumbnail and automatically add a replacement shot below it in the shot list. Rejected images are excluded from export.
You can Undo the rejection by selecting the rejected image and clicking the Accept button.
Reject Reason
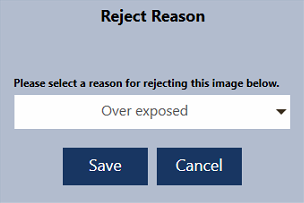
If the system is configured to require a reason for the rejection, you will see the Reject Reason form when you press the Reject Image button.
When this setting is enabled, users will see a popup and must select a reason from the combo box and press Save. To Pressing the X in the top right corner will cancel the rejection.
The Require Image Reject Reason setting can be found in the settings screen under Advanced Options.
Reject reasons can enhance the utility of the Reject Report.