Pro Capture Mode
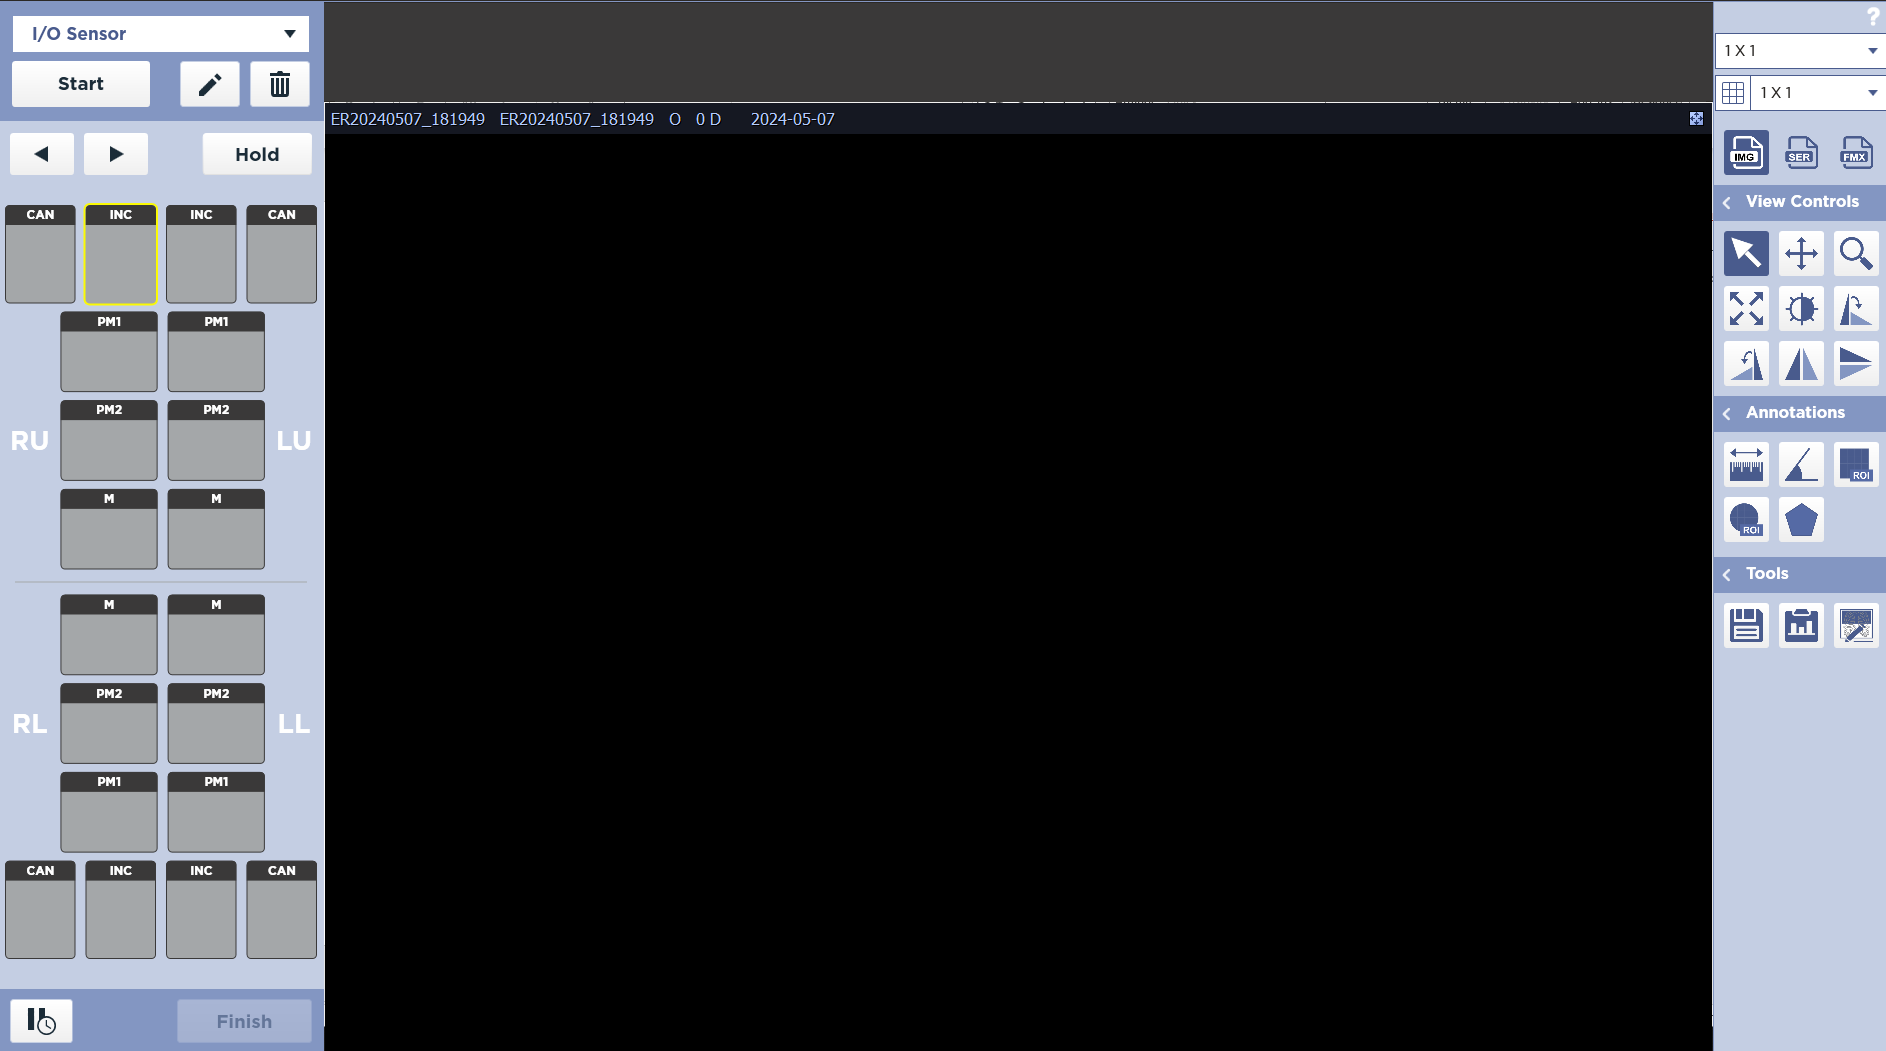
In Pro Capture Mode, no predefined order is needed. You can even obtain multiple images in one location, them move the images to the correct location later with an intuitive user interface. In this mode, you can see at a glance which teeth areas are complete or missing. If an image is obtained in the wrong location, you can simply drag and drop the image to where it is supposed to be.
Enabling
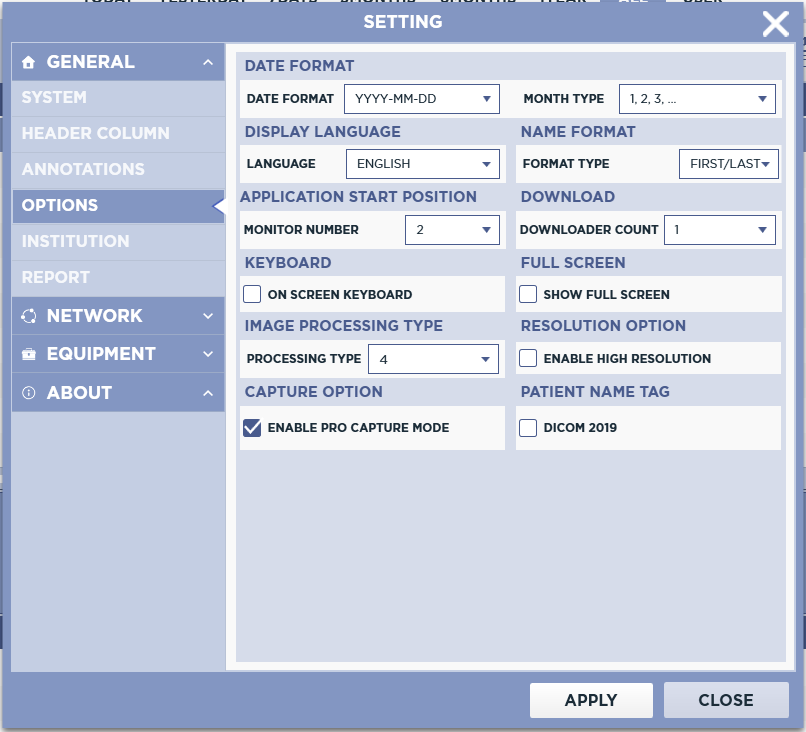
To enable this Pro Capture Mode, locate the top toolbar on the Worklist or Studylist and go to Settings  -> Options -> Capture Option. Check the box to enable Pro Capture Mode. Click Apply.
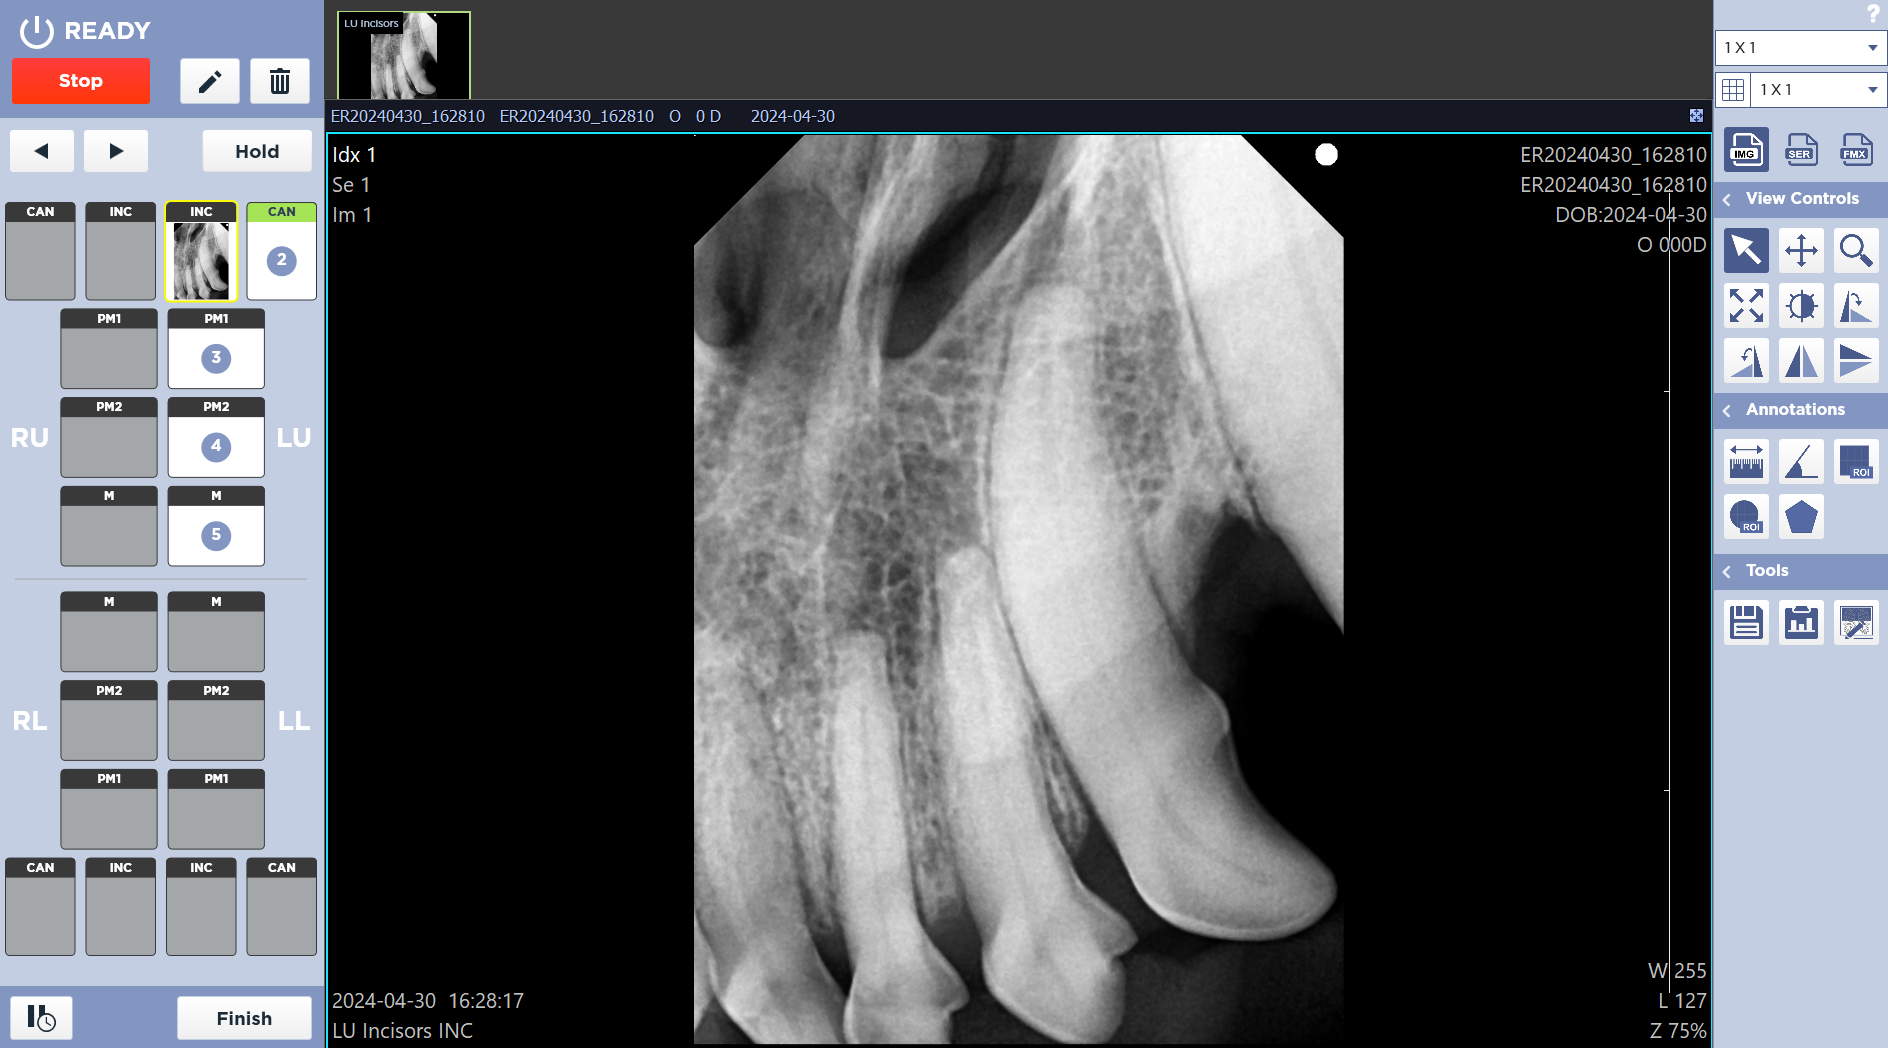
Select Tooth
Select each thumbnail in the order you would like to acquire the images in.
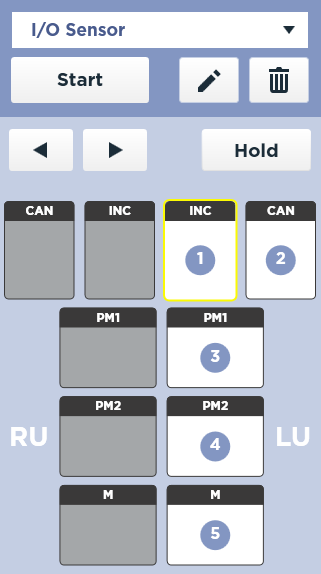
The sequence number is displayed according to the order in which you clicked.
Acquire Image
Click the Start Button to initialize the sensor.
The Start button is disabled until there is a at least one tooth location selected.
A blue READY indicator will illuminate when the sensor is ready.
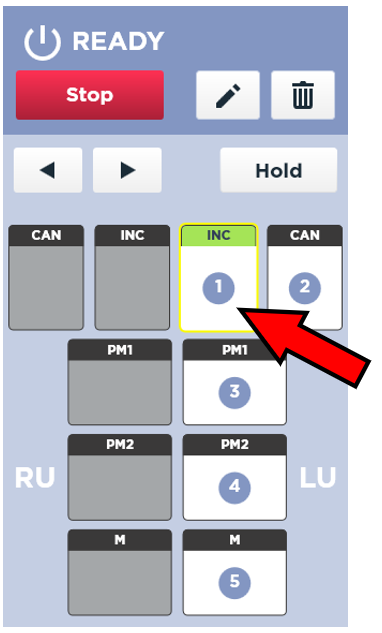
The first tooth area to be images will be highlighted in dark turquoise.
At any time, you may add, modify, or delete locations by clicking on the desired area. You can also add additional images to the same location if you click the corresponding location before exposure.
When the exposure is complete, the image will be displayed and the next position will be highlighted.
Change Next Position
Click the Next or Previous buttons to manually change the current position.

Finish
When you have completed the study, click the Finish button on the bottom left corner of the screen. This will end the study and take you back to the Worklist screen.
