Standard Capture Mode
In the standard capture mode, the order in which you take images needs to be specified before the radiographic procedure. This mode might allow you to quickly complete rather routine tasks.
Workflow
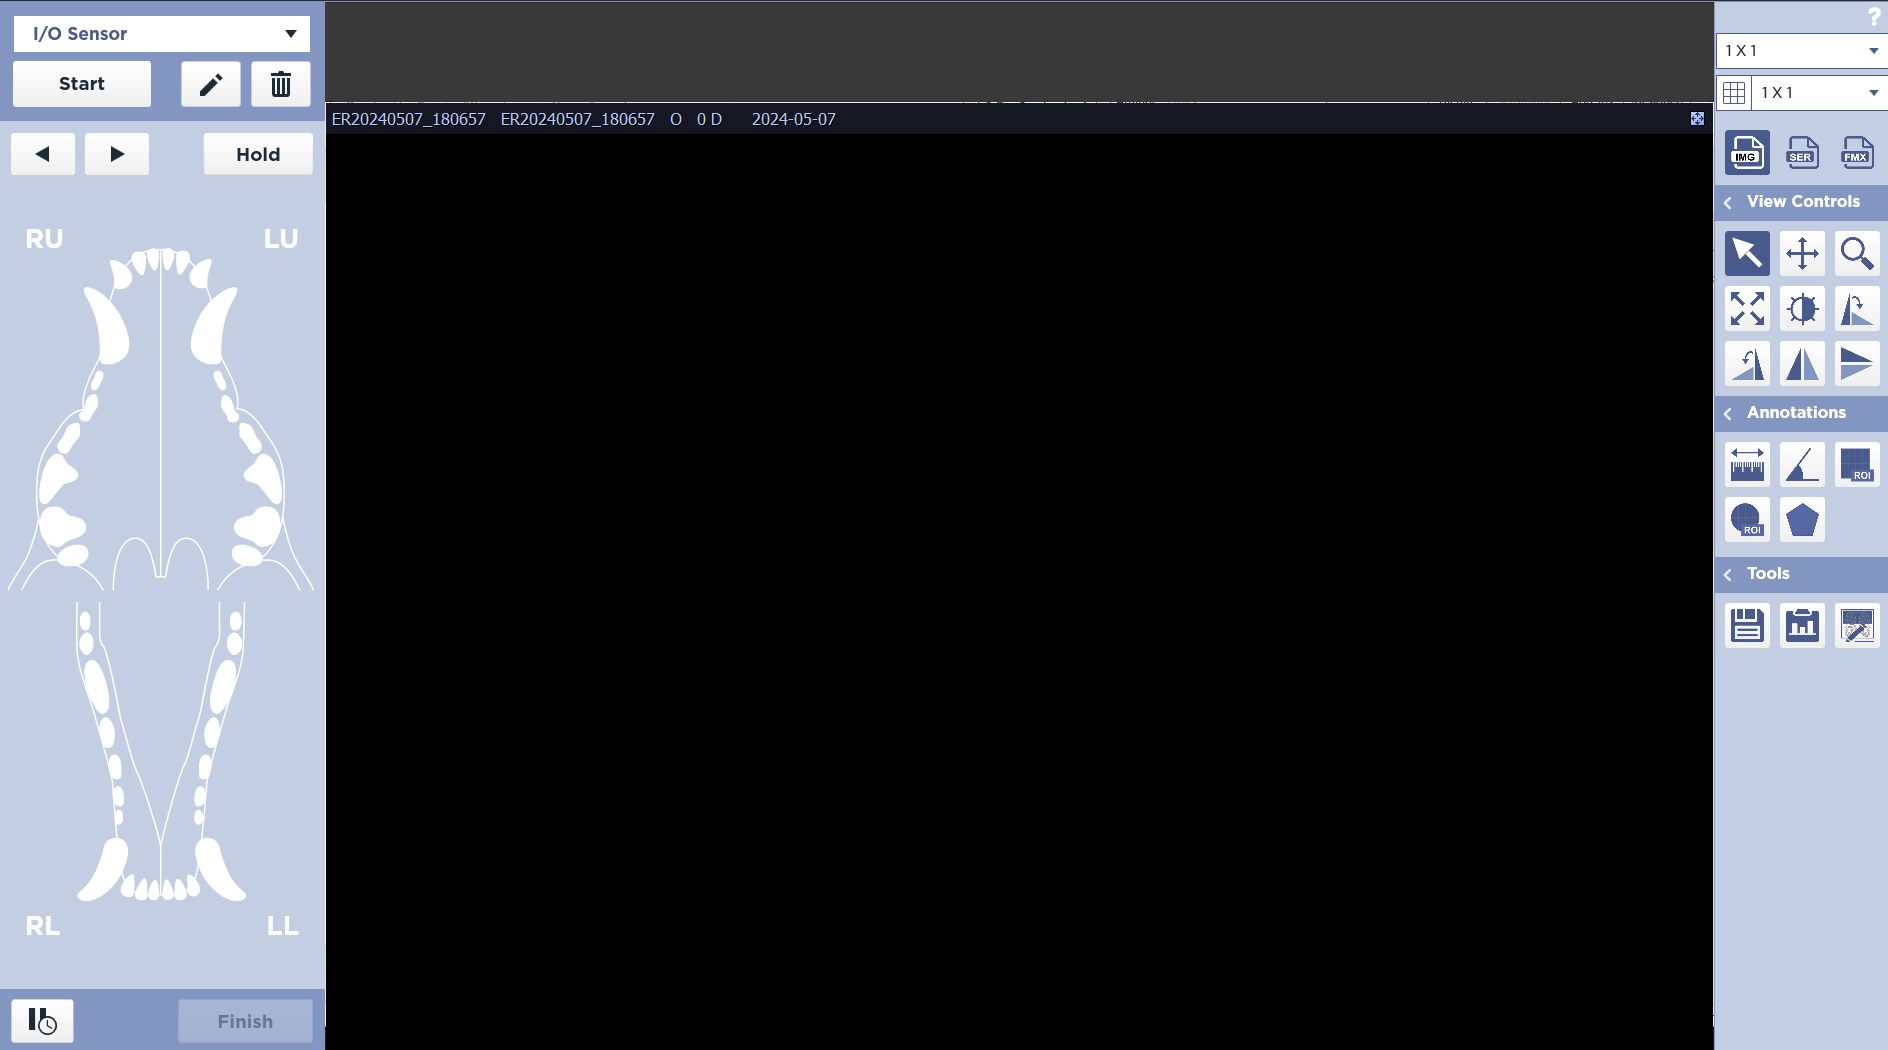
Select Tooth
Select tooth areas to be imaged in desired order by clicking on each area with the left mouse button.
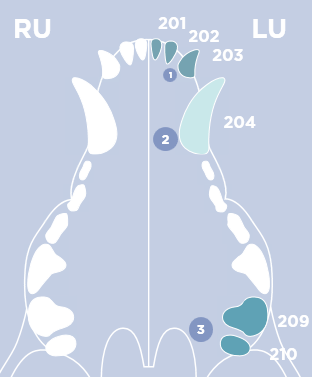
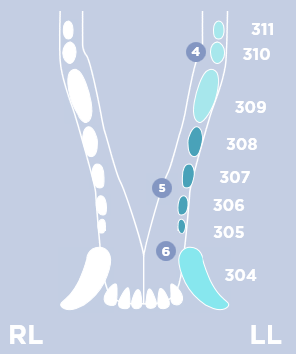
Tooth area may be unselected by clicking on the desired teeth again. Use the right mouse button to click to select and number label a specific tooth.
You can also right click on the quadrant label, such as LU for Left Upper quadrant, to select the entire quadrant. You may right click on a tooth to deselect that specific tooth.
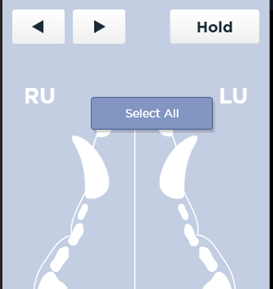
- RU - Right Upper
- LU - Left Upper
- RL - Right Lower
- LL - Left Lower
- INC - Incisor
- CAN - Canine
- PM - Premolars
- M - Molars
Acquire Image
Click the Start Button to initialize the sensor.
The Start button is disabled until there is a at least one tooth location selected.
A blue READY indicator will illuminate when the sensor is ready.
The first tooth area position to be imaged will be highlighted in yellow on the mouth graphic.


When the Exposure is complete, the image will be displayed and the next position will be highlighted in yellow on the mouth graphic.
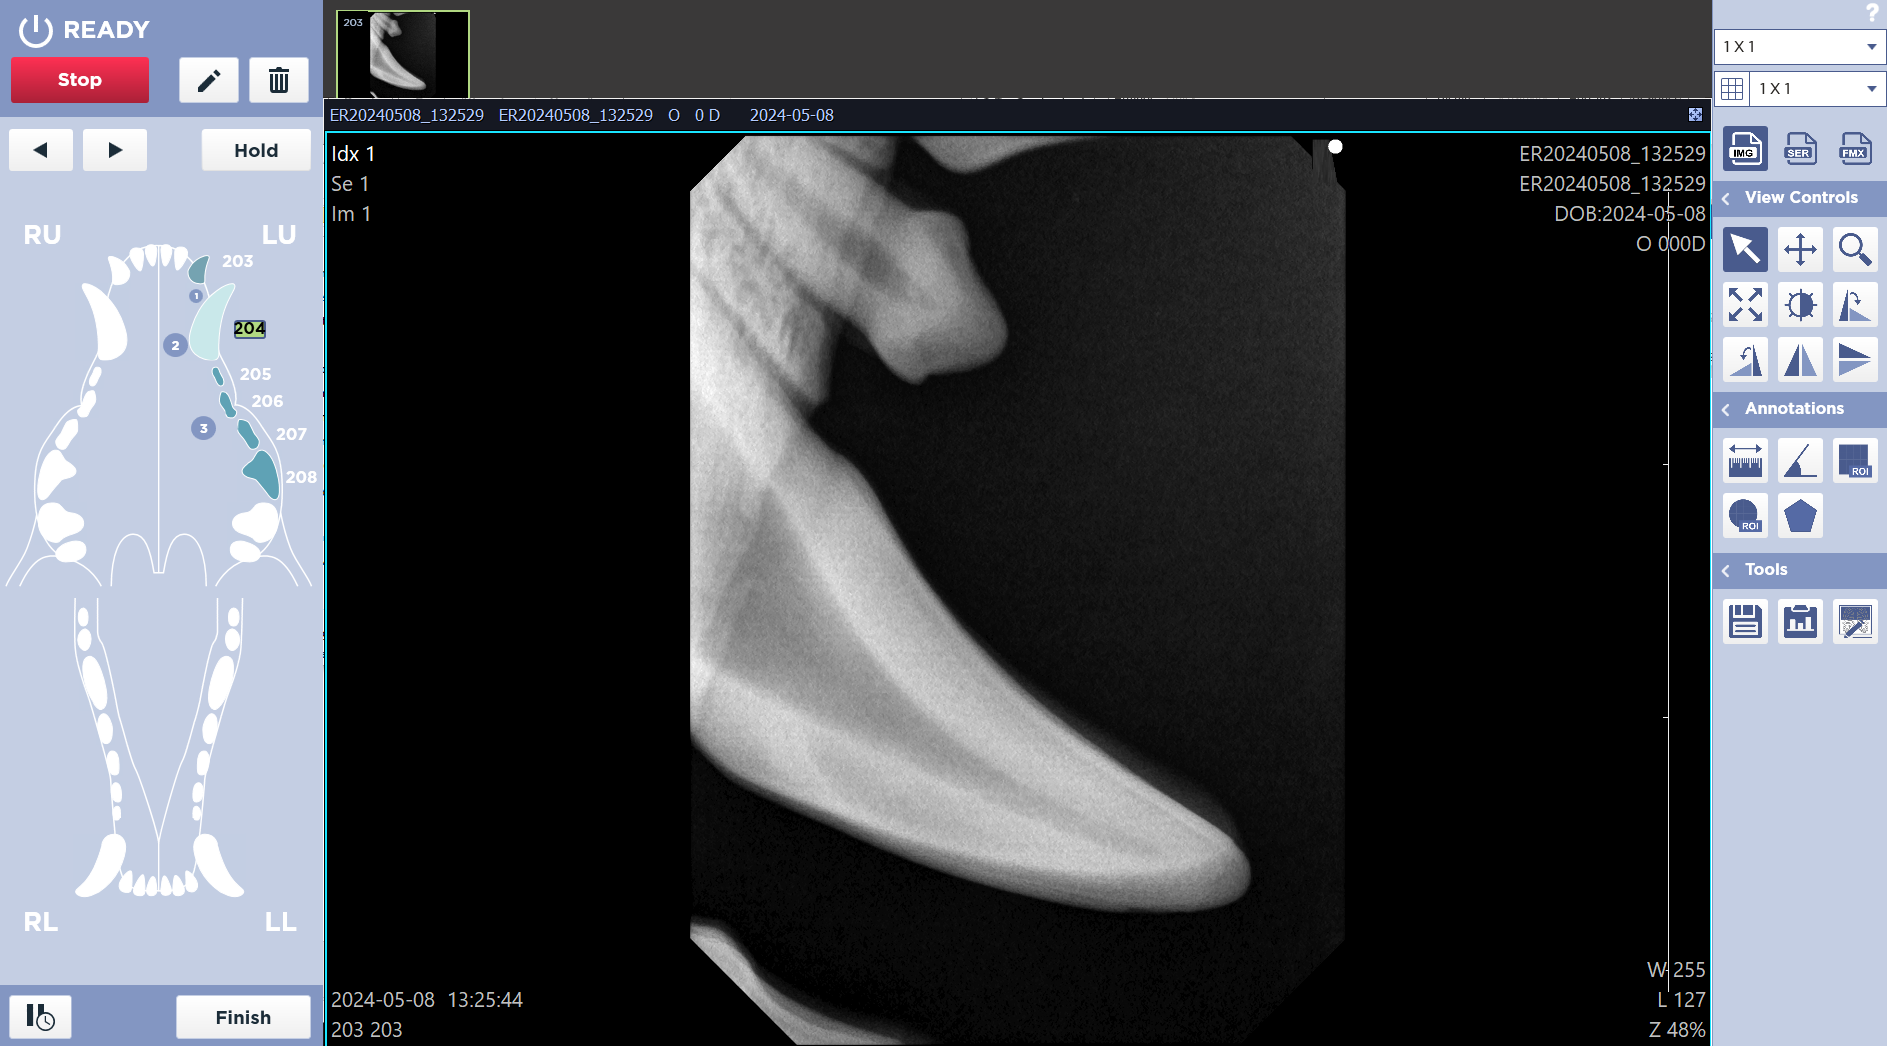
Change Next Position
Click the Next or Previous buttons to manually change the current position.

Finish
When you have completed the study, click the Finish button on the bottom left corner of the screen. This will end the study and take you back to the Worklist screen.
