Network
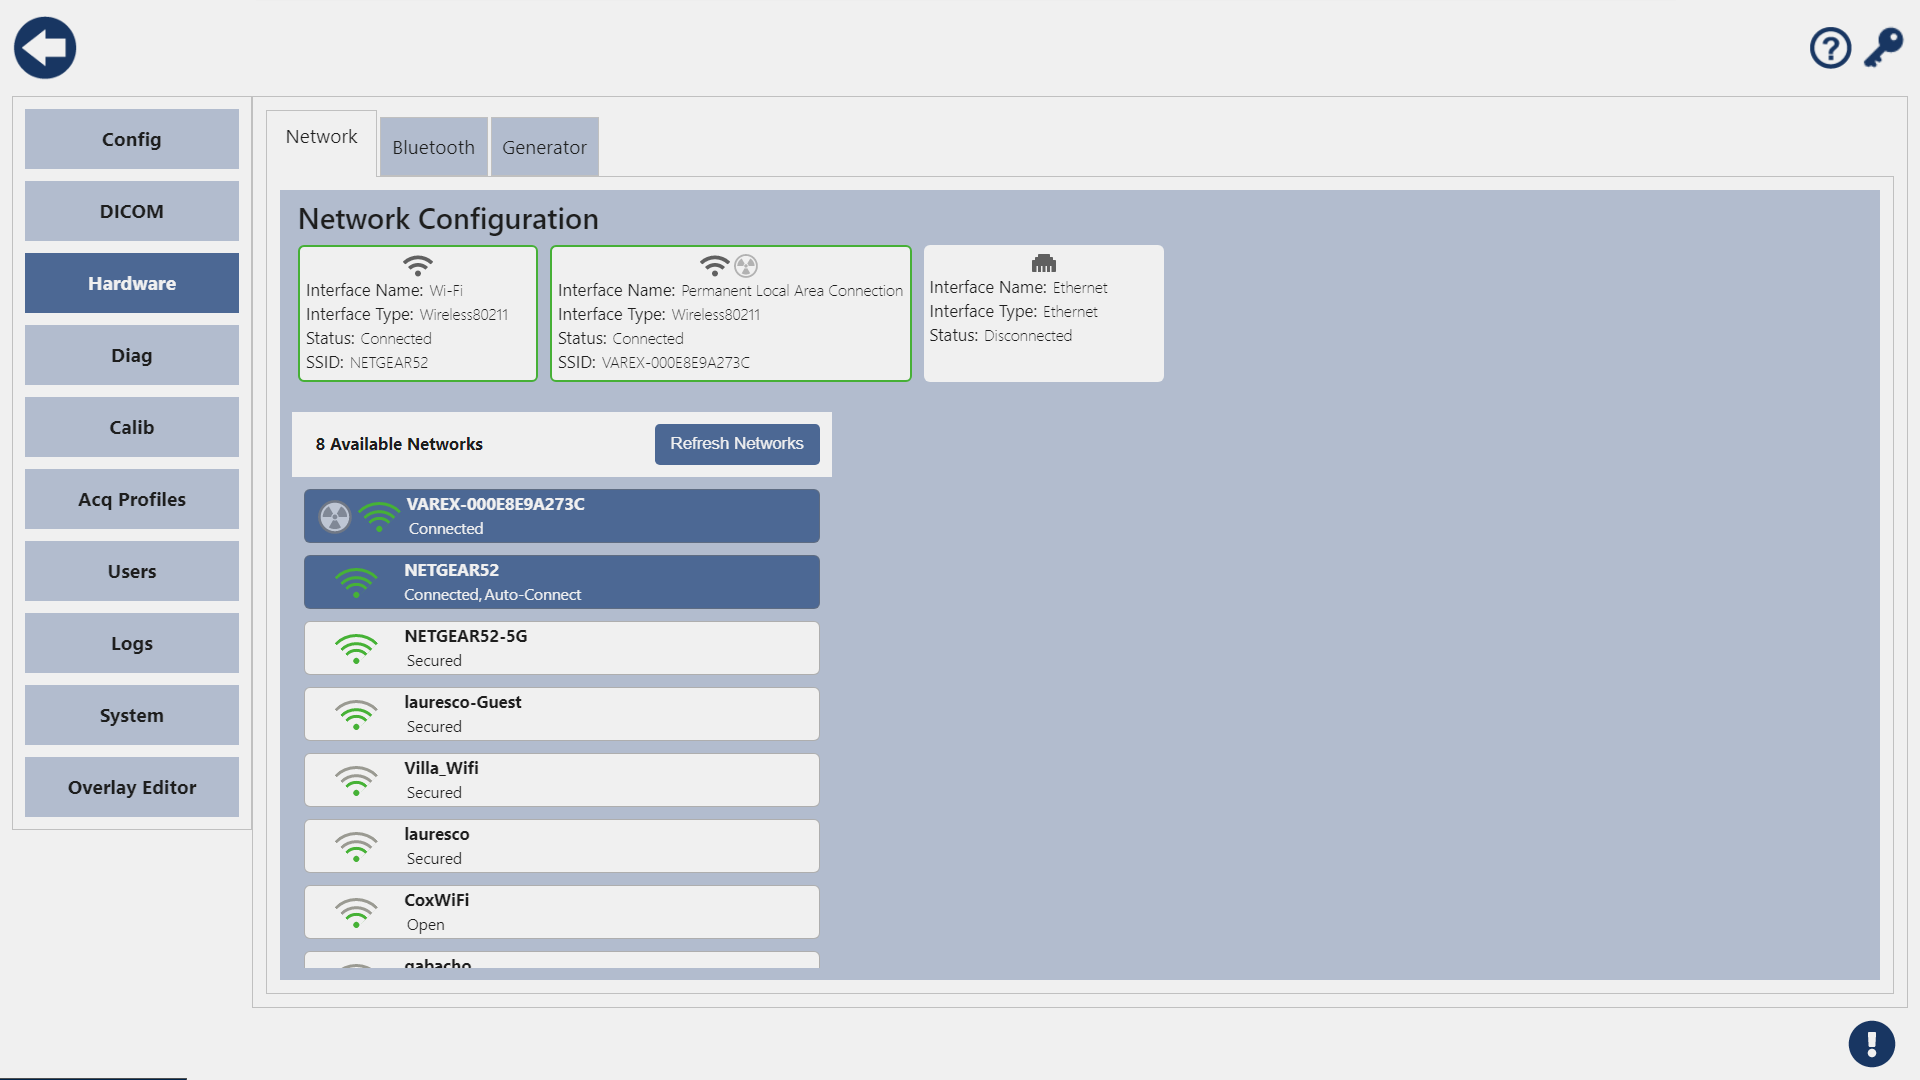
This is the Network screen, this is where you can connect your device to the internet. This is also the best place to pair a new panel/detector to your system. Below we'll step through the process of connecting a detector to your acquisition PC.
Pairing a Panel
First, let's make sure our panel is powered on. Insert a battery and allow the panel a moment to power up. When the light on the panel is blinking green we should be ready to go.
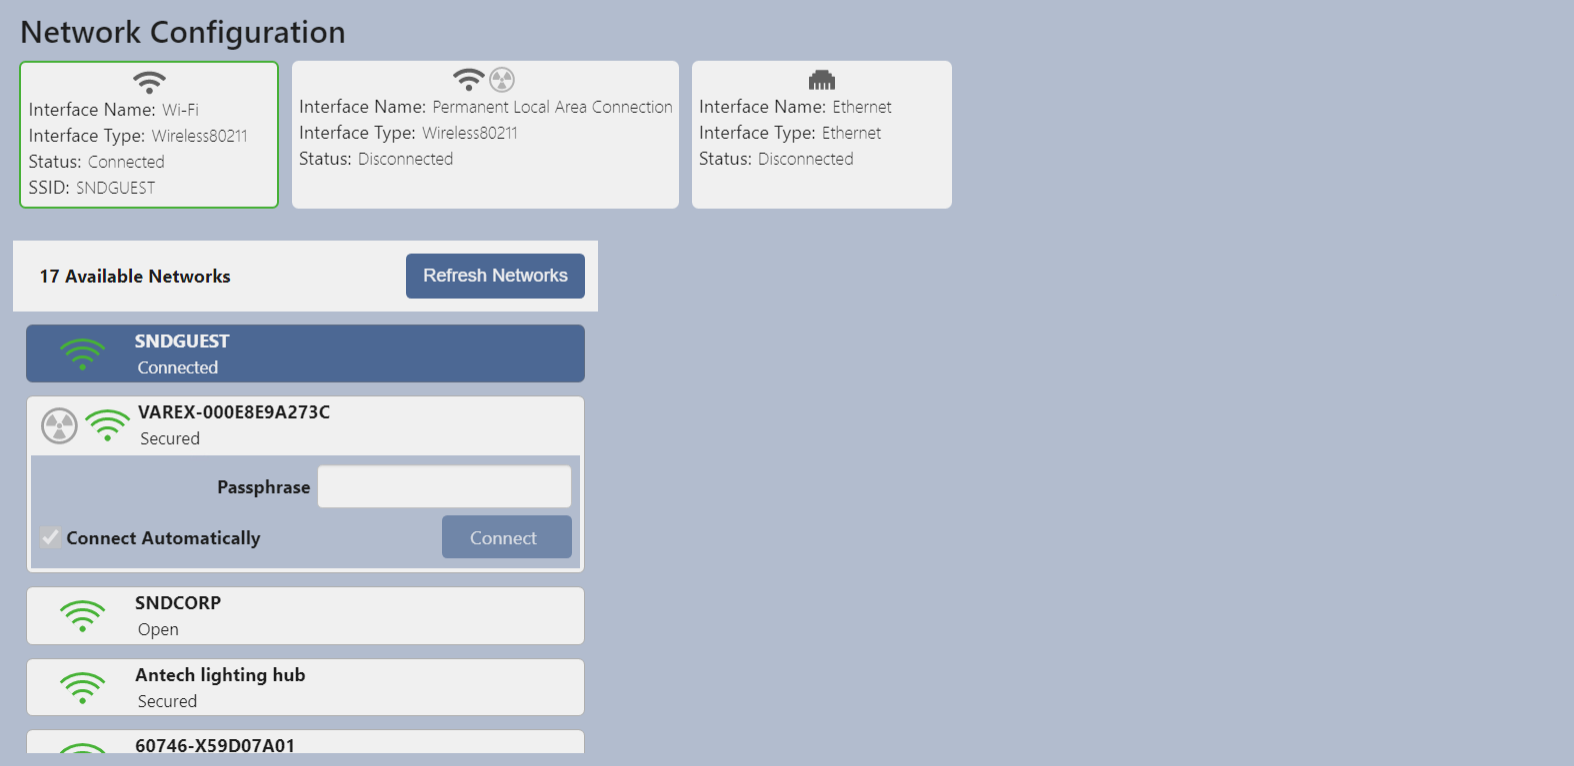
Once our panel is powered on, it's time to begin. Look for your panel in the list of available networks and select it. The tile will expand and reveal a space to enter a passcode. Enter abcd1234 and press connect.
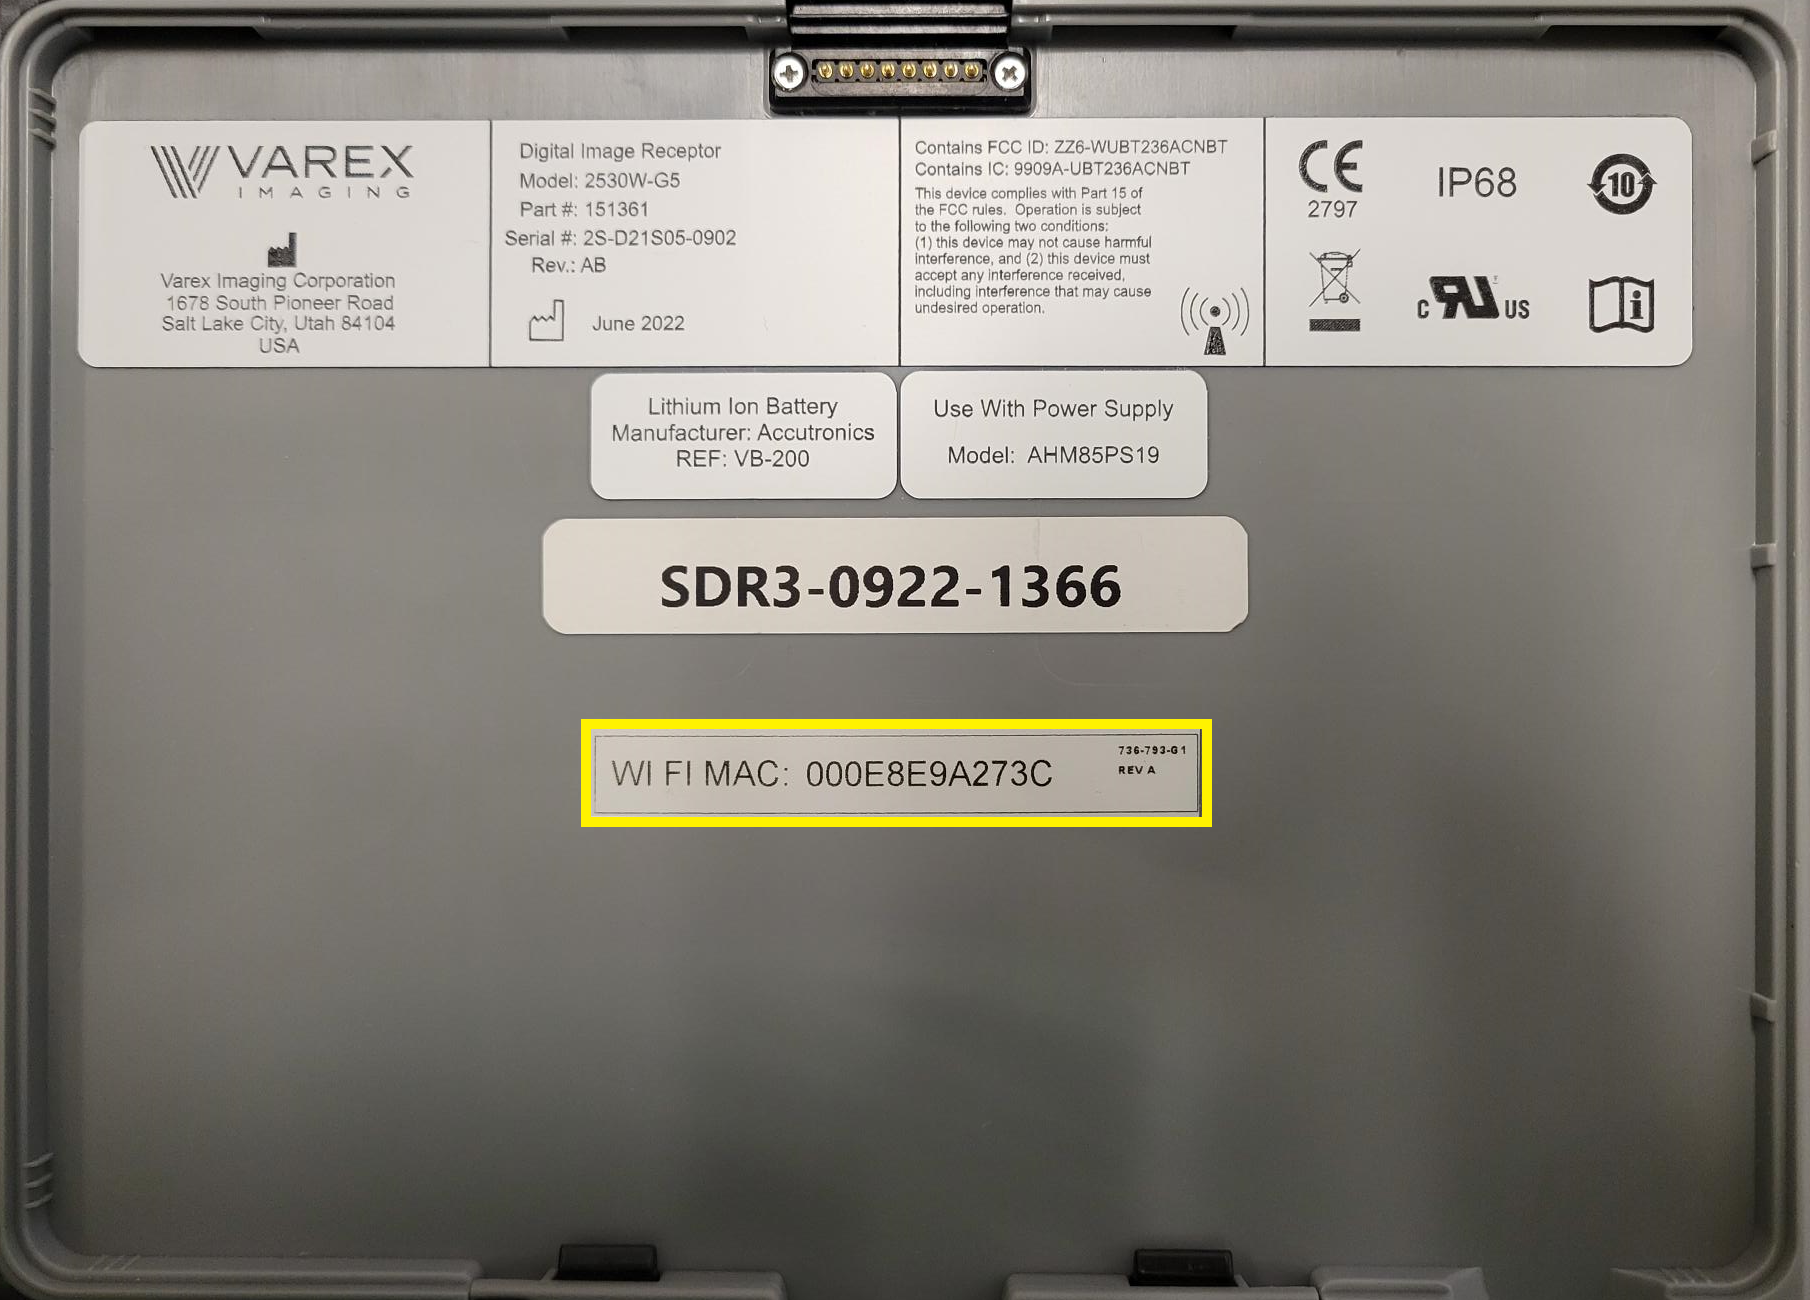
Your panel name will be VAREX-Panel MAC ID. If there are multiple entries on your list of available networks you can check behind your panel's battery to confirm the MAC address.
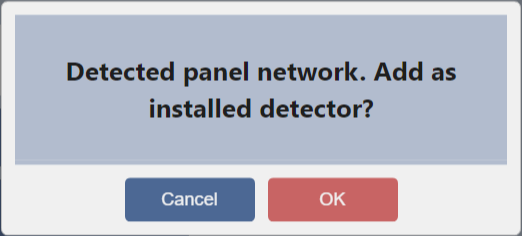
Once you've connected to the panel access point you'll received a prompt asking if you'd like to add the panel as an installed detector, click or tap OK.
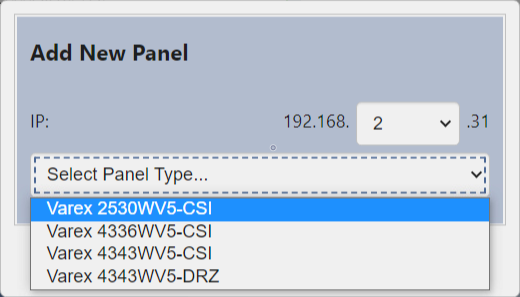
The final step is to assign your IP scheme and select your panel type. The software will now perform the final steps and get your panel ready.
Your panel should now be installed, you can visit the Panel Configuration tab to confirm your panel has been added.