Batch Export
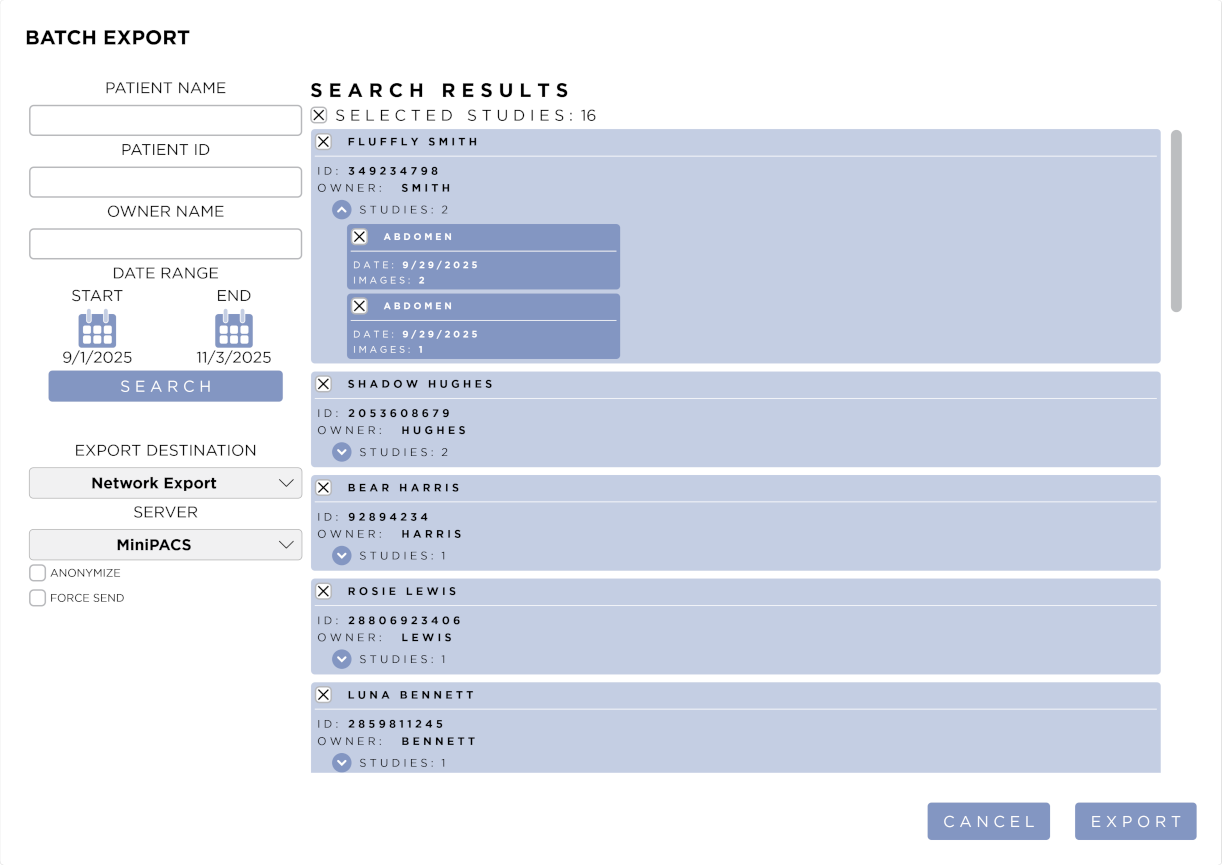
This will open the Batch Export Form. You can filter results by Patient Name, Patient ID, or Owner Name by entering them into the corresponding fields. Select a date range from the calendar controls. Select the Export Destination from the drop down. Press the Search button to display the results that match your criteria.
Results are organized by Patient. You can expand or collapse a list of studies for a patient by pressing the arrow icon in the patient tile. All studies will be selected by default. You can uncheck the studies you do not wish to export.
Press the Export button will schedule the selected studies for export and close the Form. For Network Export, you can view the progress in the DICOM Queue.
Press the Cancel button to close the Form without exporting.
You can de/select all studies for all patients by checking or unchecking the checkbox at the top of the list. You can also de/select all studies for a single patient by checking or unchecking the checkbox in the patient tile.
Network Export
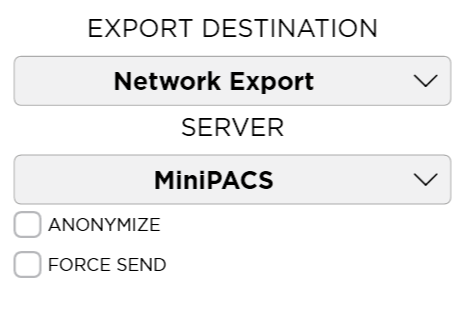
Select a Server from the drop down. You can anonymize the exported data by checking the Anonymize checkbox.
Local DICOM Export
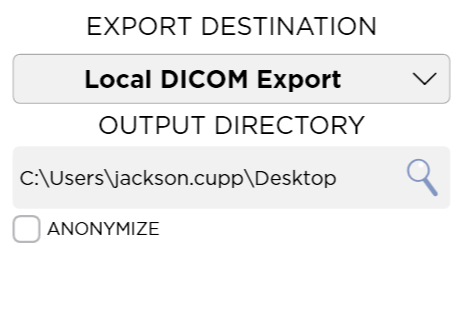
Select a folder on disk by pressing the Magnifying Glass icon next to the Output Location field.
You can anonymize the exported data by checking the Anonymize checkbox.
You can force send by checking the Force Send checkbox. This will send all images to the selected server, even if they have already been sent.
Local JPEG Export
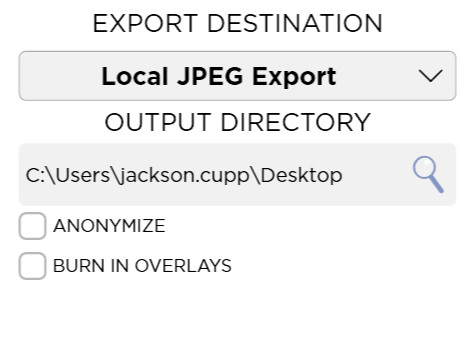
Select a folder on disk by pressing the Magnifying Glass icon next to the Output Location field.
You can choose to burn in overlays by checking the Burn In Overlays checkbox.
You can choose to anonymize the exported data by checking the Anonymize checkbox.