Acquire Review Screen
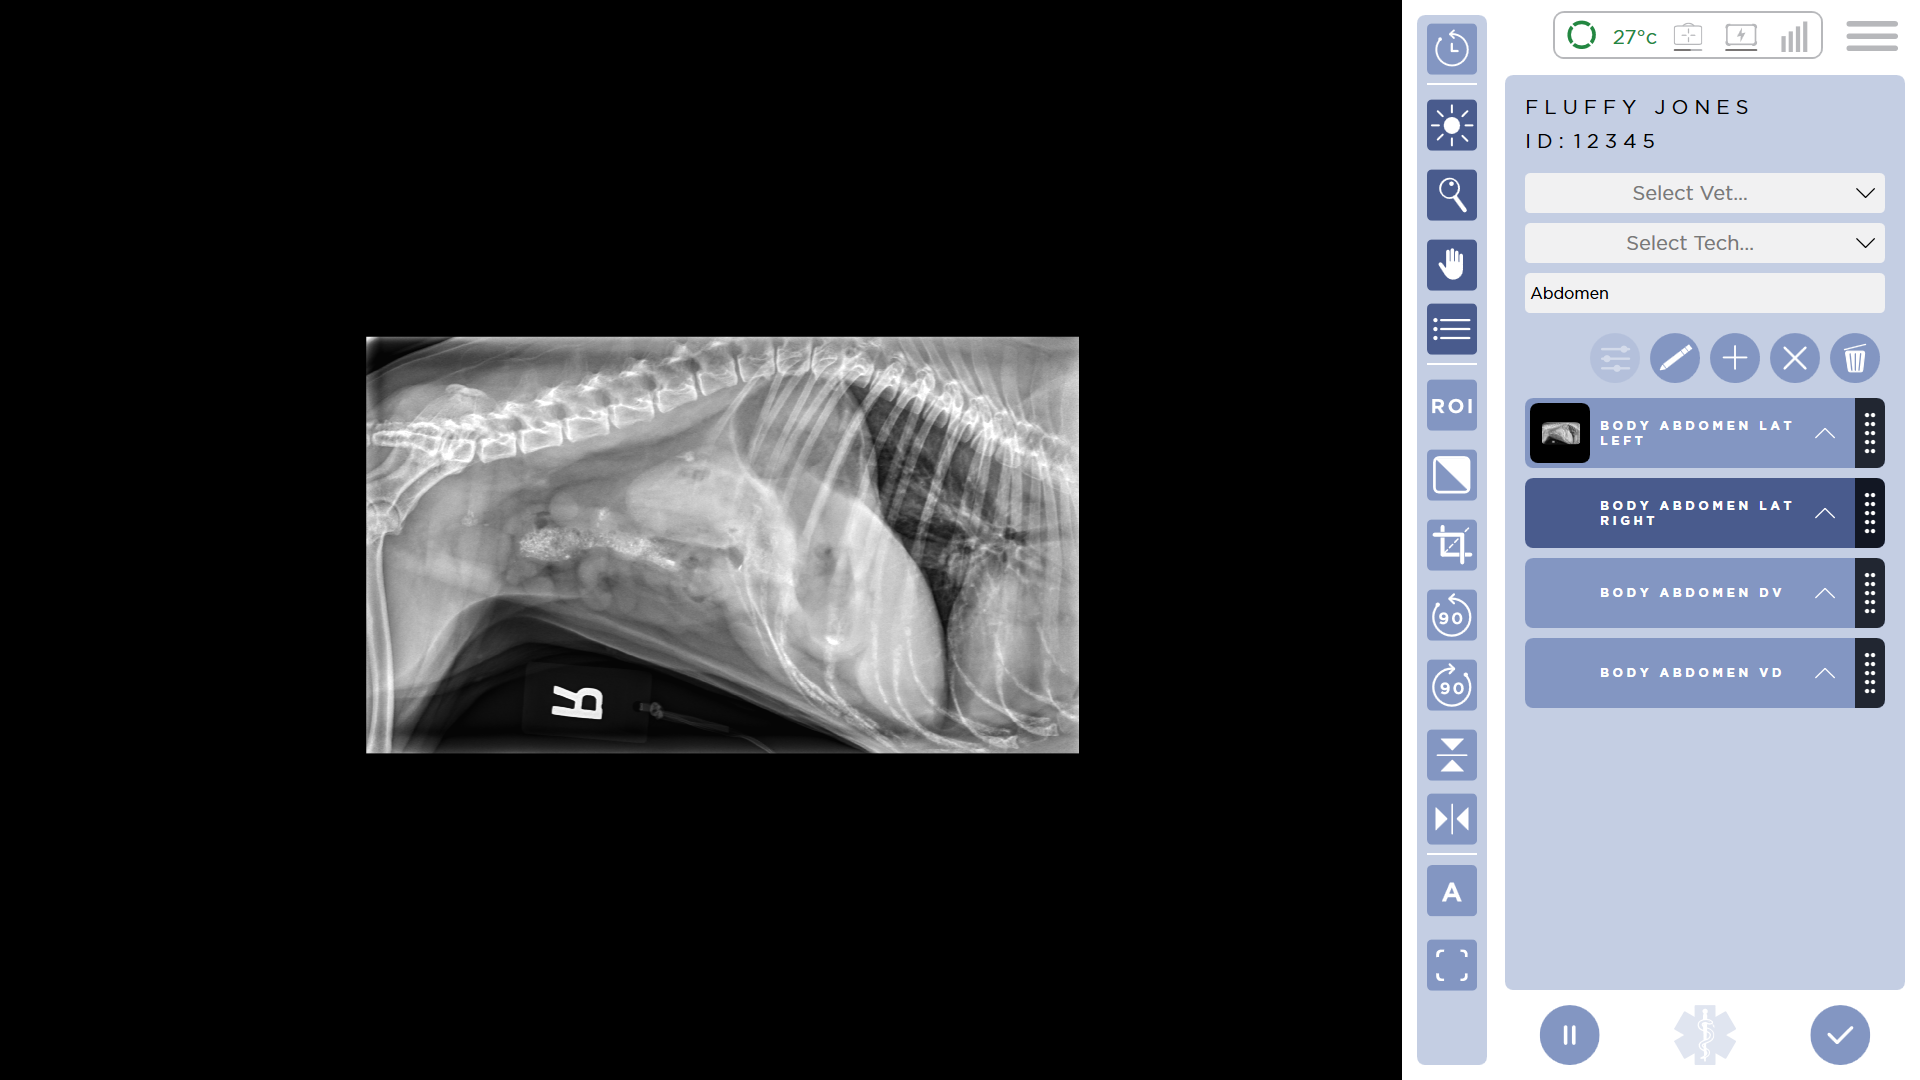
This is the Acquire Review Screen. Here you can acquire, review and edit images. A number of image manipulation tools are available for editing the images. When you first enter the screen, the system will start the acquisition sequence and the Detector Status Icon will spin. When the system is ready for acquisition, the system will make an audible notification and the Detector Status Icon will stop spinning.
If no Detector is connected, or there is a problem starting acquisition, no audible notification will sound. The Detector Status Icon will stop spinning and you can continue to review and edit images but acquisition will be disabled.
The Notification When Ready tone can be configured in the Settings screen under Basic Options. There are a number of tones provided. You can also disable the audible notification entirely.
Study Information
Patient Information
The Patients Name and ID are show on the top of the Control Detector.
Vet and Tech
You can Assign a vet and a tech to the study by selecting them from the dropdowns.
If the Current User is a Tech, the Tech field dropdown will be assigned to the current user. In addition, the current users Default Vet will be assigned to the Vet dropdown.
If the Current User is a Vet, the Vet field dropdown will be assigned to the current user. In addition, the current users Default Tech will be assigned to the Tech dropdown.
A users Default Vet/Tech can be configured in the Users Section in the Settings Screen.
You can make the assignment of the Vet and Tech required in the Settings Screen under Advanced Options. This will make it so that the user is not allowed to end the study until these have been entered.
Study Description
You can edit the Study Description here.
Image Zoom Level

The zoom level is displayed as a percentage in the bottom-right corner of the image viewing area.
The zoom level appears while actively changing the zoom level of the image viewer or after switching images, before fading away.
Overlays

Your can display or hide overlays on top of the viewing area with the Overlay Toggle Button. Overlays can be configured in the Overlay Editor in the Settings Screen.
Overlays are enabled by default. This can be configured in the Settings Screen under Basic Options
Full Screen

You can collapse the shot list to give you more viewing area. Pressing the Full Screen button and the Shot List will collapse. Press the Full Screen button again to bring it back.
Emergency Send

You can send the study directly to the default DICOM Storage Server by pressing the Emergency send button.
Only images that have been modified or acquired during the current study session will be sent to the DICOM Storage Server.
Pause Study

Pressing the Pause study button will save all your changes and return you to the Main Patient Screen.
Ending the Study

Pressing the End Study button will save all of your changes and return you to the Main Patient Screen. In addition, the system will automatically send the study to the configured DICOM Storage Server.
Only images that have been modified or acquired during the current study session will be sent to the DICOM Storage Server.
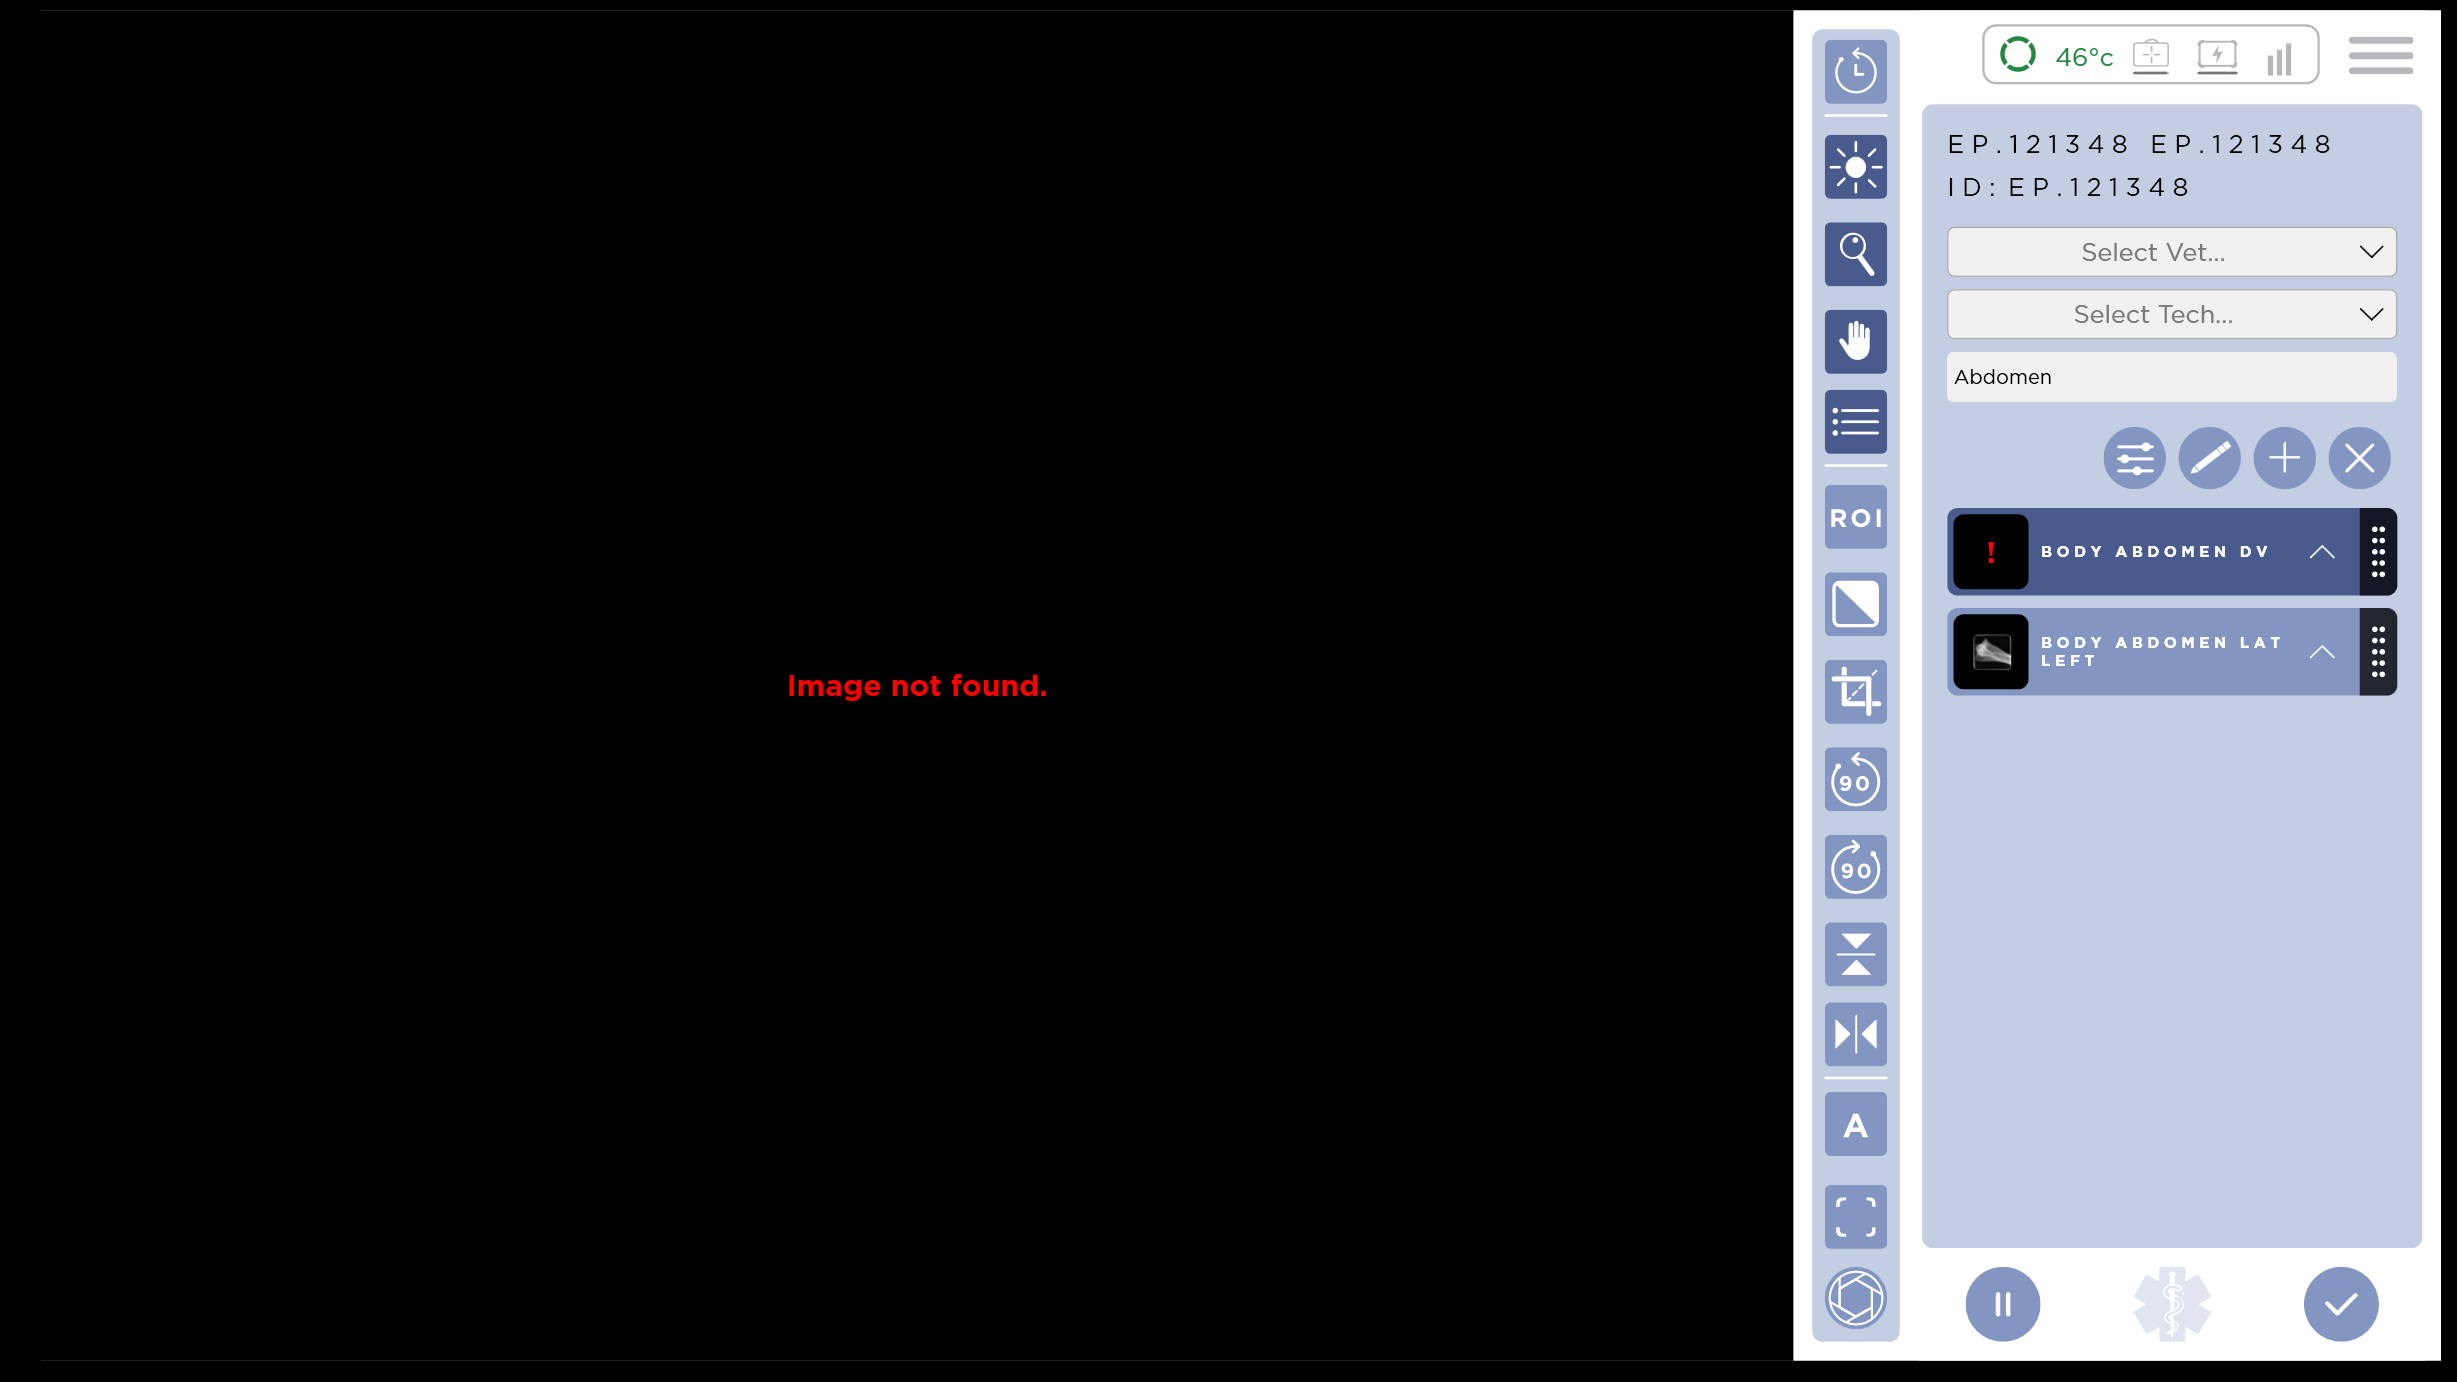
Missing Images
In the unlikely event that the application cannot find the raw image data, the system will display the text "Image not found" where the image would normally display. The thumbnail will be displayed with a red "!".
Possible Causes
This can occur when:
- Image files have been moved or deleted from the storage location
- Database inconsistencies between image records and actual files
Impact
When an image is missing:
- The image cannot be viewed or manipulated
- Image processing tools will be disabled for that image
- The study can still be completed, but the missing image will not be included in any DICOM sends
- Other images in the study are not affected
If you encounter this and this is unexpected please contact customer support.