Acquiring Images
When you enter the Acquire Review Screen, the next available shot in the shot list that does not have an image is automatically selected for acquisition. To select another shot, simply press the desired shot.
Acquisition
When the Detector is ready, expose the Detector. The Detector Status Icon will begin spinning to show that the Detector is busy acquiring the image.

When the acquisition is complete, the image will be assigned to the shot and shown in the review panel. The next shot will automatically be selected for acquisition.
If all shots have an image, a new entry will be placed at the bottom of the shot list. This will be the save Region, Anatomy and View as the last shot in the shot list.
During acquisition, all controls are disabled. They will re-enable after the acquisition is complete.
Auto Crop
By default, all shots for small animal species are cropped automatically by the software.
This can be enabled or disabled for each shot in the Acq Profiles section of the Settings Screen.
Auto Crop Preview
If the setting for this is enabled in the Settings Screen, when you acquire an image, you will see the image uncropped with a blue dashed outline showing the crop the software intends to apply. You can continue acquiring the images if you approve of the crop, or you can immediately draw a new crop rectangle.
This can be enabled or disabled for each shot in the Acq Profiles section of the Settings Screen
Automatic Window / Level
The software will automatically set the window and level of the image.
You can set the default window and level of acquired images in the Settings Screen under Advanced Options.
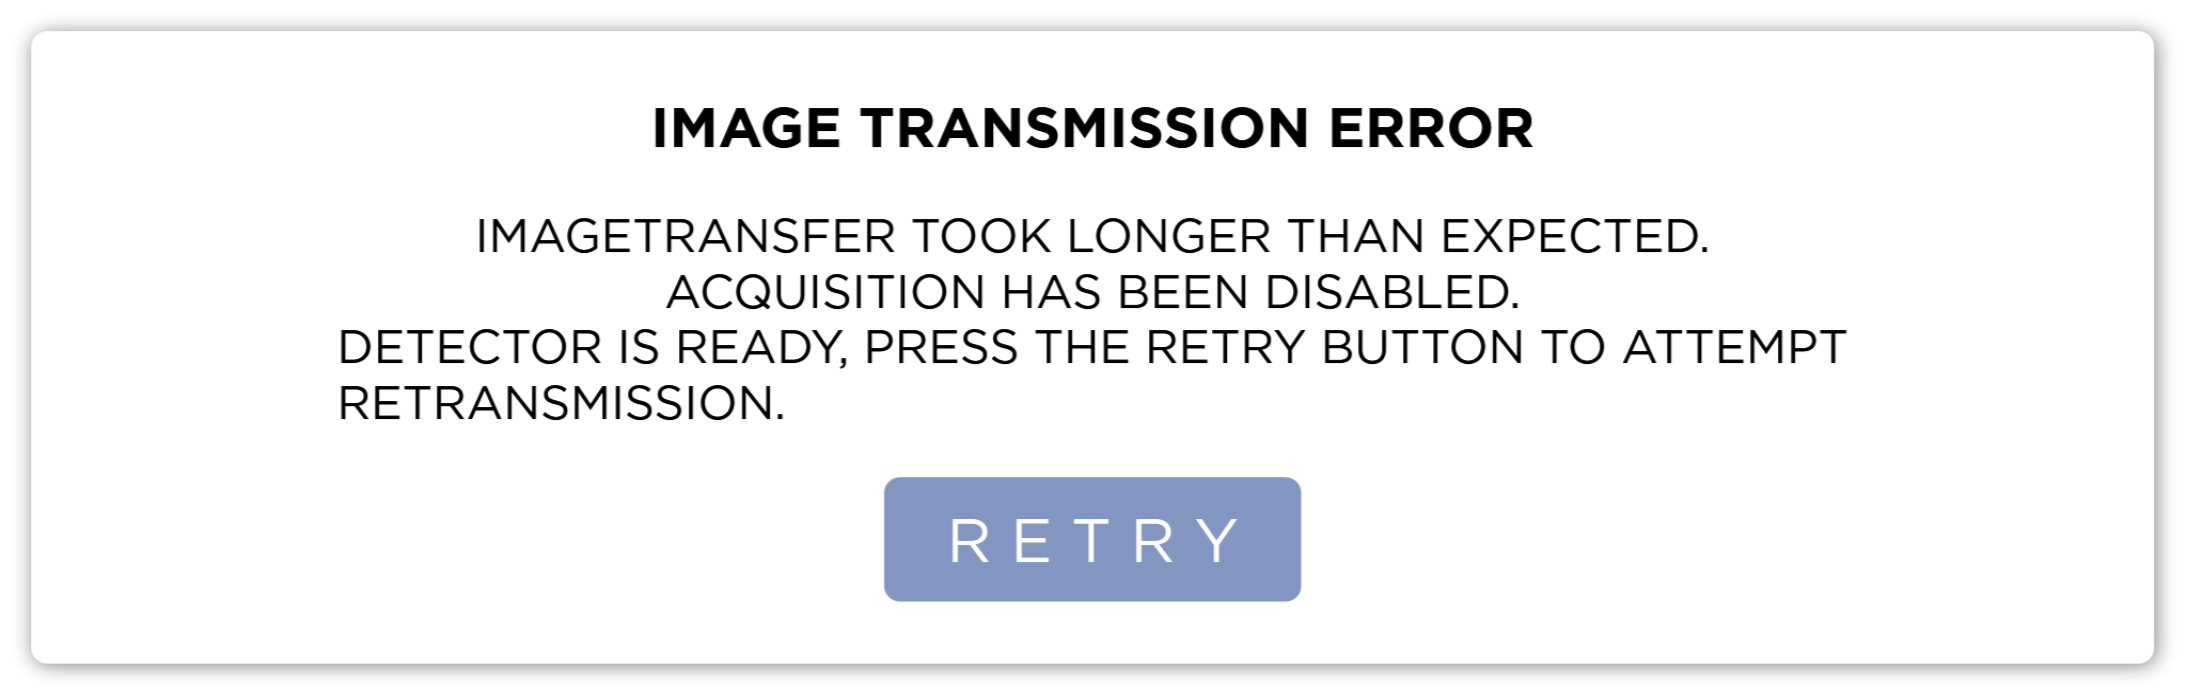
Image Recovery
When the Detector is connected wirelessly, there may be times when the signal to the Detector is too weak to successfully transfer the image. When this happens, you will see the Image Transmission Error.

Bring the Detector closer to the PC.
Once the sensor has reconnected successfully, the Recover button will become active.
Press the Recover button to try to transfer the image again.
The detector stores un-transmitted images in it's memory. This memory is limited. When it is full, acquisition of new images is not possible. To prevent this, this dialog will keep showing until the image has been successfully recovered.
Watermark Notification
The system will show a notification after acquisition if the system's disk usage is within 5% of reaching the High Watermark.
The High and Low Watermark settings can be found in the Settings Screen Under Advanced Options