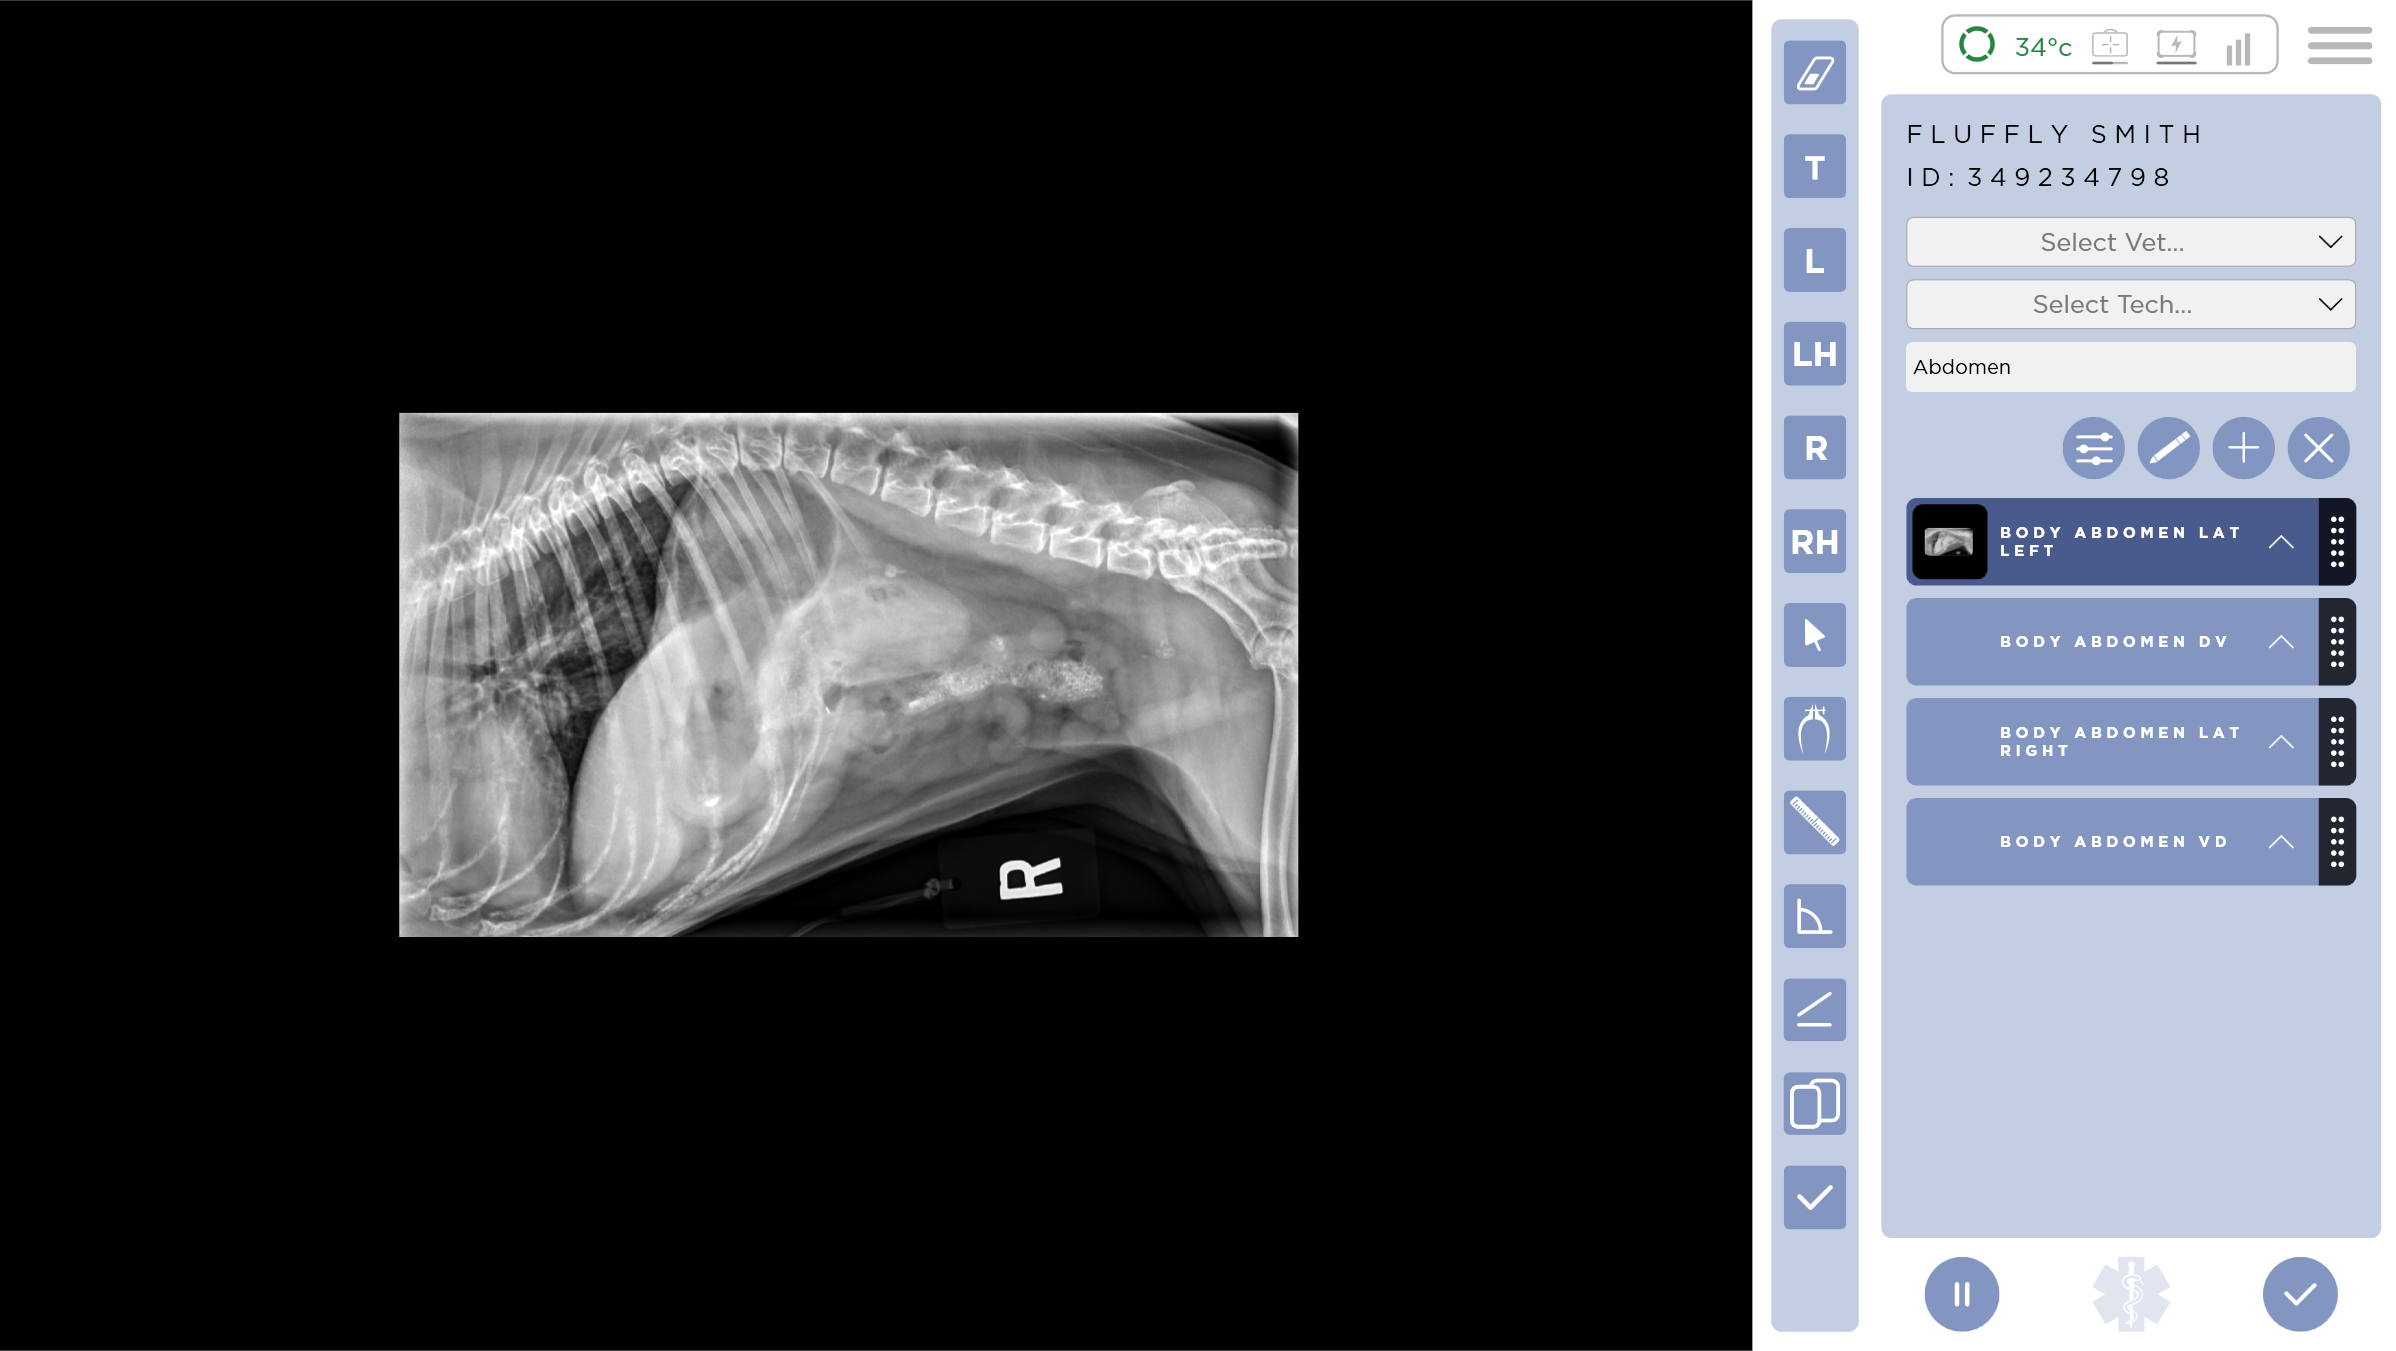
Annotations

Press the Annotations button to enter Annotation mode. The Annotations tool bar will slide up over the Image Manipulation tool bar. In this mode you can add and remove annotation, and modify existing ones.

When you are finished, press the check mark to stop annotating and the Annotation toolbar will slide down out of view.
Erase Annotations

Press the Erase Annotations button to remove all annotations from an image.
Free Text

Press the Free Text Annotation button to add a new Text Annotation to the image.
To edit the content of the Free Text Annotation, right click the annotation with the mouse or long press the annotation with the touch screen. The Modify Free Text Annotation form will open.
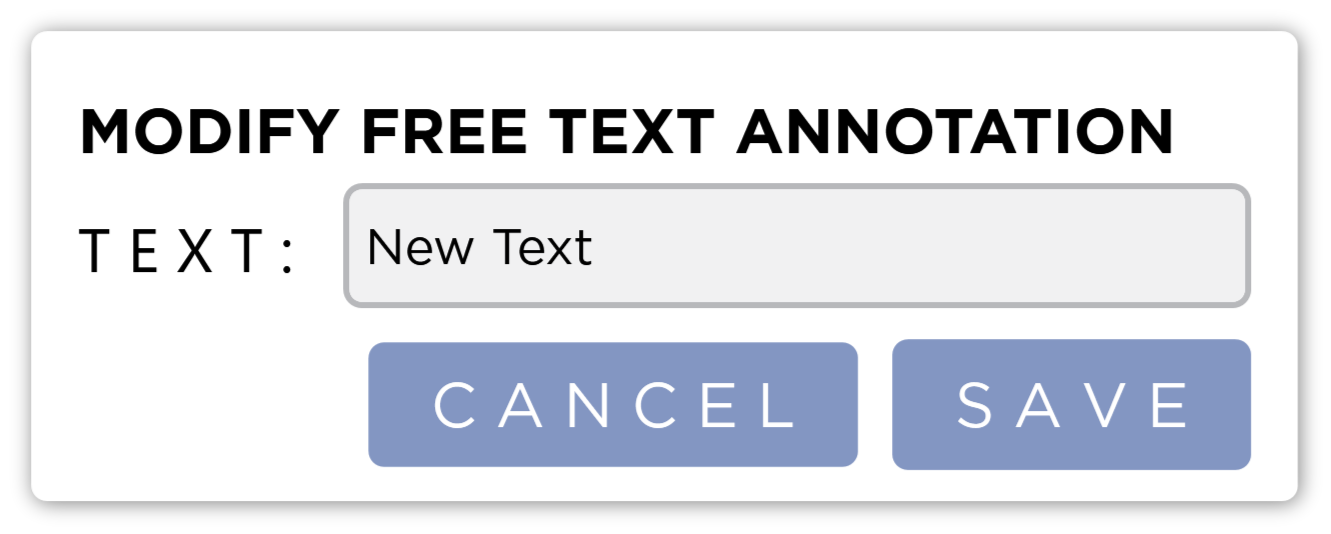
Press the Save button to save the changes and close the form. Press the Cancel button to discarded any changes and close the form.
You can move the annotation by dragging it.
To remove the annotation, simply move it off of the image.
Laterality Markers


You can add Laterality Markers to the Image. You can add markers for Left, Left Hind, Right, and Right Hind. You can press the Marker Button and then press on the location you wish to place the marker. You can also press on the button and drag from it to the place you want to have the marker and release.
Only one marker is allowed per image.
Arrow

To place an arrow annotation, press the Arrow Button. This will place an arrow in the center of the image. To move the arrow, drag it from the center of the line. To move just one end of the arrow, drag from the end you wish to move.
Measurement

To draw a measurement line, press the Measurement button. Press on the image where you want to begin the measurement, and drag to the place you want the measurement to end. The measurement will automatically measure the distance between the two points. You can move the end points by dragging them. You can move the entire annotation by dragging from the middle of the line. You can reposition the measurement text by dragging the text.
You can select the units (cm or mm) in the Settings Screen under Basic Options.
Calibration

By default the image is calibrated using the pixel pitch of the Detector. However, to get the most accurate measurements, you will need to place an object of known length in the image and use the Calibration annotation to calibrate the image. To do this, press the Calibration button. Press on one side of the item you are using for calibration, then drag your finger to the other end of the object. The calibration will start out being measured in pixels. Adjust the ends of the calibration line by dragging them into place.
When you are satisfied with the placement of the Calibration line, long press or right click on the annotation to open the Edit Calibration Form will show.
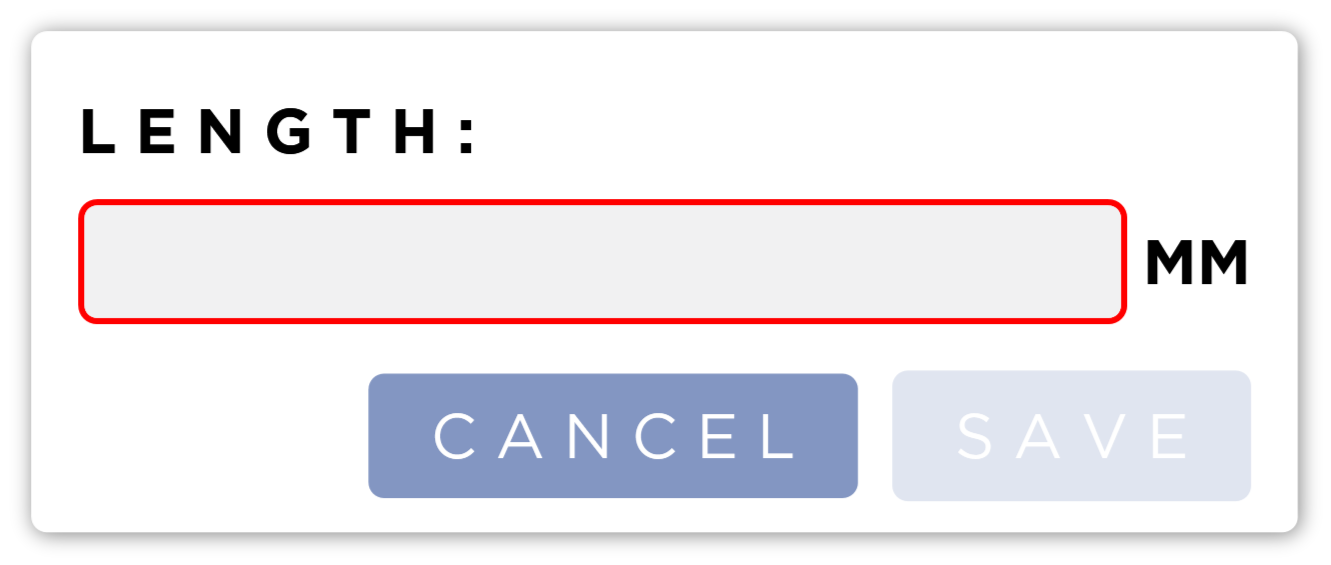
Enter the length of the calibration object and press the Save button and the form will close. Pressing the Cancel button will dismiss the form and not save the edits.
You can move the entire calibration annotation by dragging from the center of the line. You can move the text by dragging the text.
Only one calibration line is allowed per image.
Angle

To measure an angle, press the Angle button. Press on the image where you want to begin the measurement. Drag To the line to the center of the angle and release. Press on the Center point you just released and drag to the last point of the angle. You can move each of the points by dragging them. You can move the entire annotation by dragging from one of the lines. You can move the Angle Measurement text by dragging it.
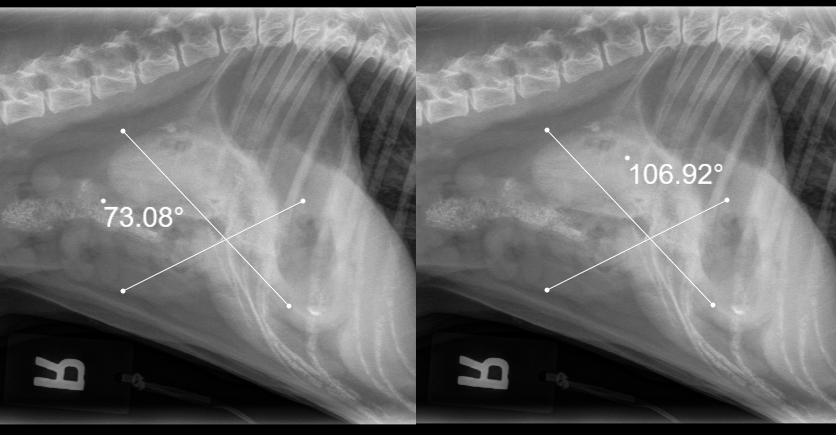
Cobb Angle

To perform a Cobb angle measurement, press the Cobb Angle button. This will place the Cobb angle measurement in the center of the image. You can move each of the points by dragging them. You can move each of the lines independently by dragging from the middle of them. The angle formed by these lines is the Cobb angle. You can move the Angle Measurement text by dragging it.
The two lines form two supplementary angels. The small dot next to the Angle Measurement Text is used to determine which angle is measured.
The Cobb angle was first described in 1948 by American orthopedic surgeon John R Cobb (1903-1967).
Create a copy

This will create a copy of the current image and its annotations and add it below the shot in the shot list.