Studies
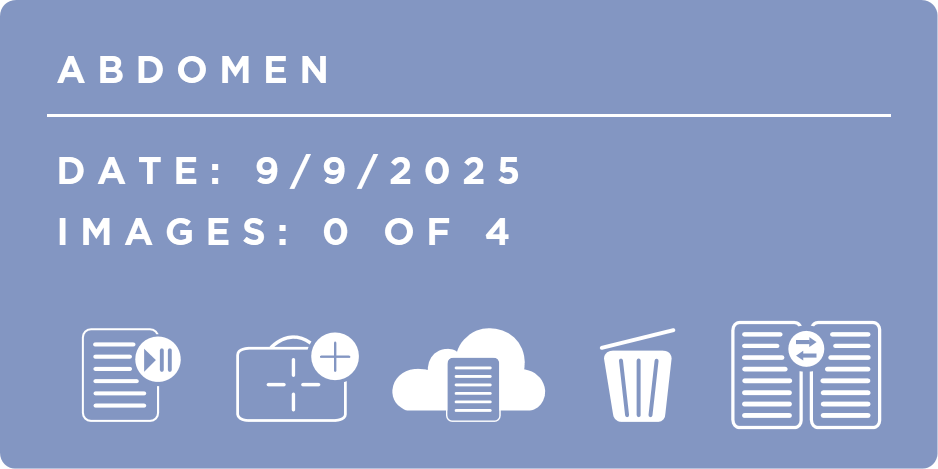
Studies are listed for each patient. Each study is titled by its Study Description. It also lists the Date the study was created on, and the number of Images that have been DICOM sent out of the total number of Images in the study. There are four buttons on each Study. Resume Study, Shotlist, AIS, and Delete Study.
Resume Study

This button will take you to the Acquire Review Screen.
If there are no shots in the study, it will take you to the Shotlist screen to add shots.
Add Shots

This button will take you to the Shotlist screen where you can manage the Study's Shotlist.
You can configure a prompt to be shown to the user when the study already has images acquired. This setting Prompt When Adding Shots can be found in the Settings Screen Under Intermediate Options. This can be useful in helping prevent acquiring images under the wrong study.
AIS

This button will send the study to AIS and open a browser to request a consult. Study information will be automatically filled in when the consult opens. Users will need to log in to AIS to complete the consult request (unless already logged in).

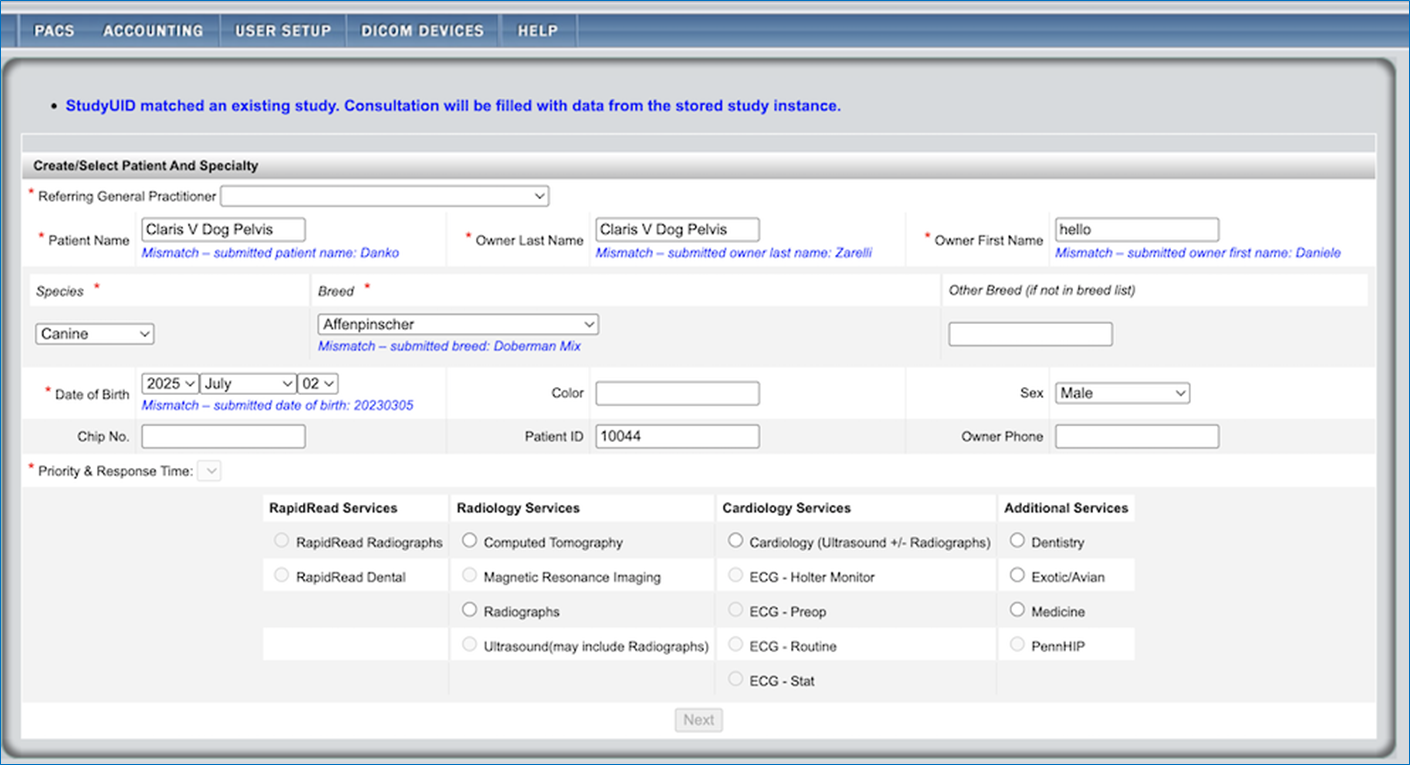
This button will only be visible if there is a DICOM Storage Server configured with the Supports AIS option selected.
Once logged in, users can utilize AIS's RapidRead - an AI-powered diagnostic support tool that provides accurate radiology reports within minutes. RapidRead delivers at minimum 95% accuracy, combining artificial intelligence with veterinary radiologist expertise to help confirm diagnoses and avoid missed findings.
Delete

This button will delete the study and all of its images.
This will delete all of the study's images.
Study Comparison
This button will will open a dialog, allowing users to select a study to compare against this one. This study will be used as the Primary Study in the comparison. The selected study will be set as the Comparison study.
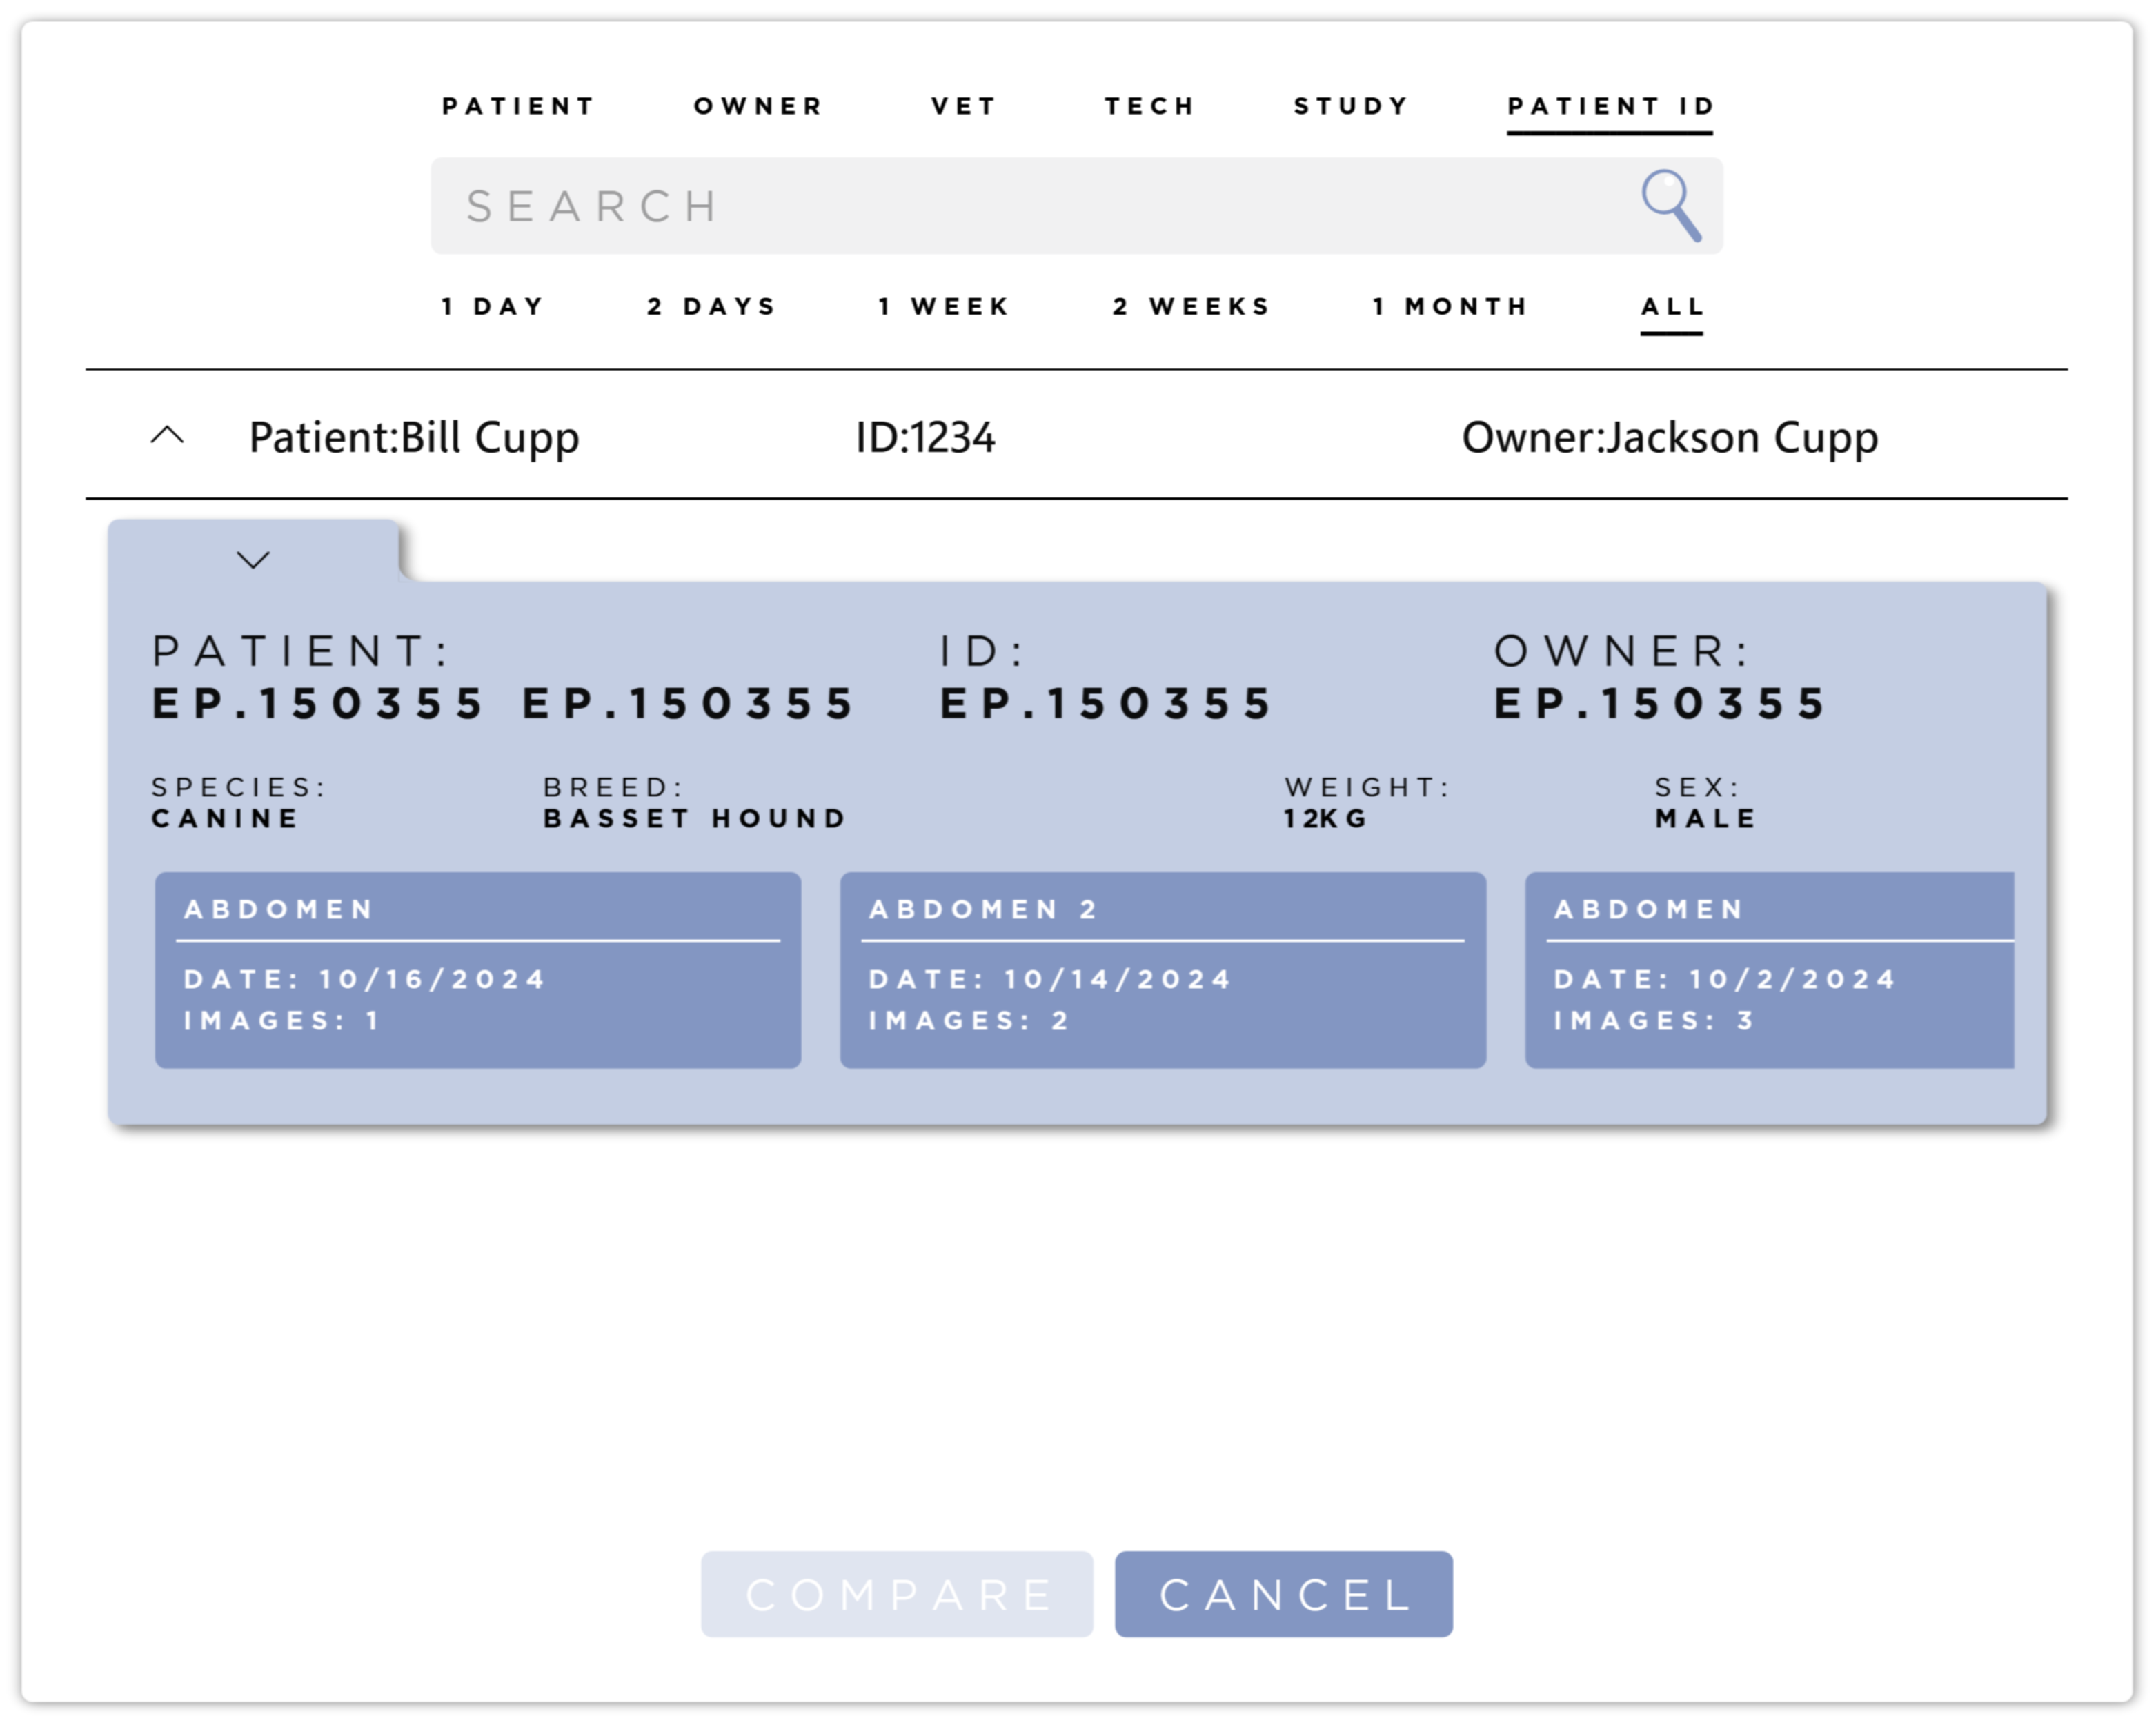
By default the Patient of the Primary Study is selected. Select a study and press the Compare button to load the two studies into the Acquire Review Screen in Two Up Mode. For more information see the Study Comparison section.
You can search for other studies with the search bar at the top of the dialog.
The Primary Study and Studies with no images are purposefully omitted from the results.
The search defaults are the same as the user's preferences. This may cause the Patient of the Primary Study to be excluded from the results. You can manually change the search options.