Acquire Review Screen
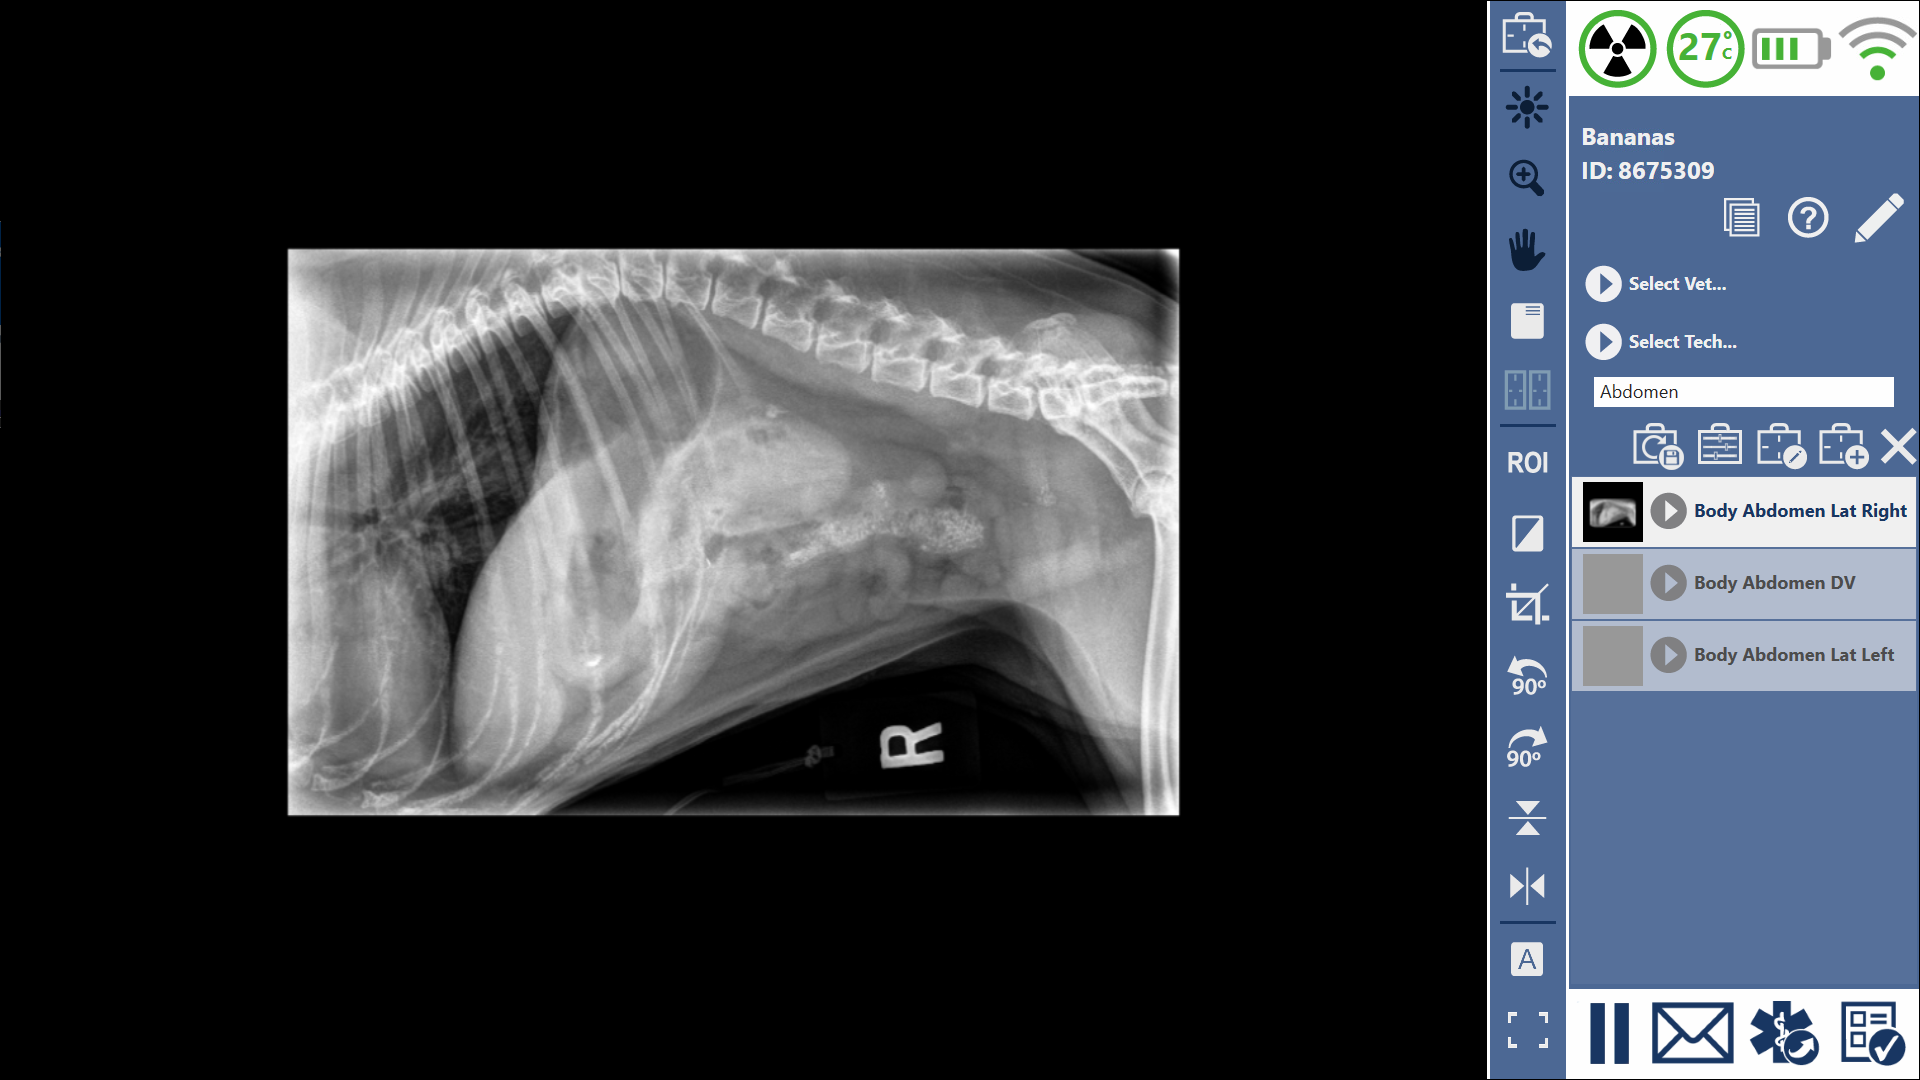
This is the Acquire Review screen. Here you can acquire, review, and edit images. A number of image manipulation tools are available for editing the images.
When you first enter the screen, the system will begin the acquisition sequence and the detector status icon will spin. When the system is ready for acquisition, it will make an audible notification and the detector status icon will stop spinning.
If no Detector is connected, or there is a problem starting acquisition, no audible notification will sound. The Detector Status icon will stop spinning and you can continue to review and edit images but acquisition will be disabled.
The Notification When Ready tone can be configured in the Settings screen under Basic Options. There are a few different tones to choose from or you can disable the audible notification entirely.
Acquisition Screen Options
Help

Selecting this icon will expand the Help menu.

Icon Help
This will display an overview of the currently displayed icons on the screen and label them with their functions.
Training
This will open a browser and take you to this website.
Support Portal
This will open a browser and take you to the Sound Experience Support Portal.
Suggest a Feature
This will open a browser and take you to Sound's UserVoice where you can suggest a feature for SmartDR and see features other users have suggested.
We develop this software for you the user. Without your feedback we could not continue to improve SmartDR. We are always taking suggestions for new features and improvement we can make. If you have an idea for the software, please, don't hesitate to let us know!
Edit Patient

This will open the Edit Patient Form. From here you can edit your patient's information such as name, breed, sex, etc. To save your changes, click the Save button. To discard your changes and dismiss the edit screen, click the Cancel button.
The Save button is only active if changes have been made.
Species cannot be edited once a Patient has been created.
AAHA Study Info
This option will open the AAHA Study Info Panel.

Here you can select one of three Levels of Sedation, the Thickness of the Radiographed Area, the units for the Thickness, and if a Grid is in use.
After you've entered the information press the Save button. Pressing the Cancel button will discard your changes and close the panel.
The default units of measurement are cm but you can be change this in the Basic Options tab of the settings screen.
Study Information
Patient Information
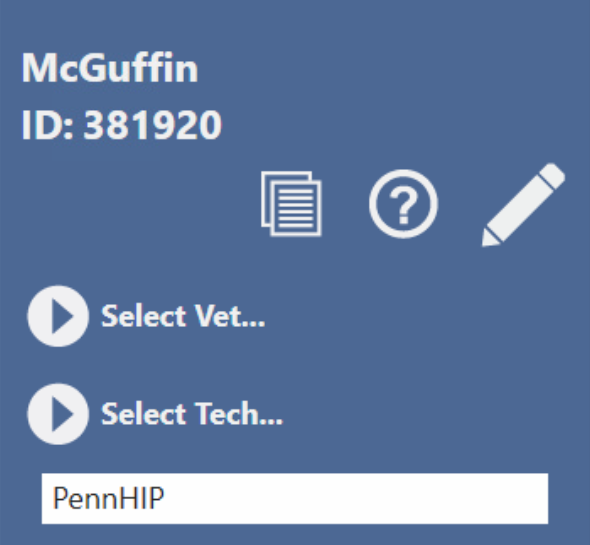
The patient's name and ID are shown on the top of the control panel.
Vet and Tech
You can assign a vet and a tech to the study by selecting their name(s) from the dropdowns.
You can modify which DICOM tag the Vet entry will populate in the Intermediate options tab of settings.
If the current user is a Tech, the Tech field will be assigned to the current user. In addition, the current user'ss default Vet will be assigned to the Vet field.
If the current user is a Vet, the vet field will be assigned to the current user. In addition, the current users default Tech will be assigned to the Tech field.
A user's default Vet/Tech can be configured in the Users Section in the Settings Screen.
You can make the assignment of the Vet and Tech required in the Settings Screen under Advanced Options. This will make it so that the user is not allowed to end the study until these have been entered.
Study Description
In addition to the shotlist screen for the study, you can edit the Study Description here.
Overlays

You can display or hide the overlays on top of the viewing area with the Overlay Toggle button. Overlays can be configured in the Overlay Editor in the settings screen.
Overlays are enabled by default. This can be configured in the settings screen under Basic Options.
Full Screen

You can collapse the shot list panel to give you more viewing area. Press the Full Screen button and the shot list panel will slide away and the Full Screen icon will change, press the button again to slide the toolbar back out.
Emergency Send
You can send the study directly to the default DICOM Storage Server without having to exit the acquisition screen.
Pause Study

Pressing the Pause Study button will save all your changes and return you to the Main Patient Screen without archiving your acquired images.
Since a paused study's images don't archive, you'll have to interact with the study again to move the images to your storage server. You can either open the study again and use the End Study button, or you can manually send the study from the patient list.
Ending the Study

Pressing the End Study button will save all of your changes and return you to the Main Patient Screen. In addition, the system will automatically send the study to the configured DICOM Storage Server.