Calibration

This is where you perform a gain calibration. Gain calibrations are important maintenence for your detector and should be performed if you start to see a degradation in image quality. Below we'll go over how to perform a gain calibration.
If you're using an Equine system, start by resting your panel against a stable surface that you can expose safely, try to make it as square to your x-ray unit as possible.
Now let's make sure our entire panel is exposed, open your collimator all the way and set your technique and press the start  button. If you're performed a calibration in the past, the parameters tab should have the appropriate settings for you to use. If not, the software will guide us to the correct technique.
Take your first shot and watch for feedback from the software. If our technique is off the calibration will cancel and we'll get a notification and we can adjust accordingly.

Every failed shot will cancel the calibration. Make the recommended adjustments to your technique and start again.
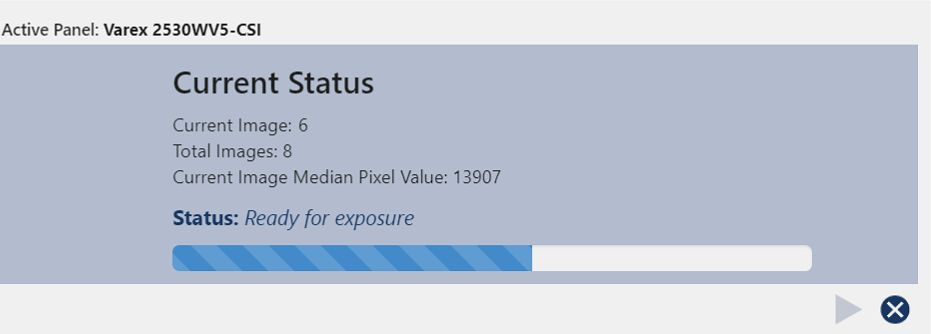
Once you've got your technique dialed in just watch the Current Status section of the calibration screen and expose your detector when it's ready.
At the end of the calibration, you'll receive another dialog indicating that the calibration was performed successfully.
We highly recommend entering the technique used for your calibration in the Parameters screen.

It's very highly recommended that you follow up a calibration with some test images to make sure your image quality has improved and not degraded further. We recommend creating a test patient and exposing some small electronics or a cadaver to start, then you can move on to an actual patient.