SD Detectors
This section shows the Calibration History when the currently active detector is a SD Detector. Here, you can preform detector calibration.
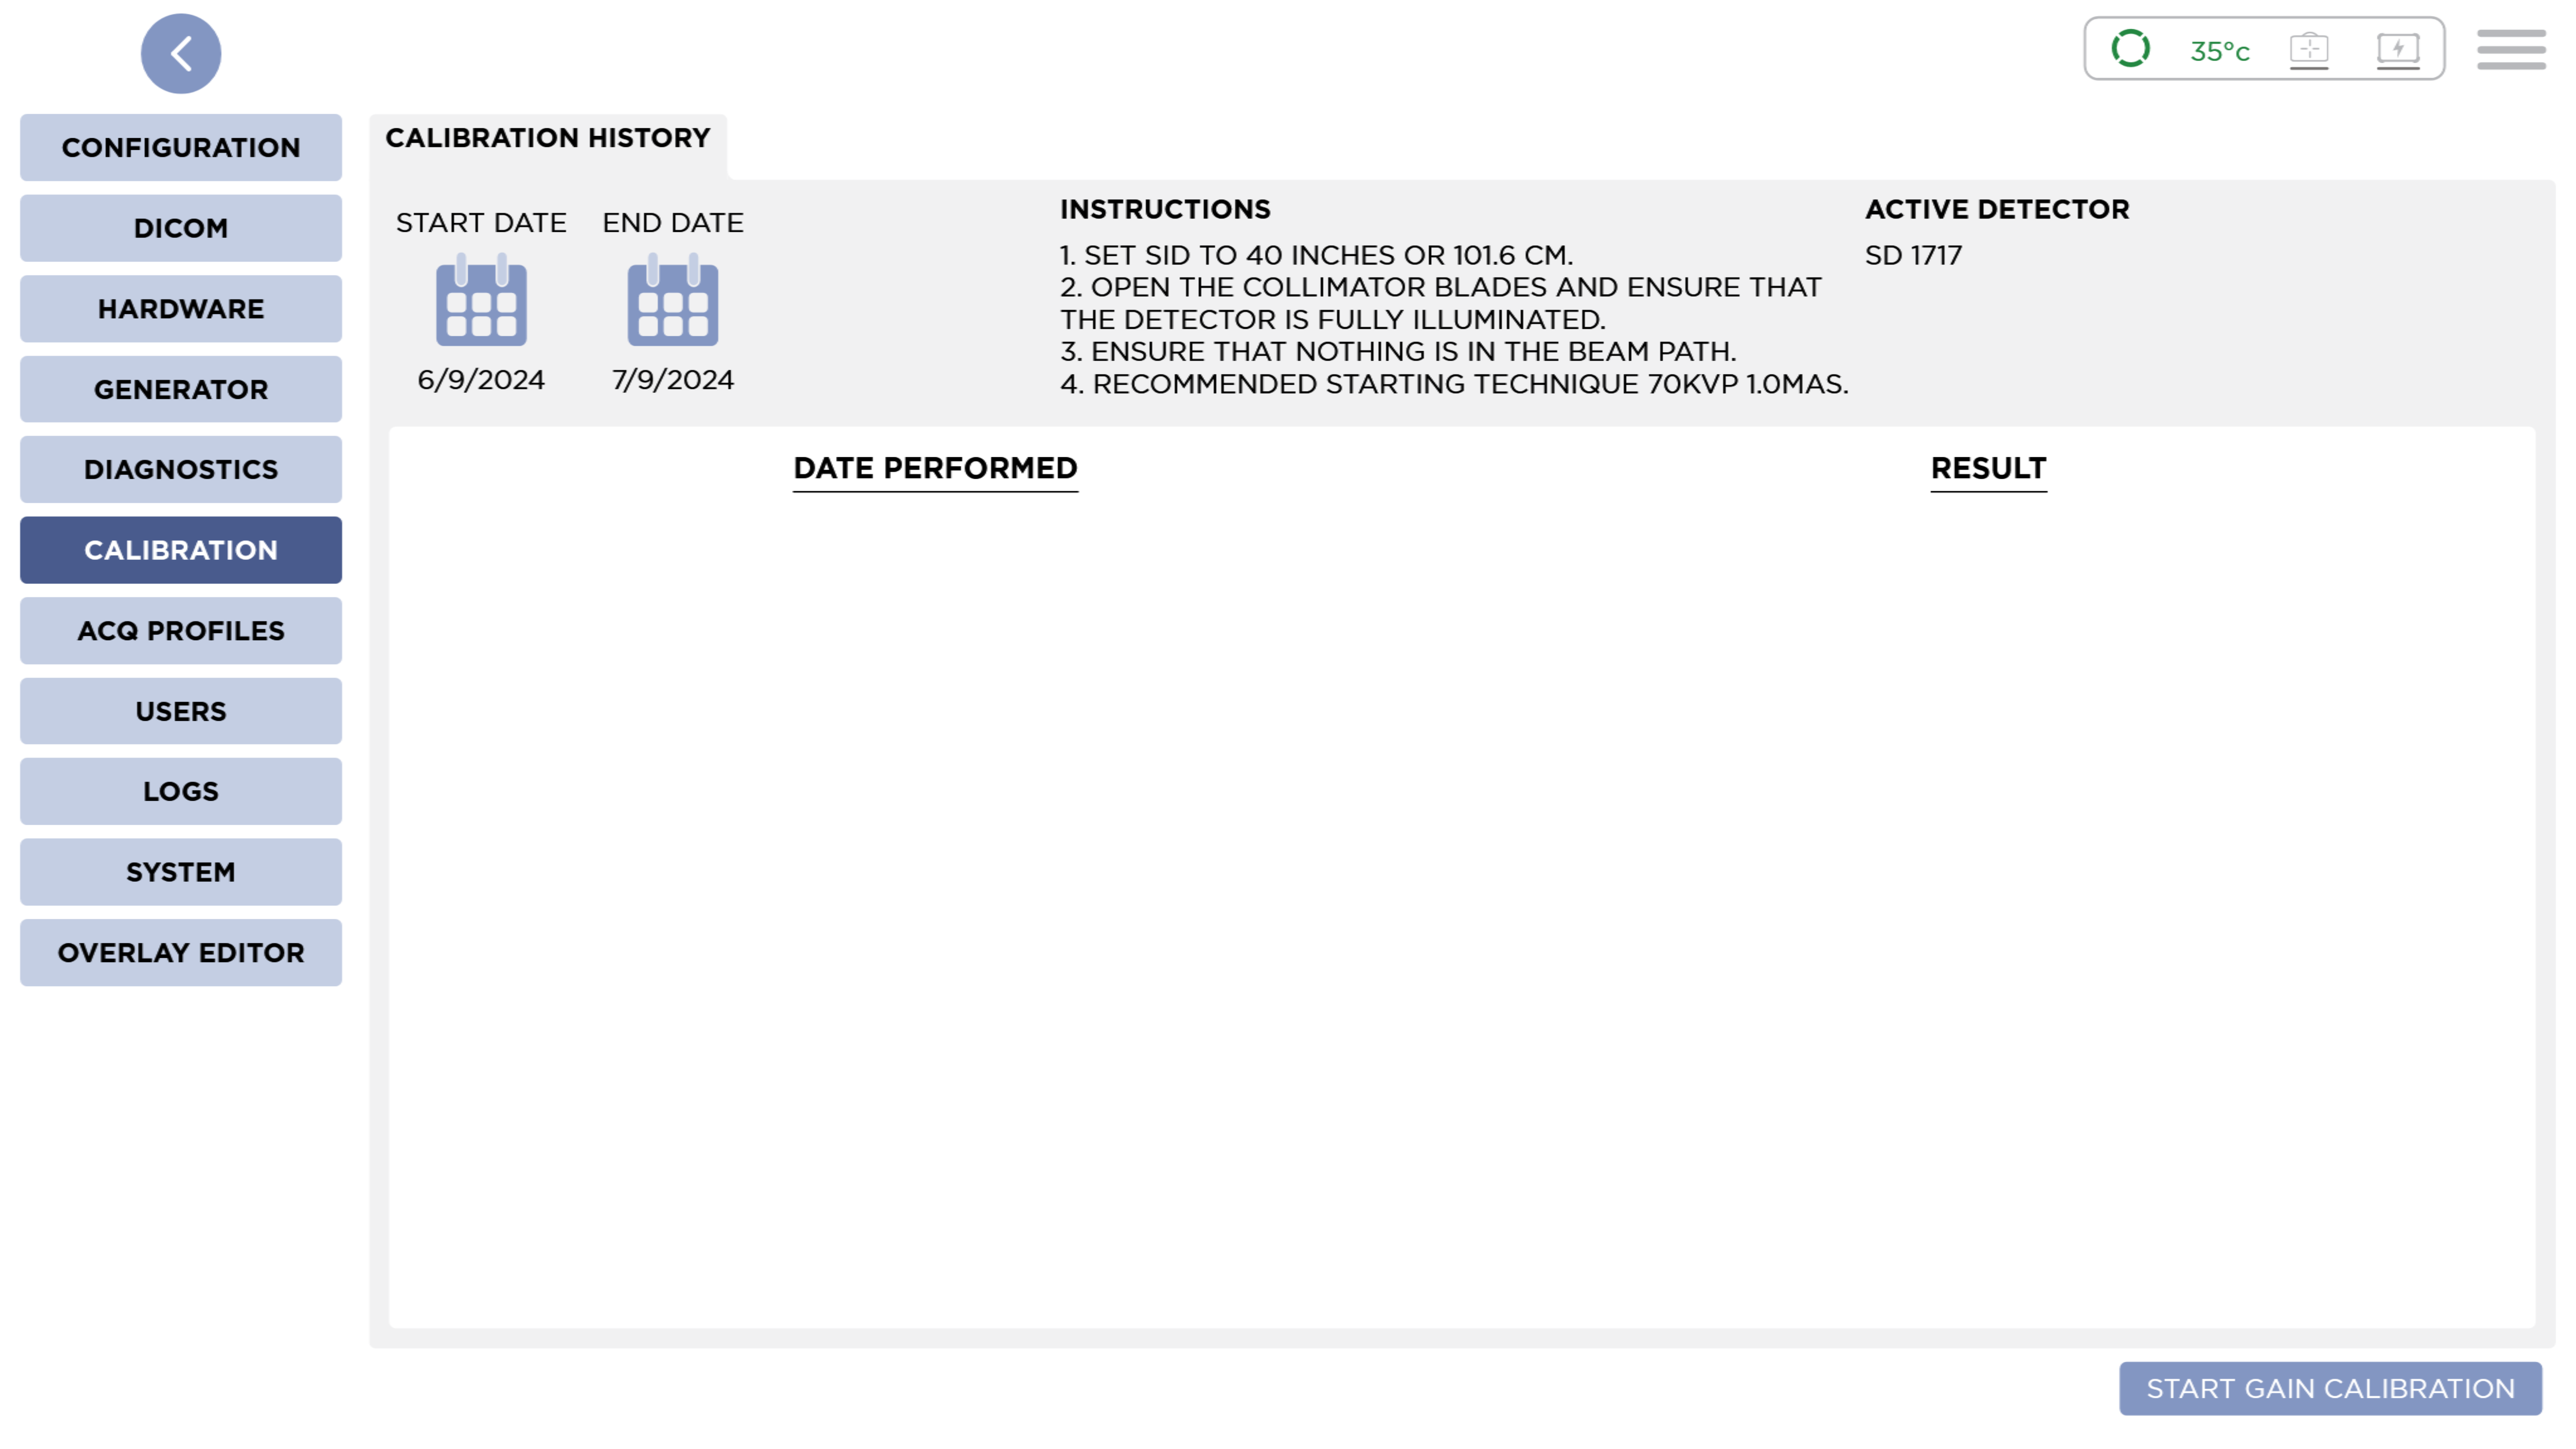
Calibration History
This is where you can view a list of calibrations performed on the Detector and their result. By default, only calibrations preformed in the past month are shown. You can change the date range with the Start and End Date buttons.
Performing a Calibration
To Perform a Calibration, press the Start Gain Calibration button. A Calibration Dialog will be shown.
Set the Technique on your X-Ray unit.
- Stationary: 70 kVp an 1 mAs at an SID of 40" (101.6cm)
- Mobile: 70 kVp and 1 mAs at an SID of 30" (76.2cm)
These are a starting point and may need to be adjusted for you're particular X-Ray unit.
These are a starting point and may need to be adjusted for you're particular X-Ray unit.
When a Generator has been configured. The starting technique will be set automatically. Additionally, controls for kVp and mAs are shown, allowing you to adjust technique as you proceed through the calibration.
Any obstructions such as phantoms, soft sleeves or covers, table tops, grids, x-ray tunnels, etc, should be removed. Nothing should be between the primary beam and the surface of the detector.
The detector should be fully exposed. The collimator should be fully open.
Neither the detector nor the X-Ray unit should be held by a person. Both need to remain in exact positioning during the calibration procedure with people as far away from the primary beam as possible.
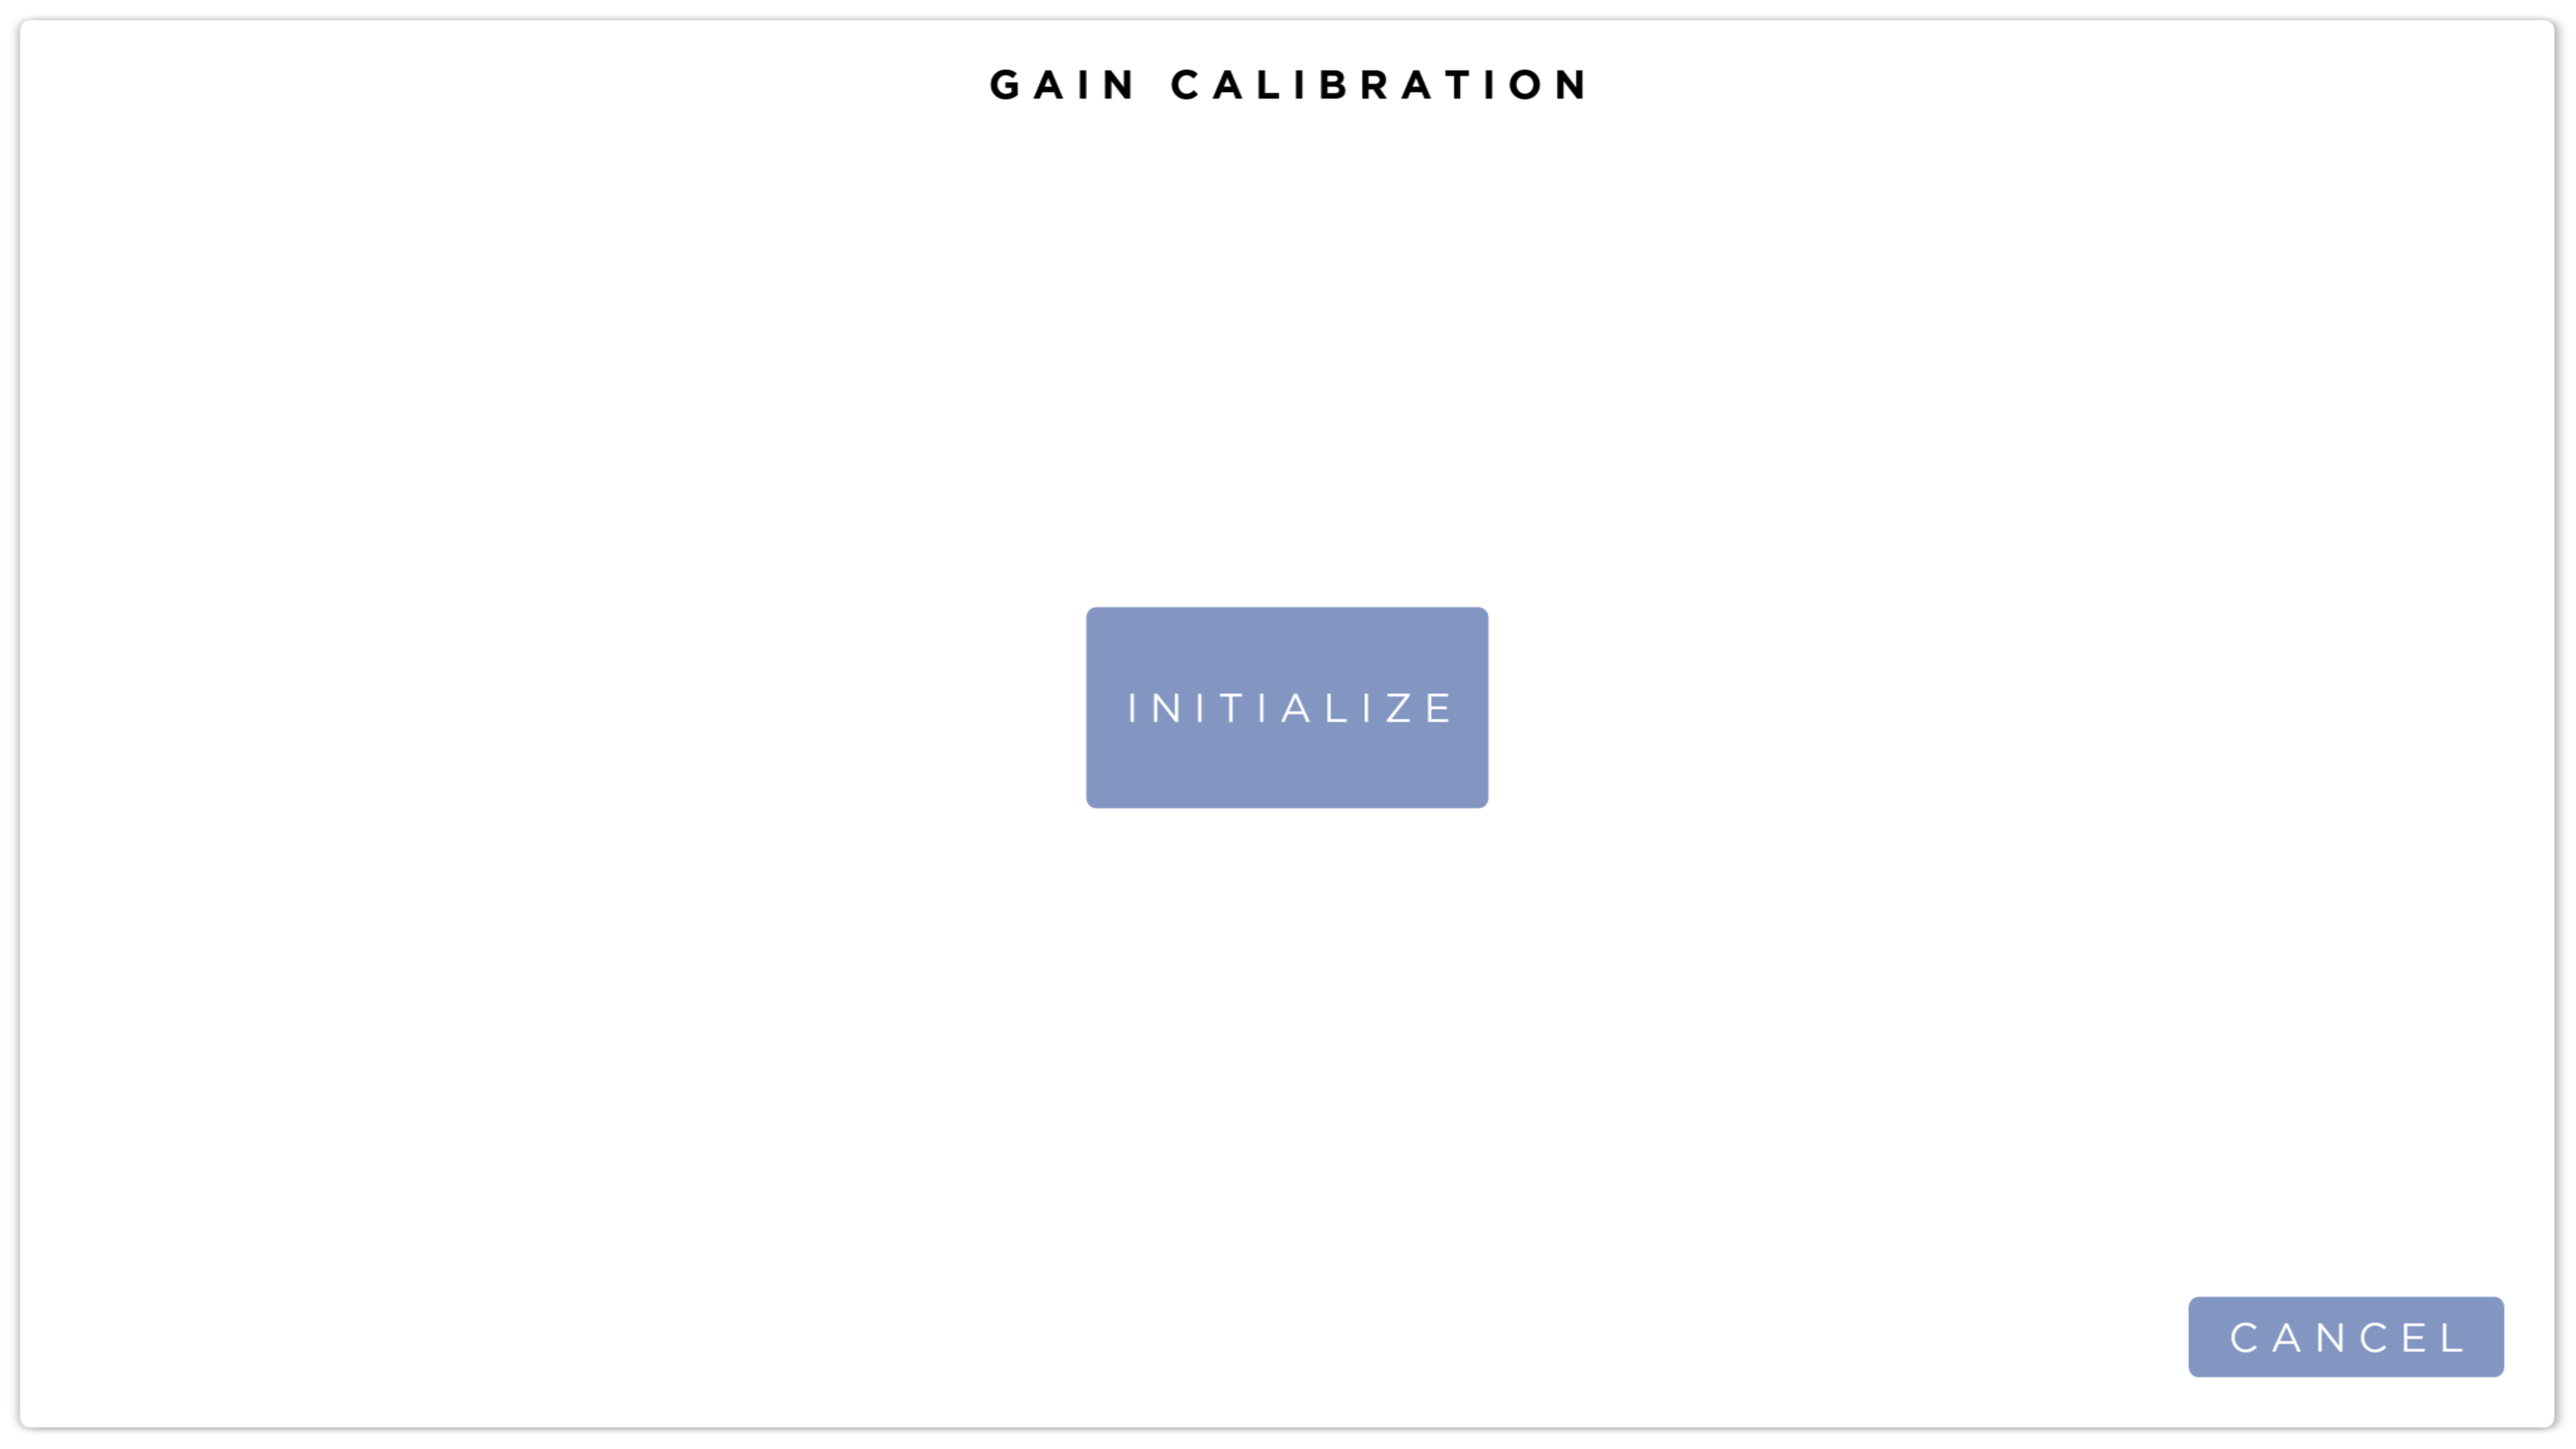
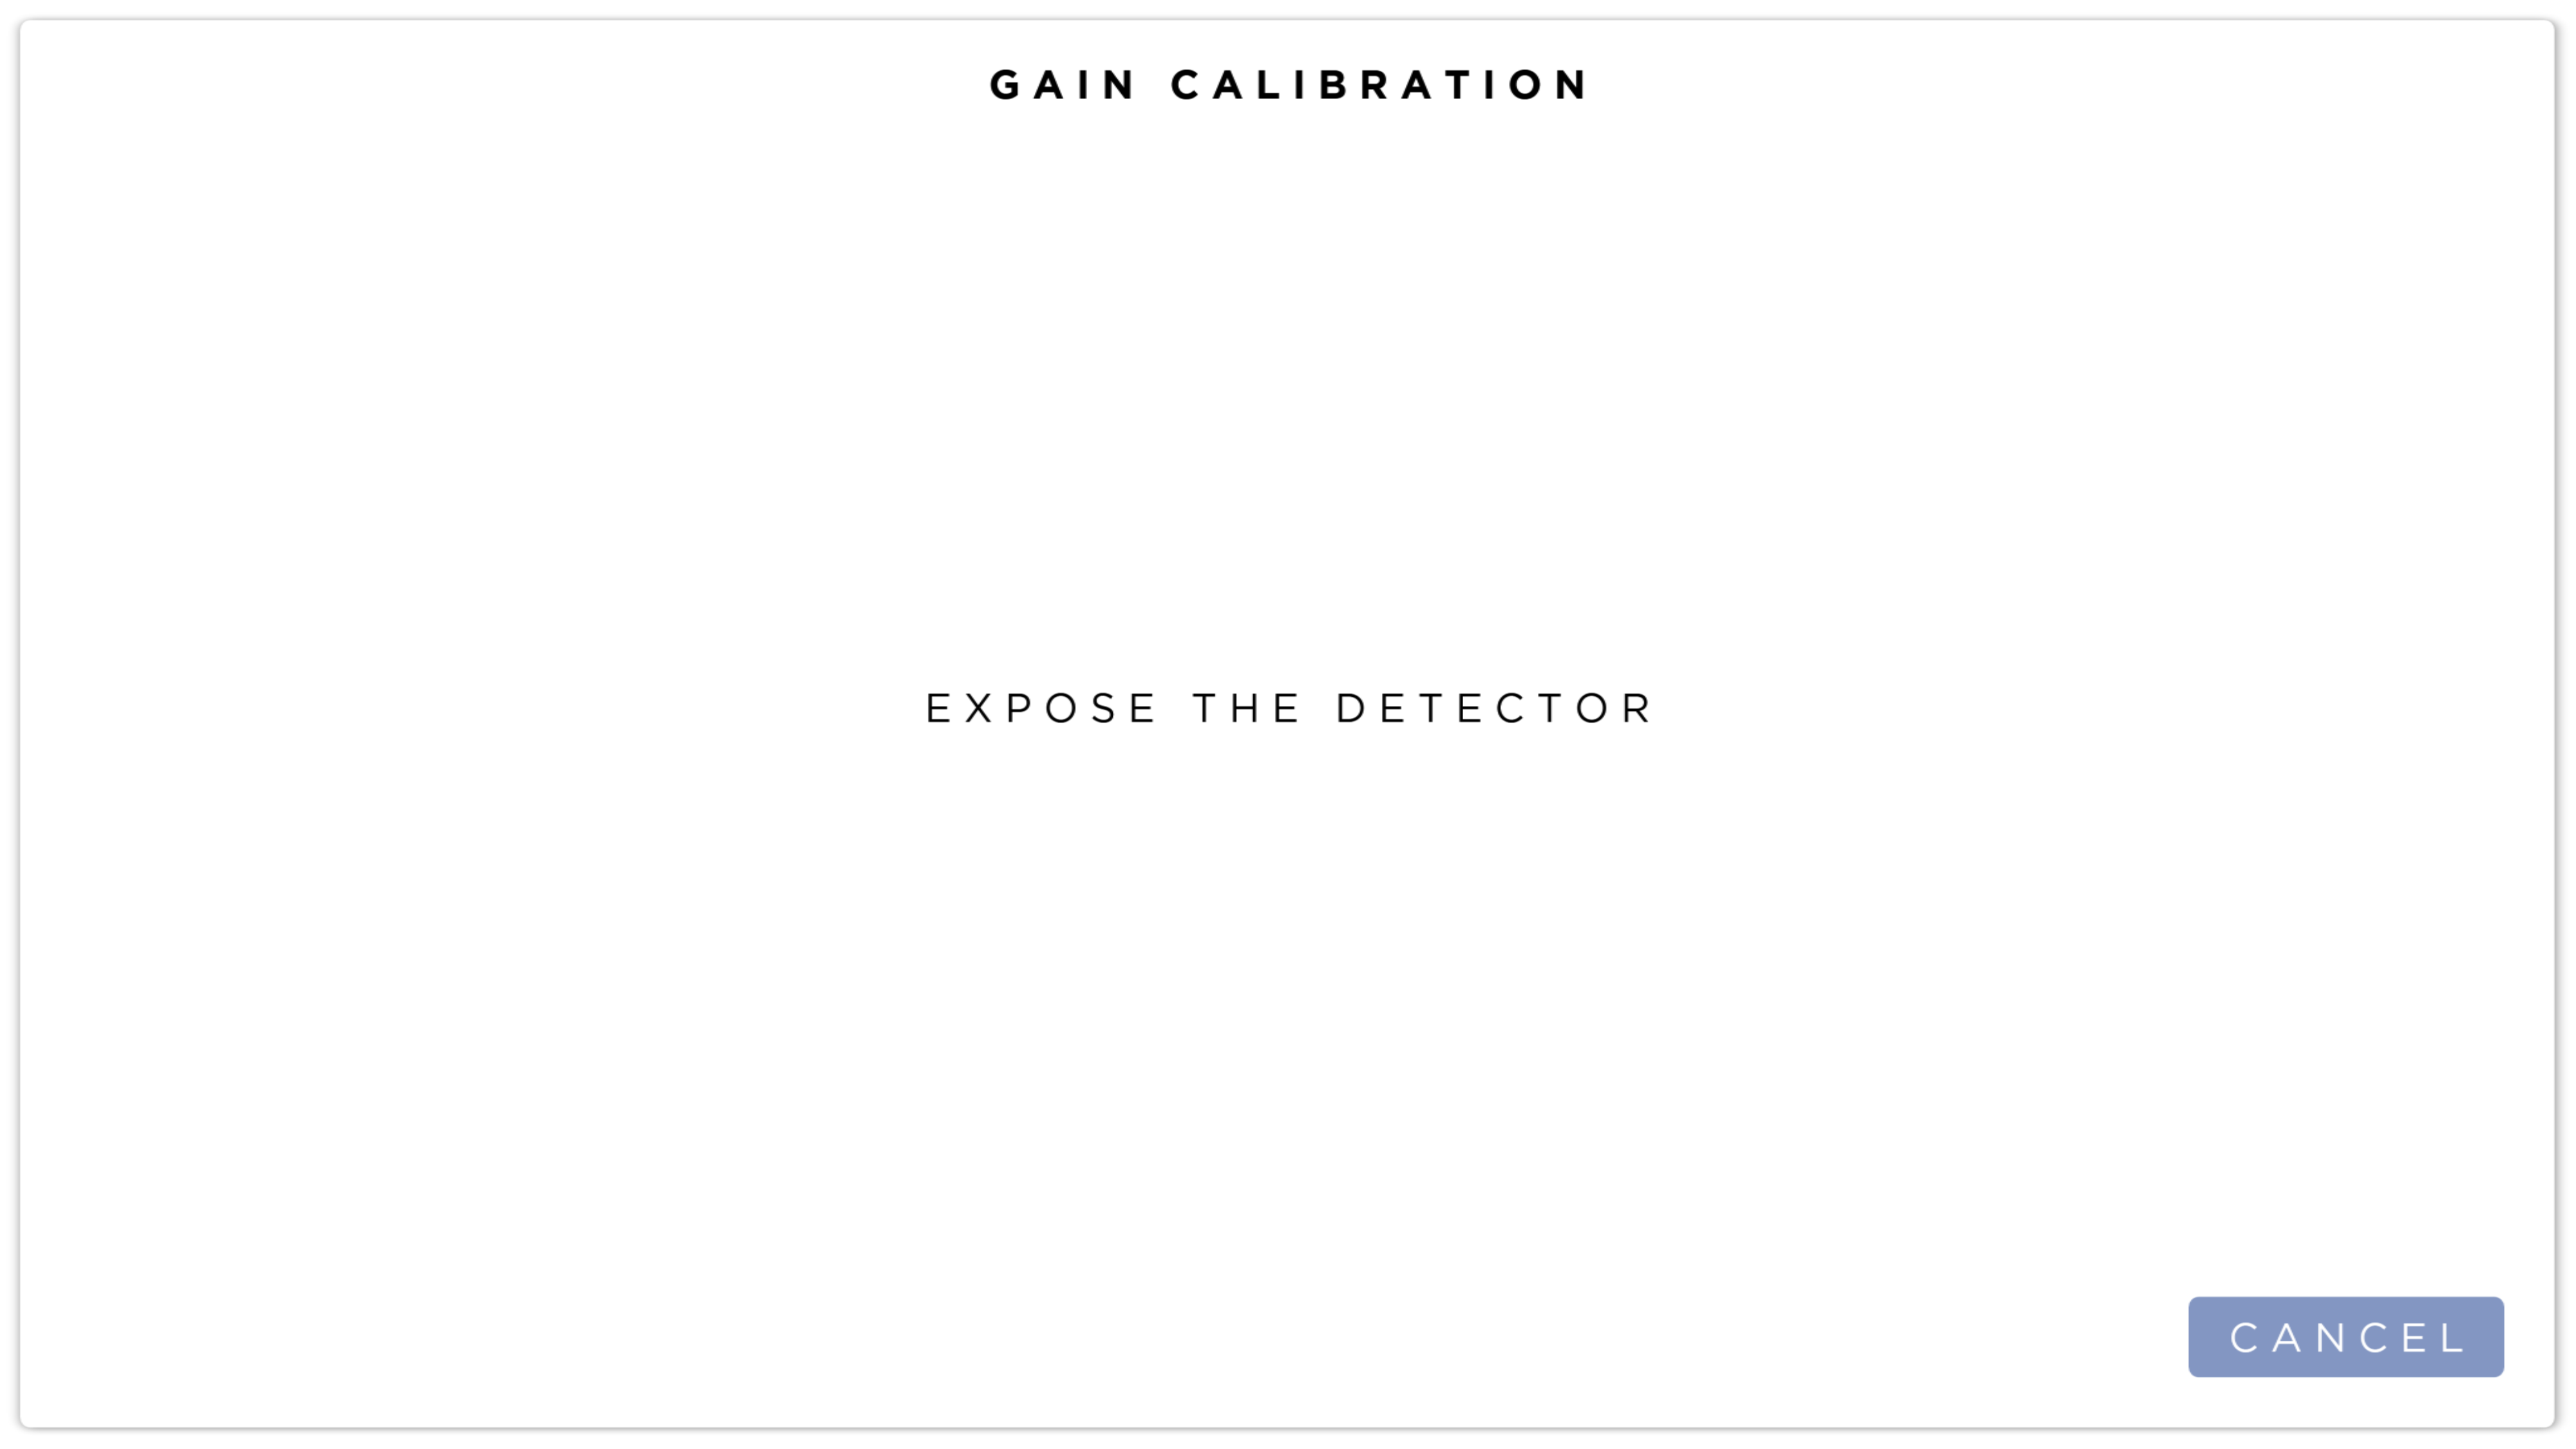
When the system is Ready for Calibration, press the Initialize Button. You can also abort the calibration by pressing the Cancel button.

There are two phases to this calibration, the Adjustment Phase and the Acquisition Phase.
Adjustment Phase
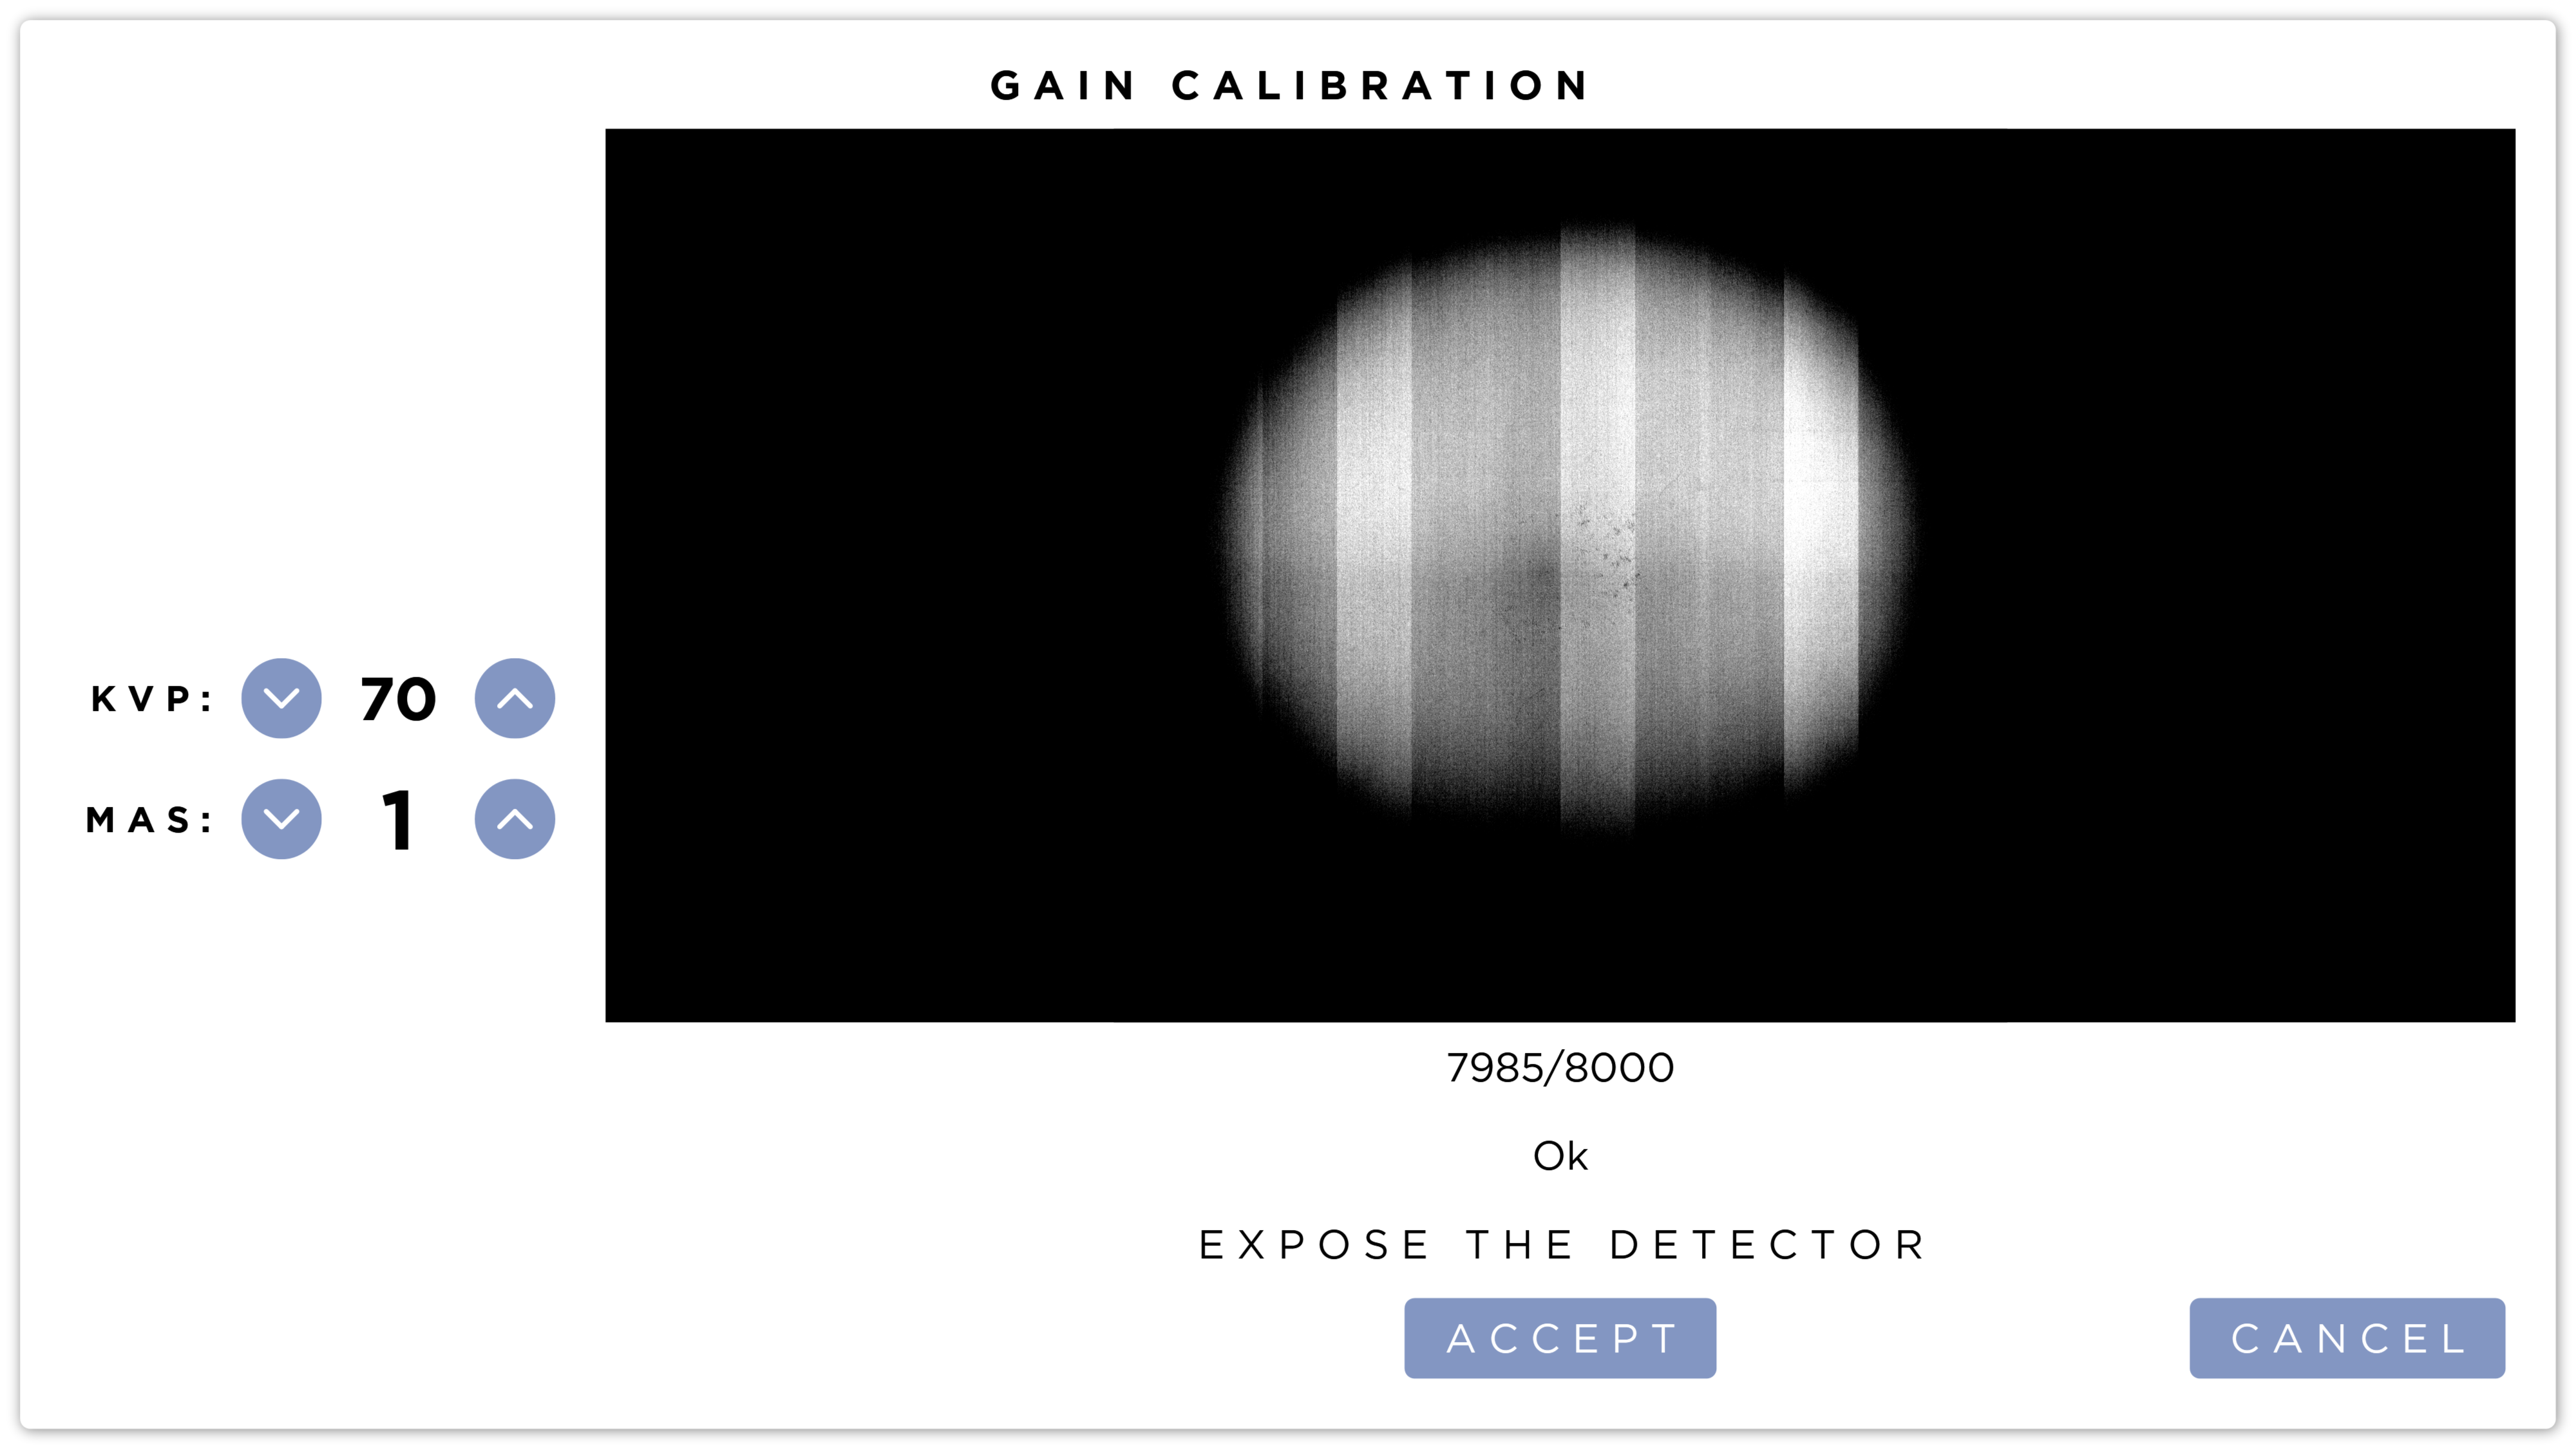
In the Adjustment phase you will expose the detector to see if the technique will achieve the Target Pixel Value, this can be repeated until the Target Pixel Value has been achieved.
The goal is to reach the Target Pixel Values without going over.
When the Detector is ready for exposure, expose the detector. The system will automatically capture the image.
Once the image has been acquired, it will be shown. Here you can review the image for things like objects between the primary beam and the surface of the detector, collimation, or alignment issues.
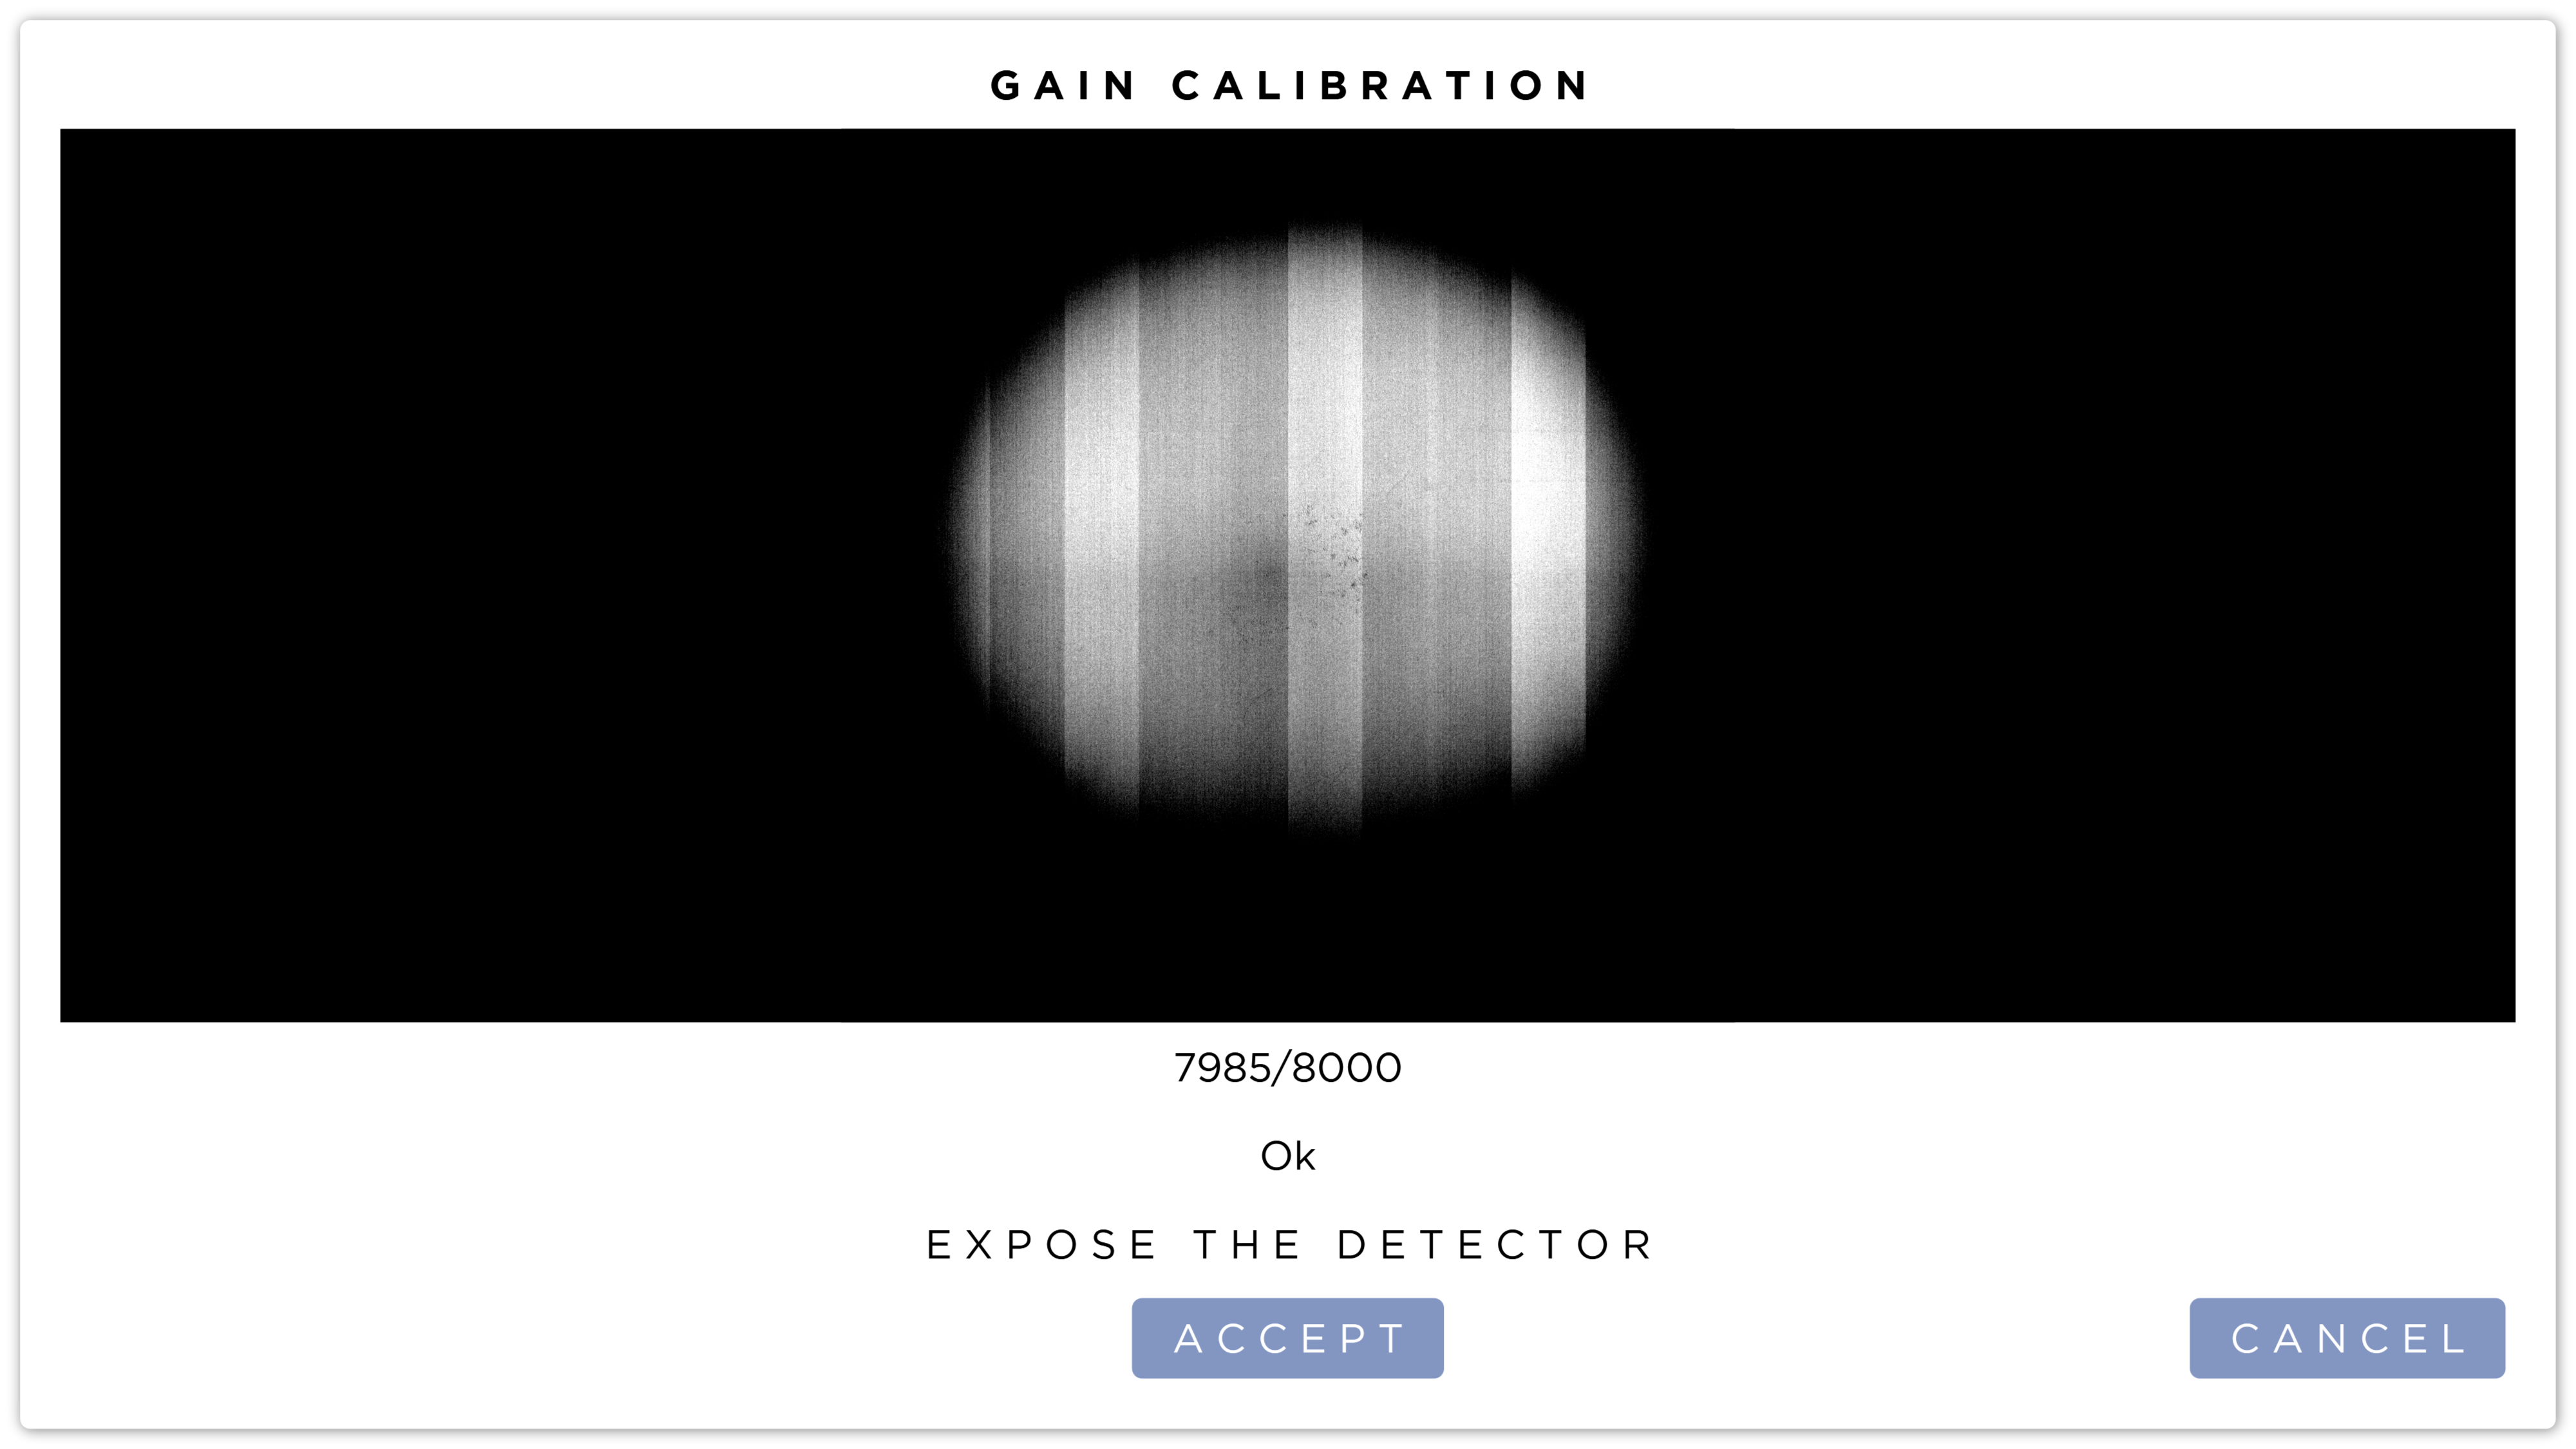
Below the image is the Achieved and Target Pixel Value.
When the Achieved Pixel Value is Under the Target Pixel Value, the exposure was too low. Increase the technique and expose the detector again.
When the Achieved Pixel Value is Over the Targe Pixel Value, the exposure was too high. Reduce the technique and expose the detector again.
When the Achieved Pixel value is within ±5% of the Target Pixel Values, the Accept button will be enabled. Pressing this button will advanced the Calibration to the next phase.
Acquisition Phase
In the Acquisition Phase you will acquire multiple images to produce the gain calibration.
It is important to not change the technique or position of the detector of X-Ray Unit during this phase.
When the Detector is ready for exposure, expose the detector. The system will automatically capture the image.
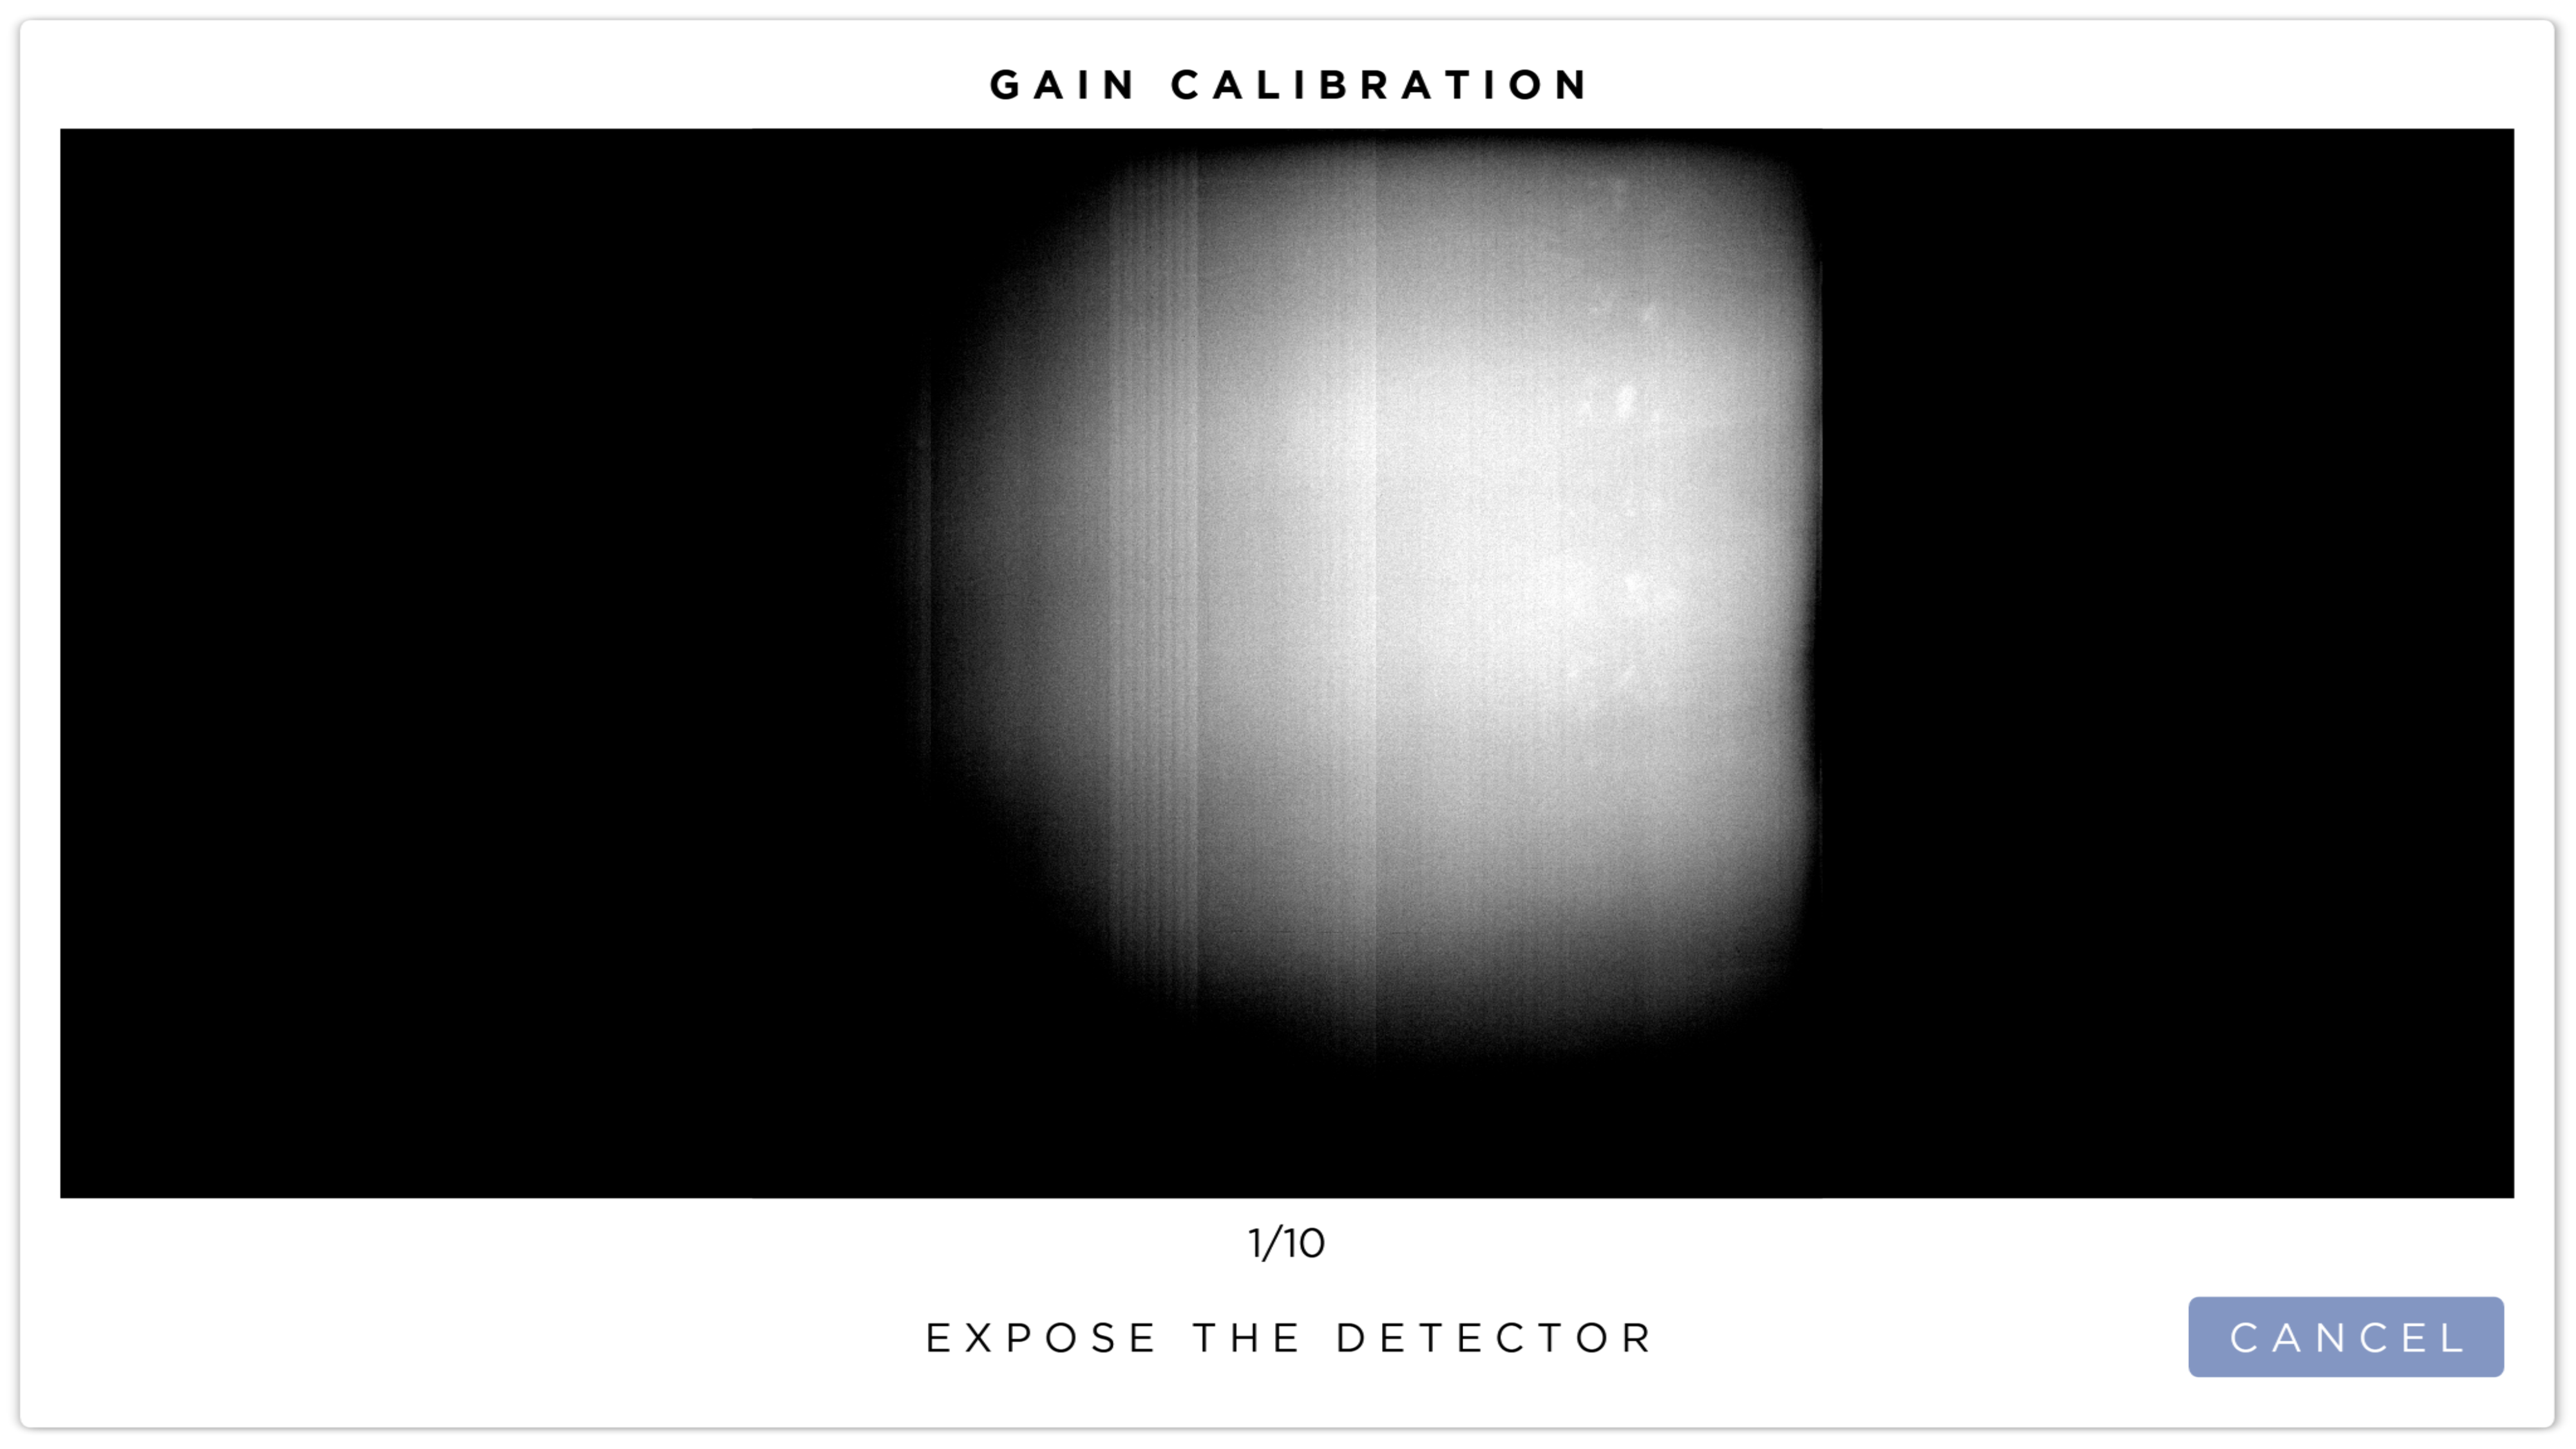
Below the image you will see a count of the number of images that have been captured and a total number of images to be captured.
Continue to expose the detector until all images have been captured.
Once all images have been captured, the software will automatically generate the gain.
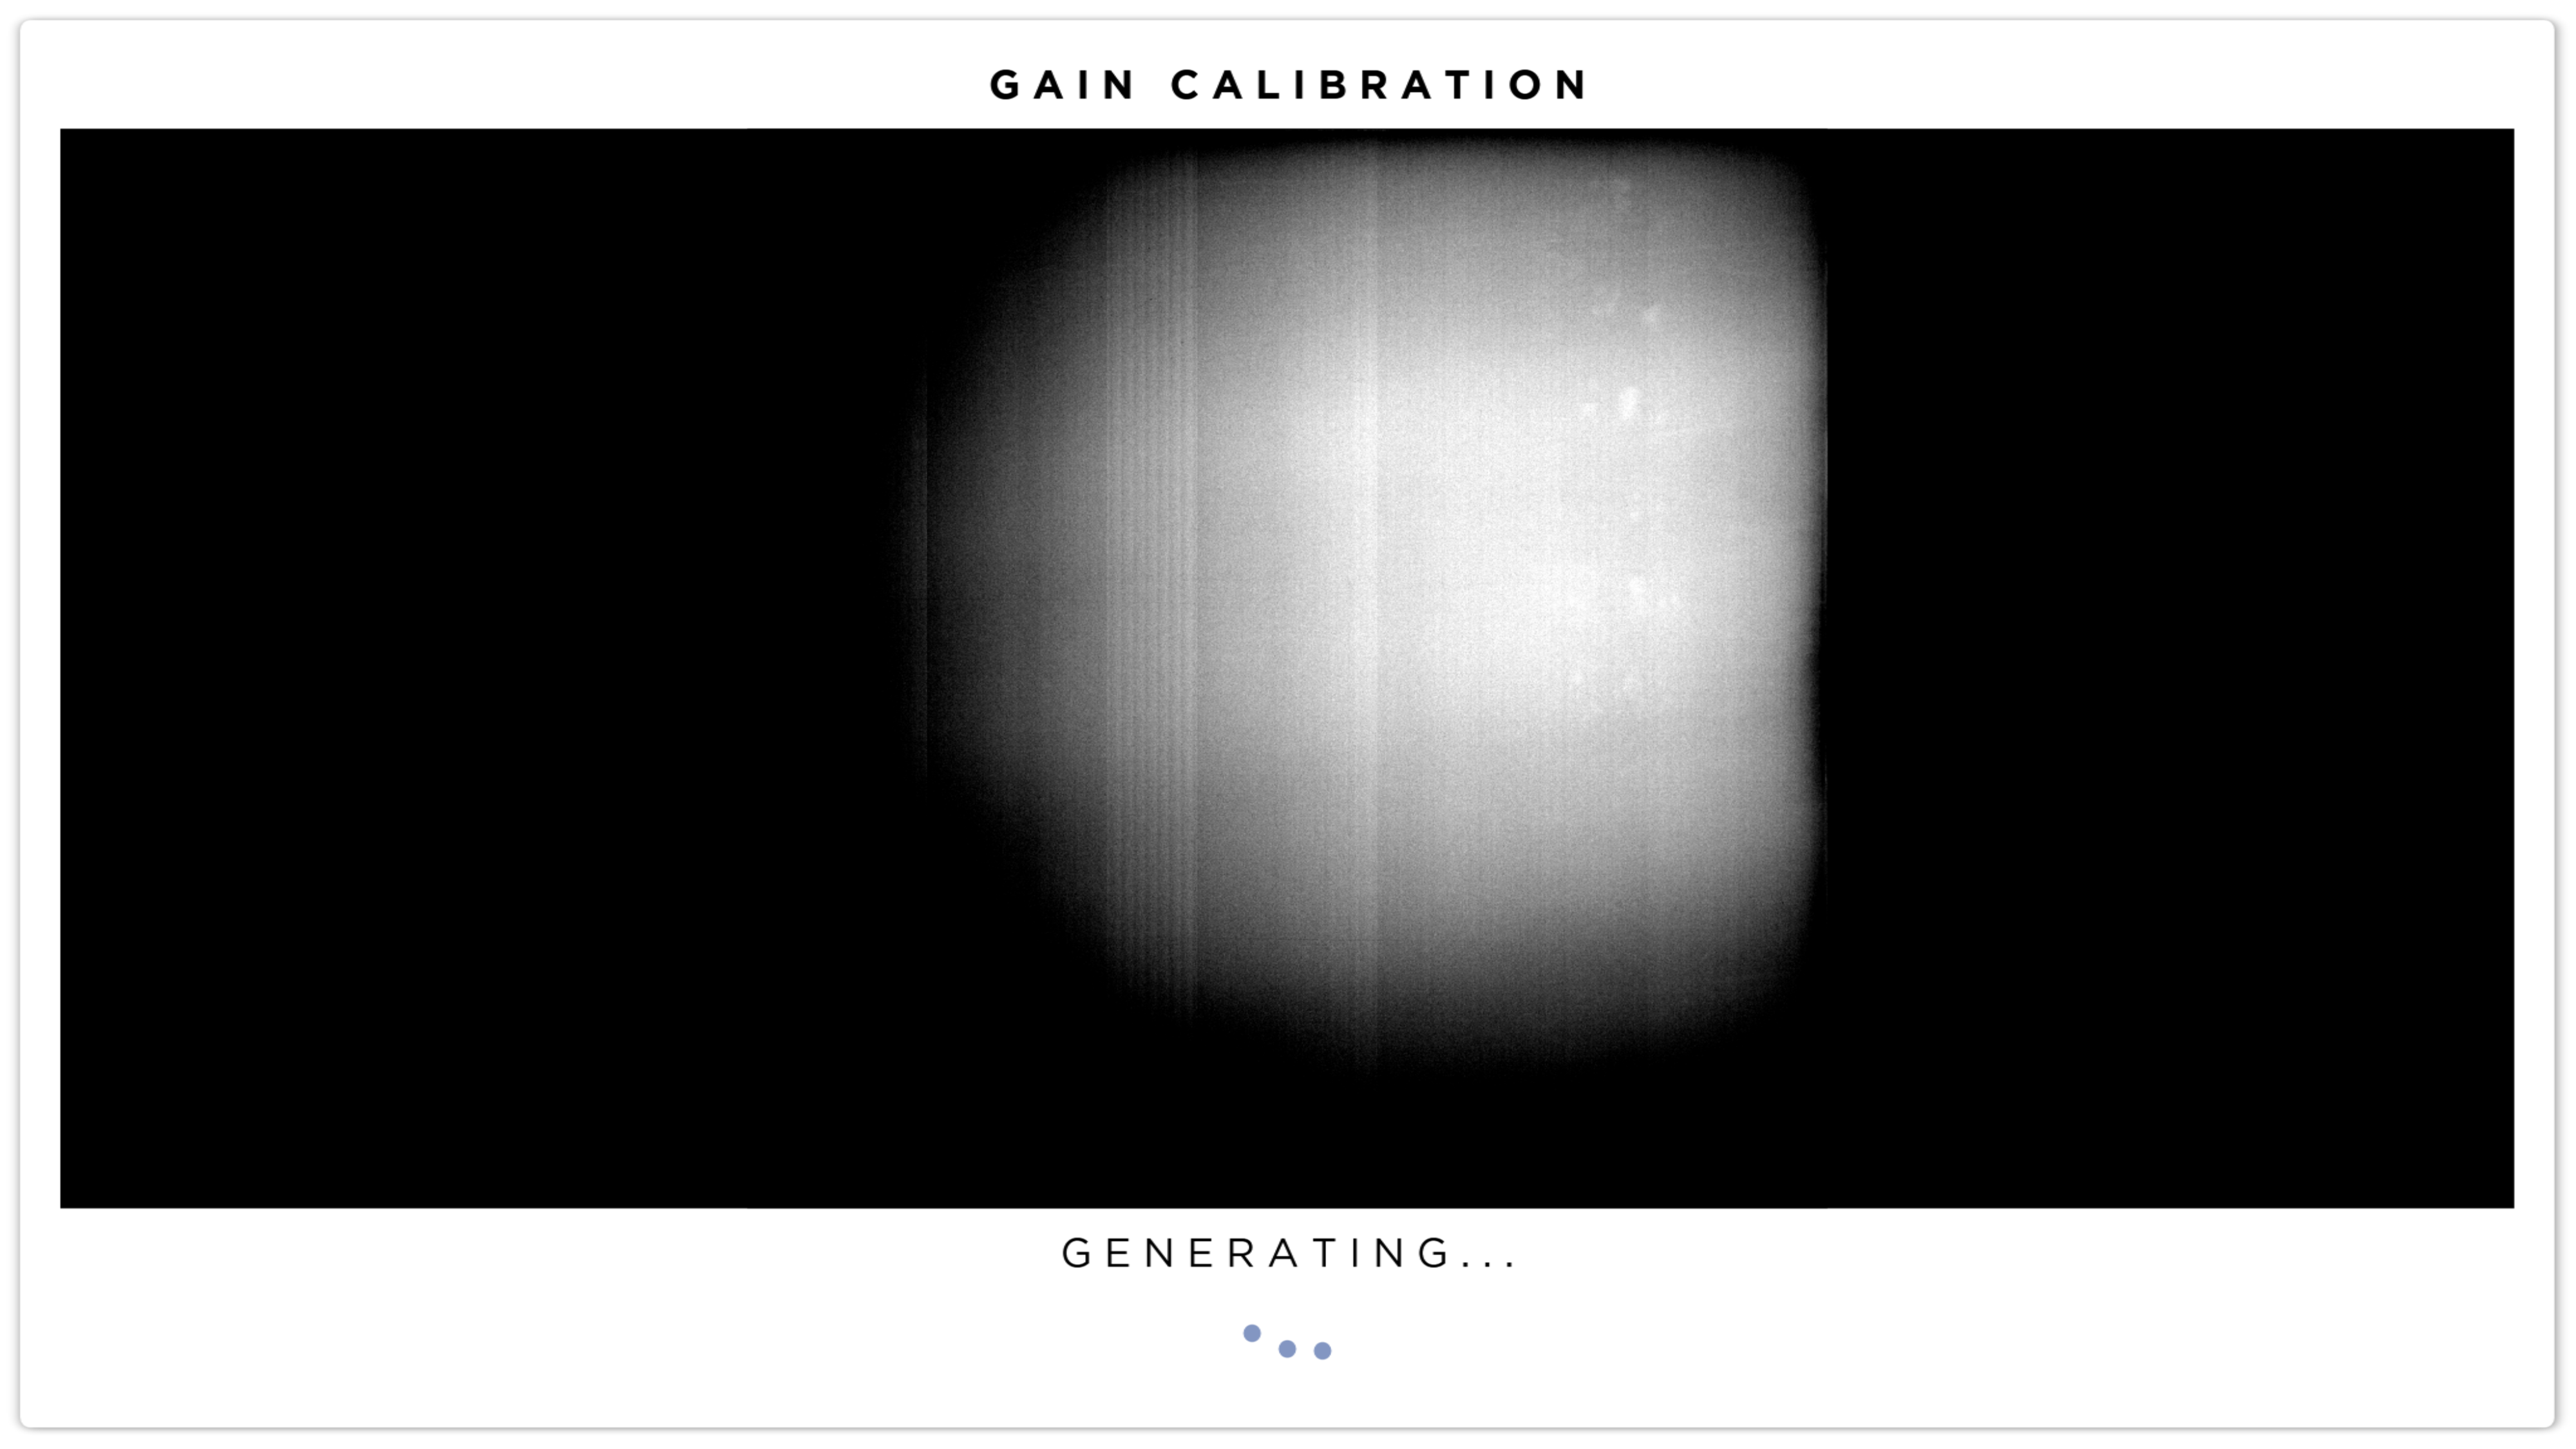
When generation is complete you can close the dialog by pressing the Close button.