Calibration History
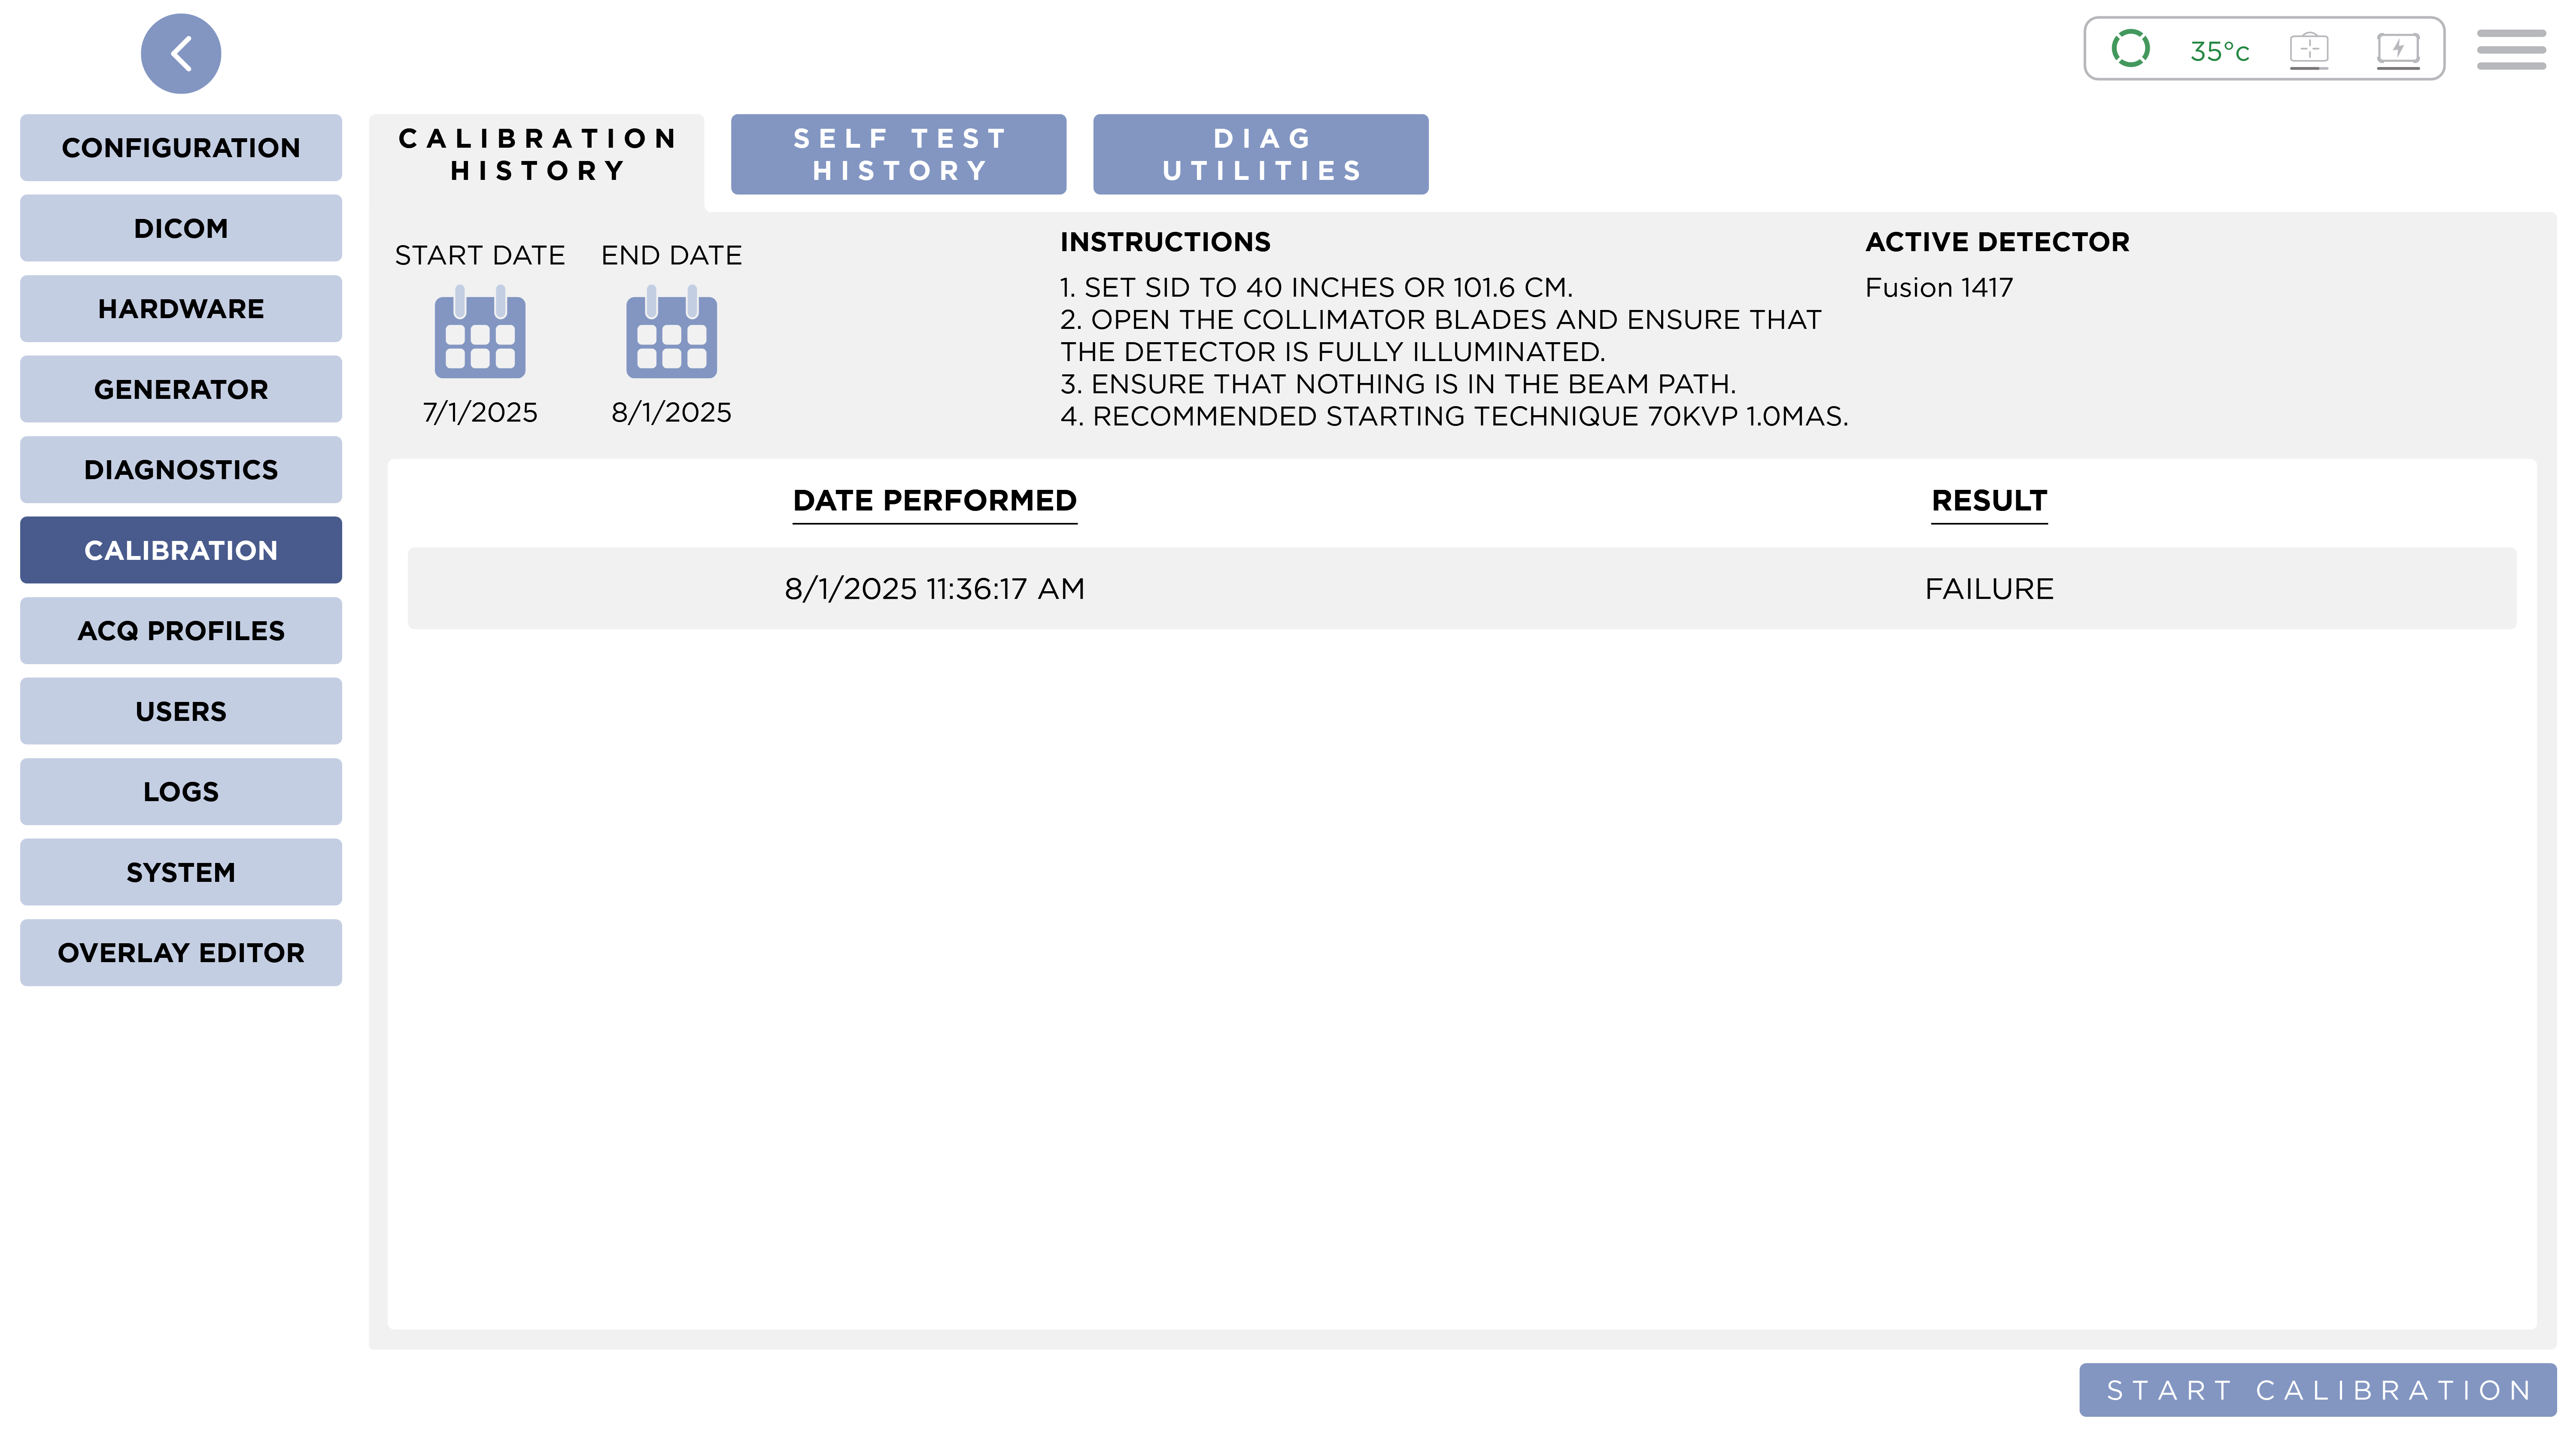
This tab is where you can view a list of calibrations performed on the Detector and their result. By default, only calibrations preformed in the past month are shown. You can change the date range with the Start and End Date buttons.
Performing a Calibration
To perform a Calibration, press the Start Calibration button. The Calibration Popup will shown.
Set the Technique on your X-Ray unit.
- Stationary: 70 kVp an 1 mAs at an SID of 40" (101.6cm)
- Mobile: 70 kVp and 1 mAs at an SID of 30" (76.2cm)
These are a starting point and may need to be adjusted for you're particular X-Ray unit.
When a Generator has been configured. The starting technique will be set automatically. Additionally, controls for kVp and mAs are shown, allowing you to adjust technique as you proceed through the calibration.

Any obstructions such as phantoms, soft sleeves or covers, table tops, grids, x-ray tunnels, etc, should be removed. Nothing should be between the primary beam and the surface of the detector.
The detector should be fully exposed. The collimator should be fully open.
Neither the detector nor the X-Ray unit should be held by a person. Both need to remain in exact positioning during the calibration procedure with people as far away from the primary beam as possible.
When the Detector is Ready for Exposure. Press half-way down on the generator foot-switch or hand-switch. Wait until your generator indicates that it is prepped for exposure.
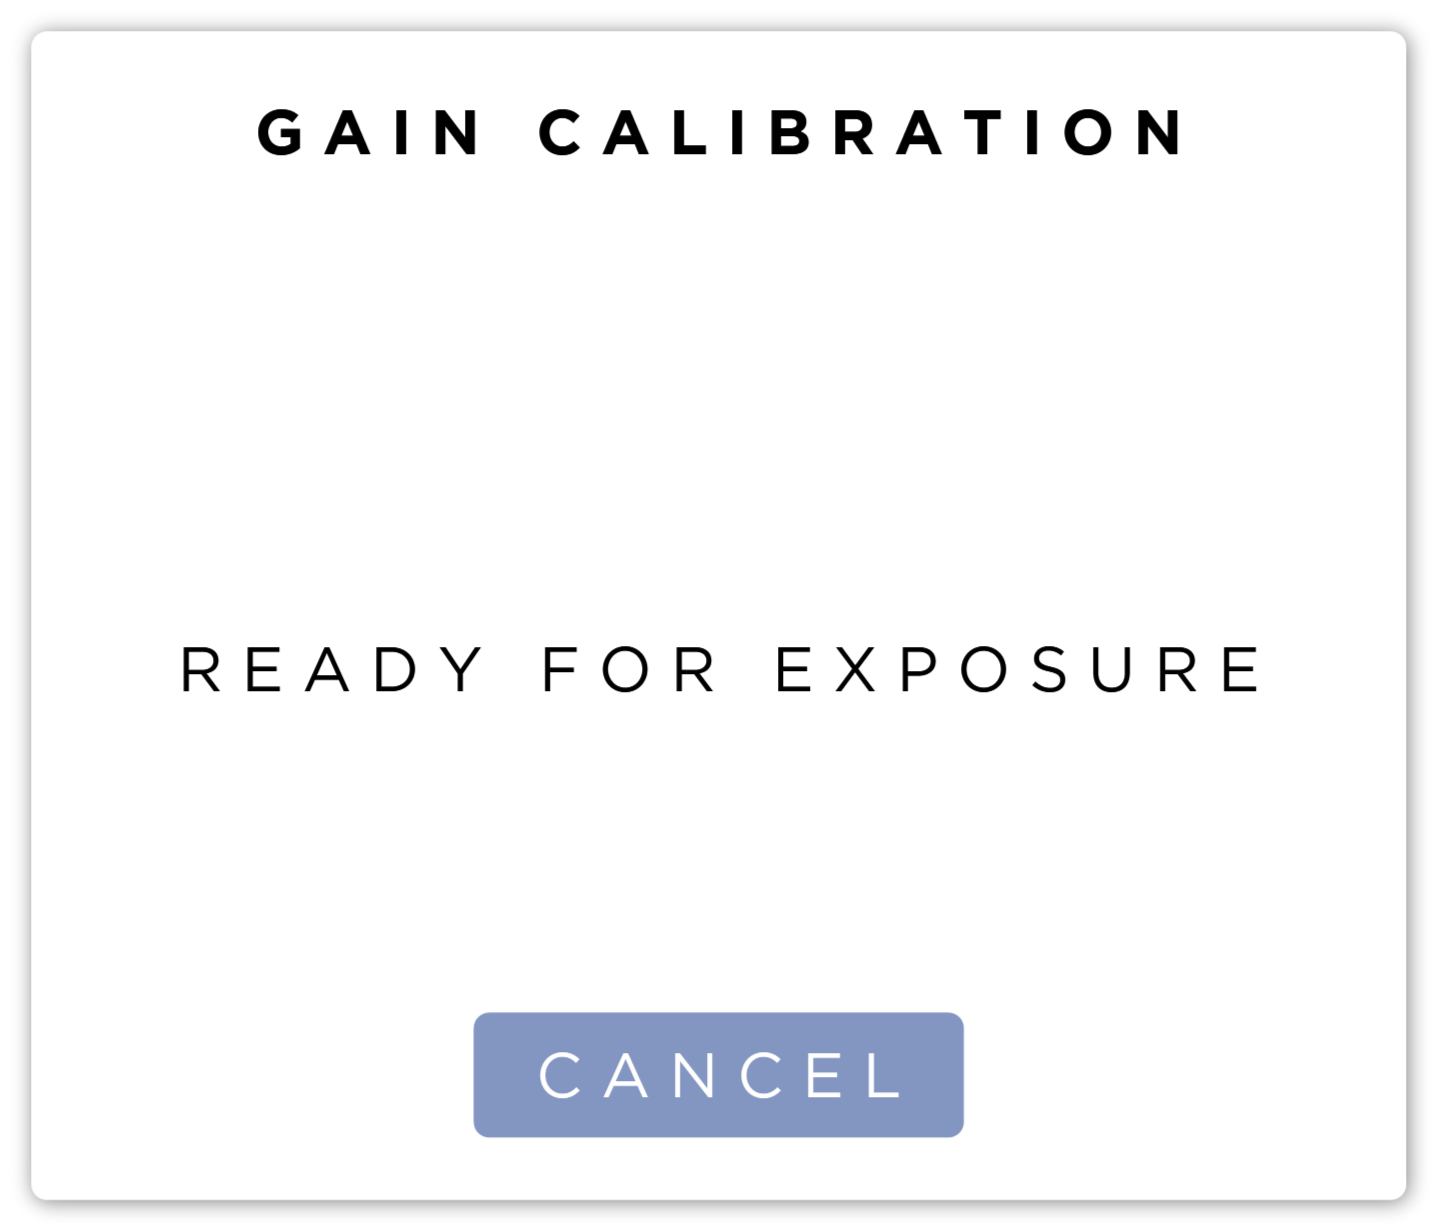
Press the rest of the way down on the foot-switch or hand-switch. The system will automatically capture the image.

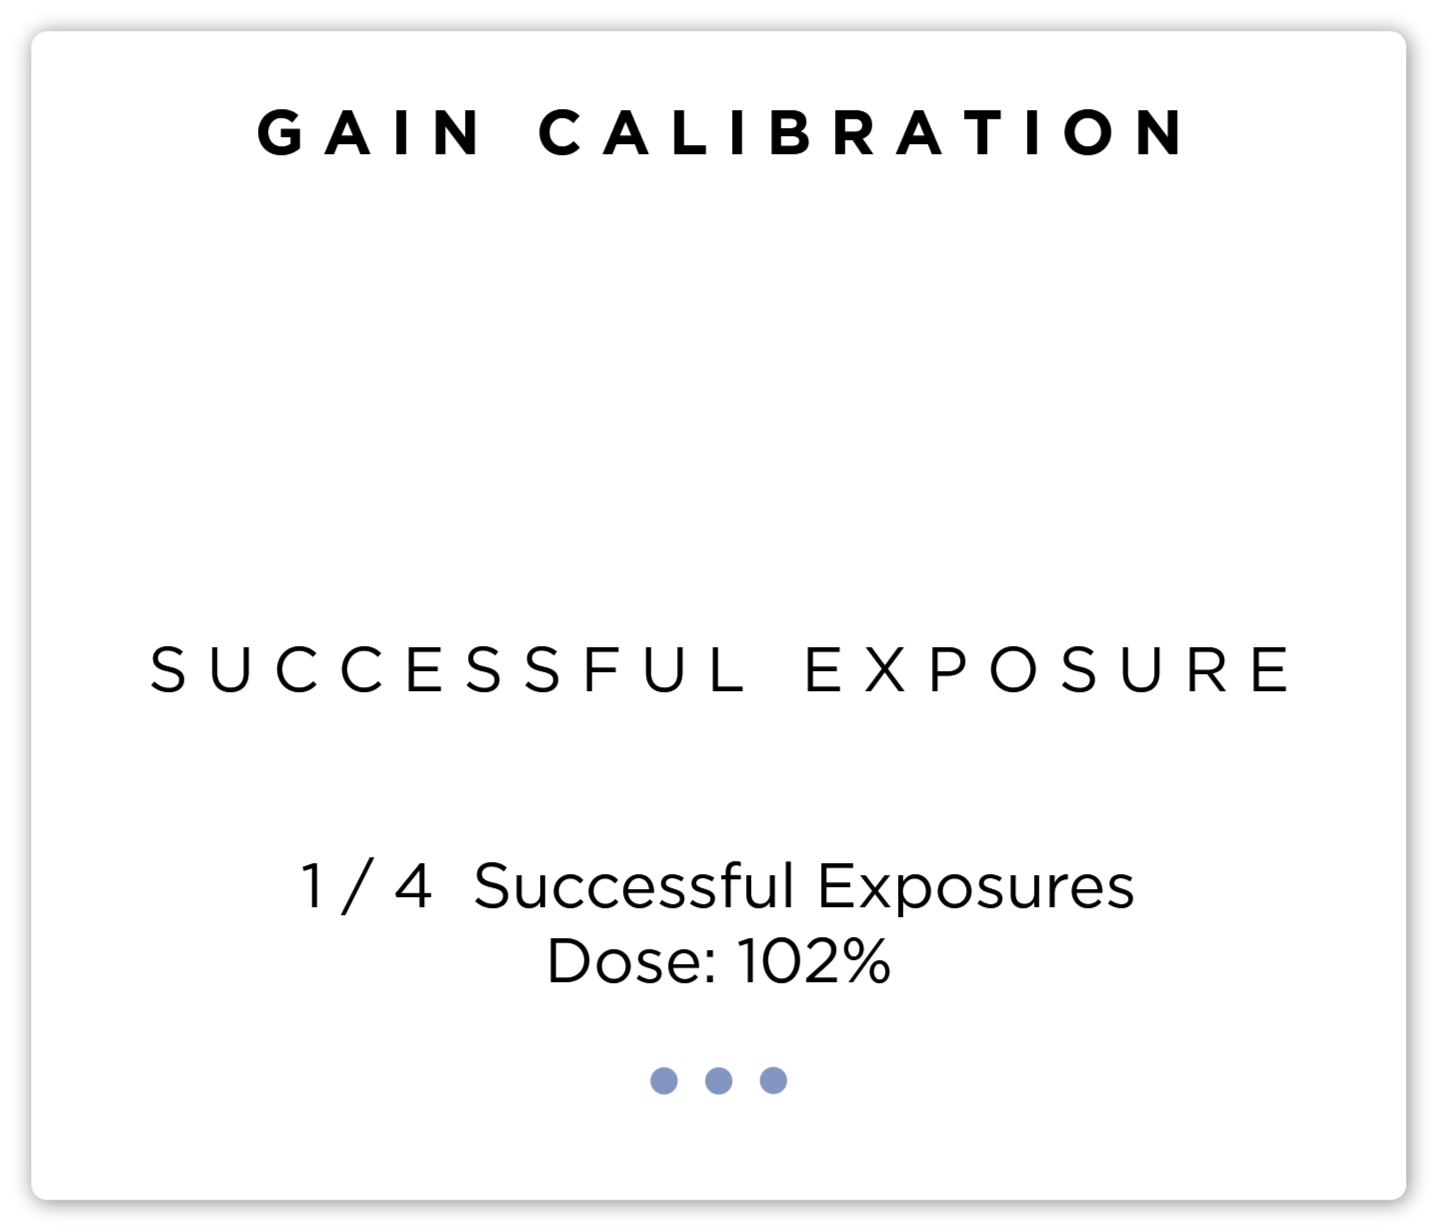
If the Dose is correct, the system will show, Successful Exposure Dose: %. Press the next button to continue to the next exposure.
If the dose is too high or too low, it will read Failed Exposure Dose: %. Adjust your technique up or down for the next attempt. The system will automatically retry until a successful dose is used.
The goal is to reach a dose value of 100%. However, there is some wiggle room built in. A successful dose is 100±20%.
The system will automatically start preparations for the next exposure.
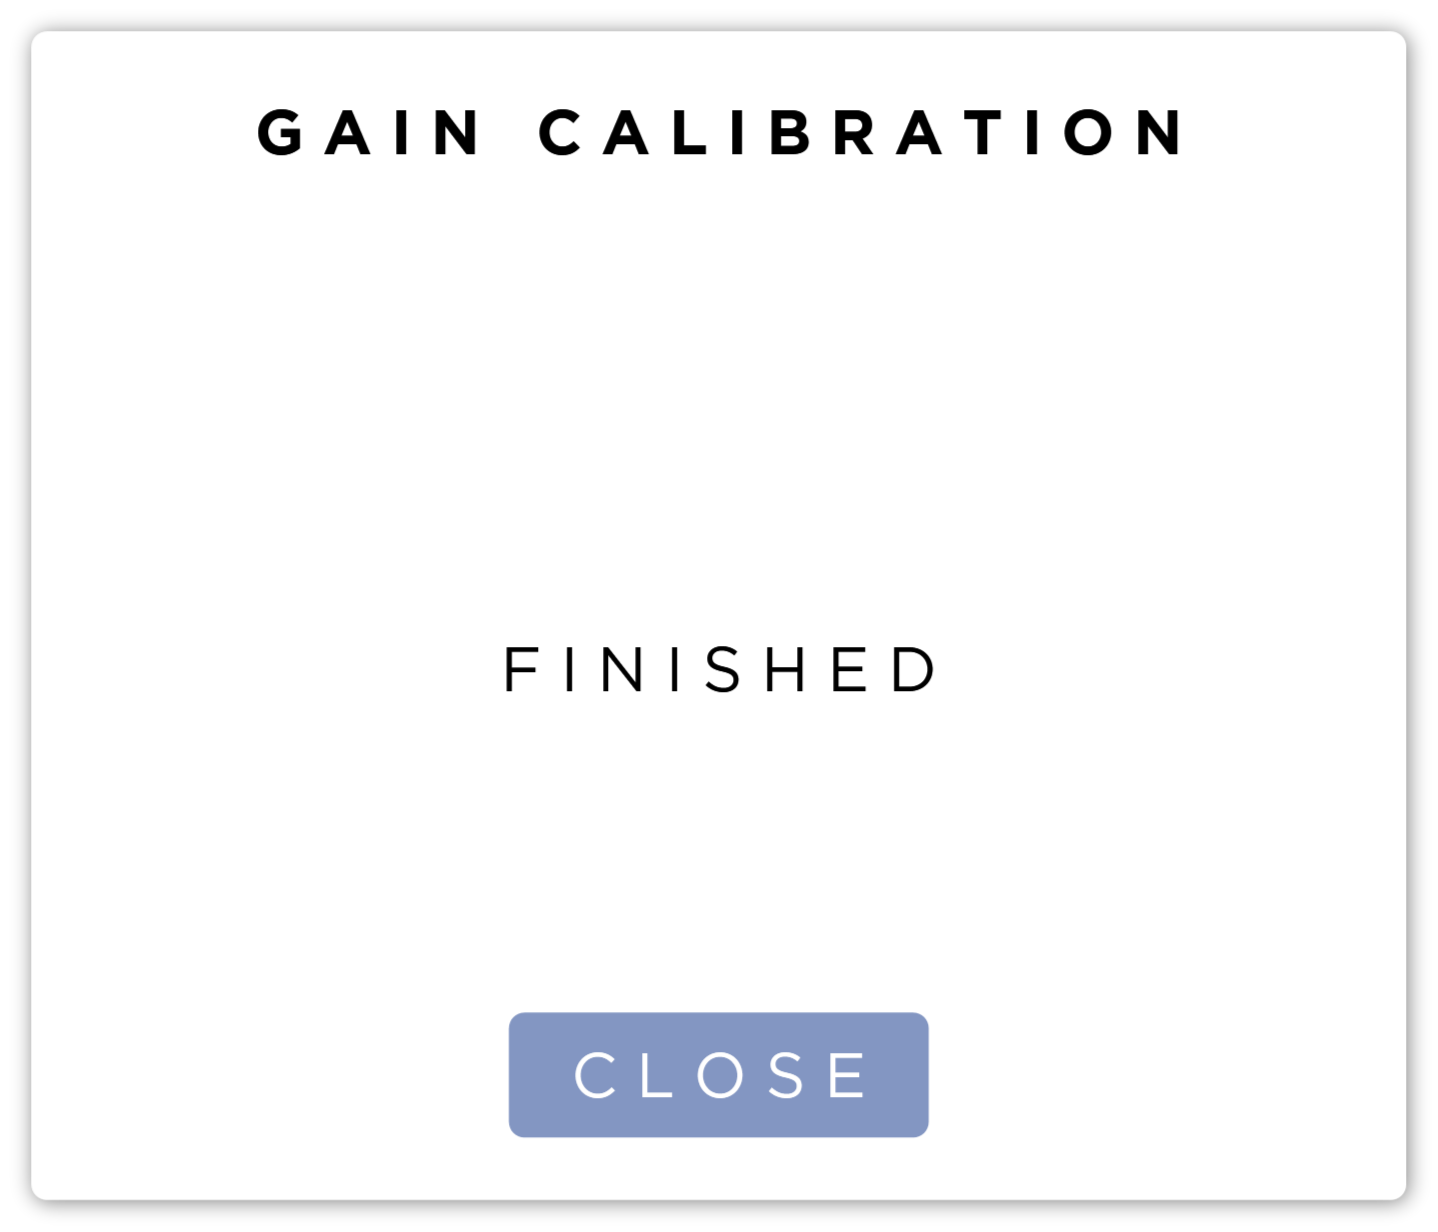
Continue the same process with all four exposures. When all four exposures have been successful, press the close button to close the popup. The result of the calibration will be saved and displayed at the top of the calibration history.