SoundVu Fusion
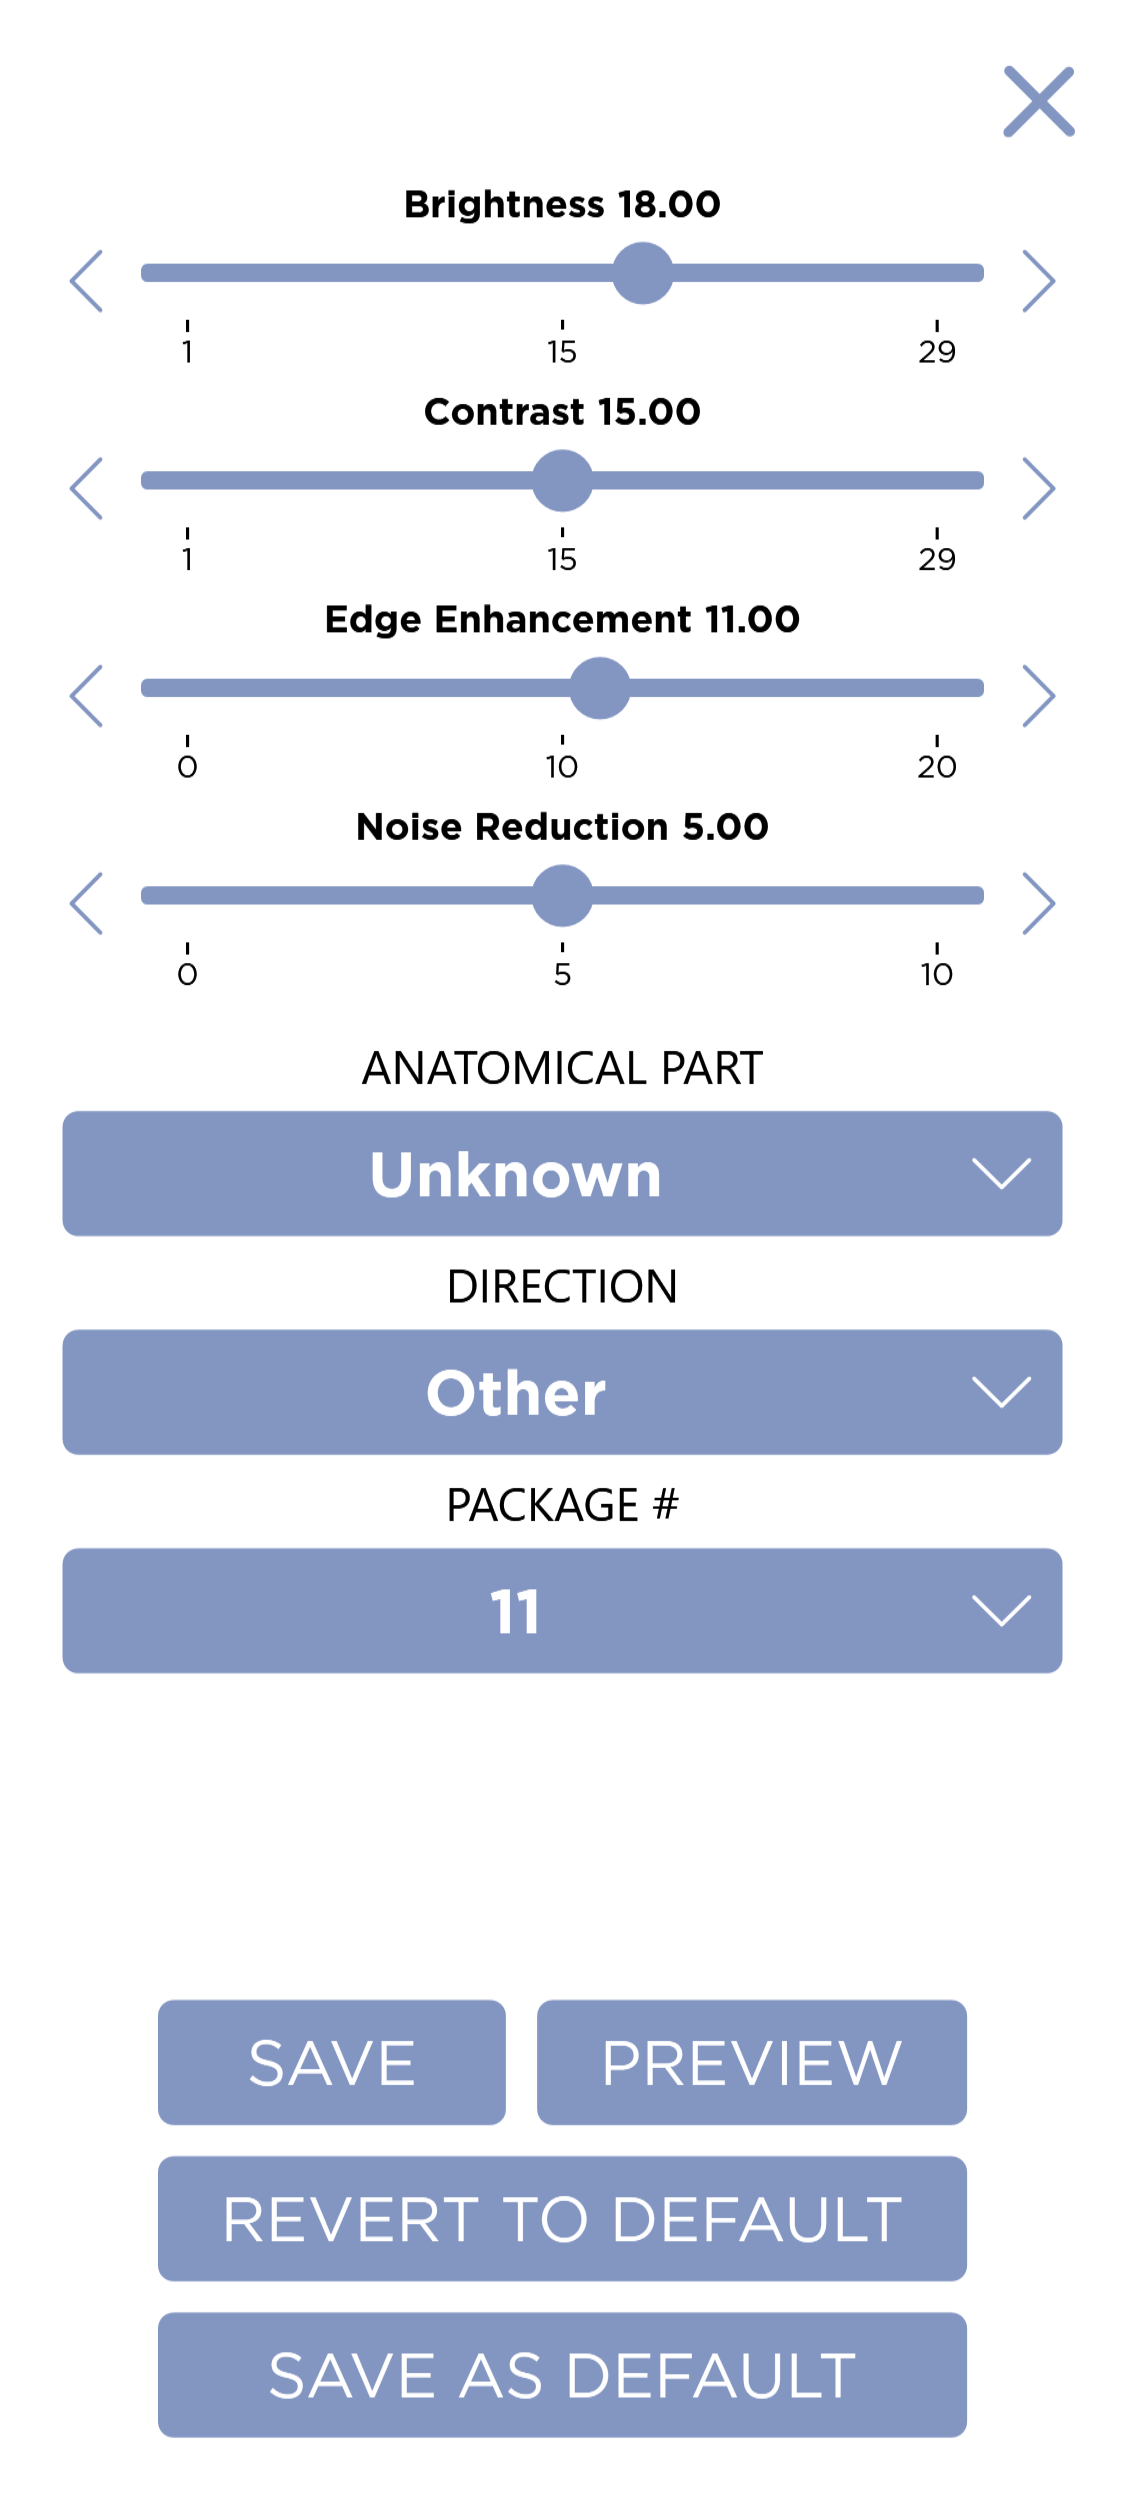
There are 7 parameters for you to adjust:
- Brightness
- Contrast
- Edge Enhancement
- Noise Reduction
- Anatomical Part
- Direction
- Package #
You can adjust the values by dragging the slider left or right, or selecting a value in the dropdown menu. You can also use the Arrows to the left and right of the slider to decrease and increase the value respectively.
Press the Preview button to preview the changes to the image.
Press the Save will save the changes to the current image and close the Workbench.
Press the Revert to Default button to reset the sliders to the Shot's default settings.
Press the Save as Default to save the current settings to the shot as the new default.
To close the Taste Tool without saving changes, press the X button in the top right corner.
Revert to Default will be enabled when any of the sliders are not at the shot's default position.
The settings for each shot are unique to a patient's size. See the Acq Profiles section in the Settings Screen to edit the settings for all sizes.
Brightness
Range 0 to 29. The standard brightness. Chose values that represent the optimal average values across multiple subjects. Set the value higher to make the region of examination brighter. Conversely, set the value lower to make the region darker.
Contrast
Range 0 to 29. Specify the standard contrast. Choose values that represent optimal average values across multiple subjects. Set the value higher to make the contrast of the examination region increased. Conversely, set the value lower to make the contrast decreased.
Edge Enhancement
Range 0 to 20. Set the value higher to emphasize image edges, making images sharper.
Noise Reduction
Range 0 to 10. Select the check box to activate noise reduction. Set the value higher to reduce graininess. However, images will be somewhat less sharp.
Anatomical Part
Functions for automatic adjustment of image tone after exposure. Complete the Anatomical Part and Direction settings according to study objectives and the anatomical part involved. For example, specify Chest in Anatomical Part for automatic tone adjustment after exposure to chest diagnosis.
Direction
Imaging directions (orientations) are as follows:
- Front
- Lateral
- Other
Package
Rang 1 to 100. Packages provide baseline values for enhancement.